FIRST FLOOR
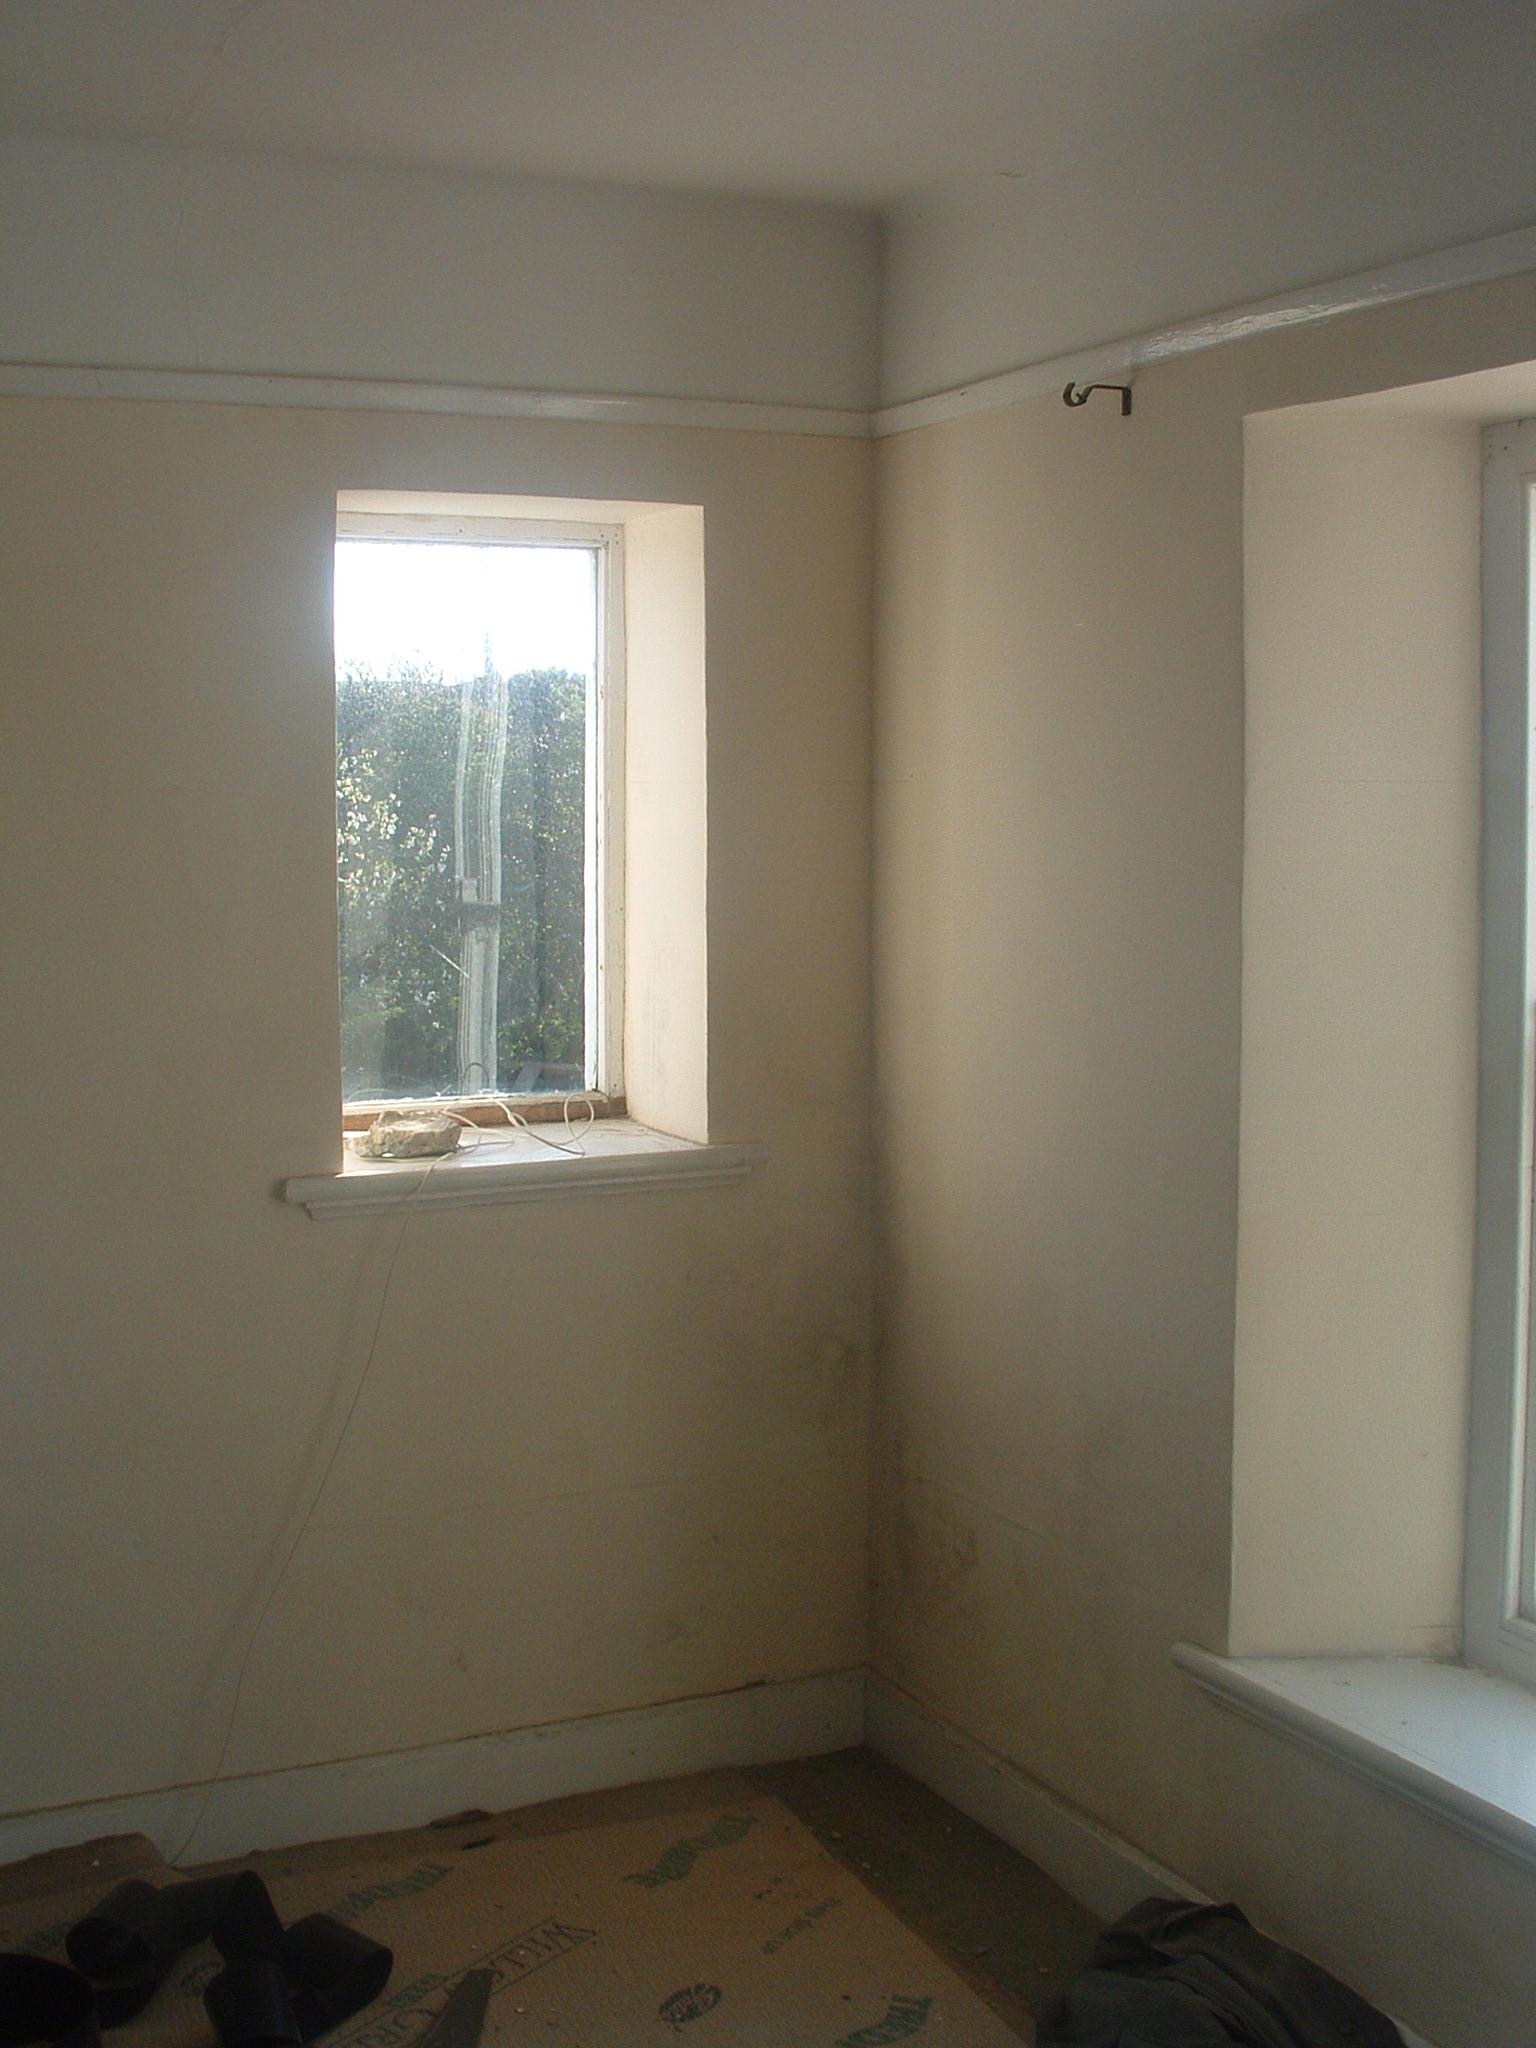
1 Bedroom 1 NW wall with mould on plaster – brush off mould before installing insulation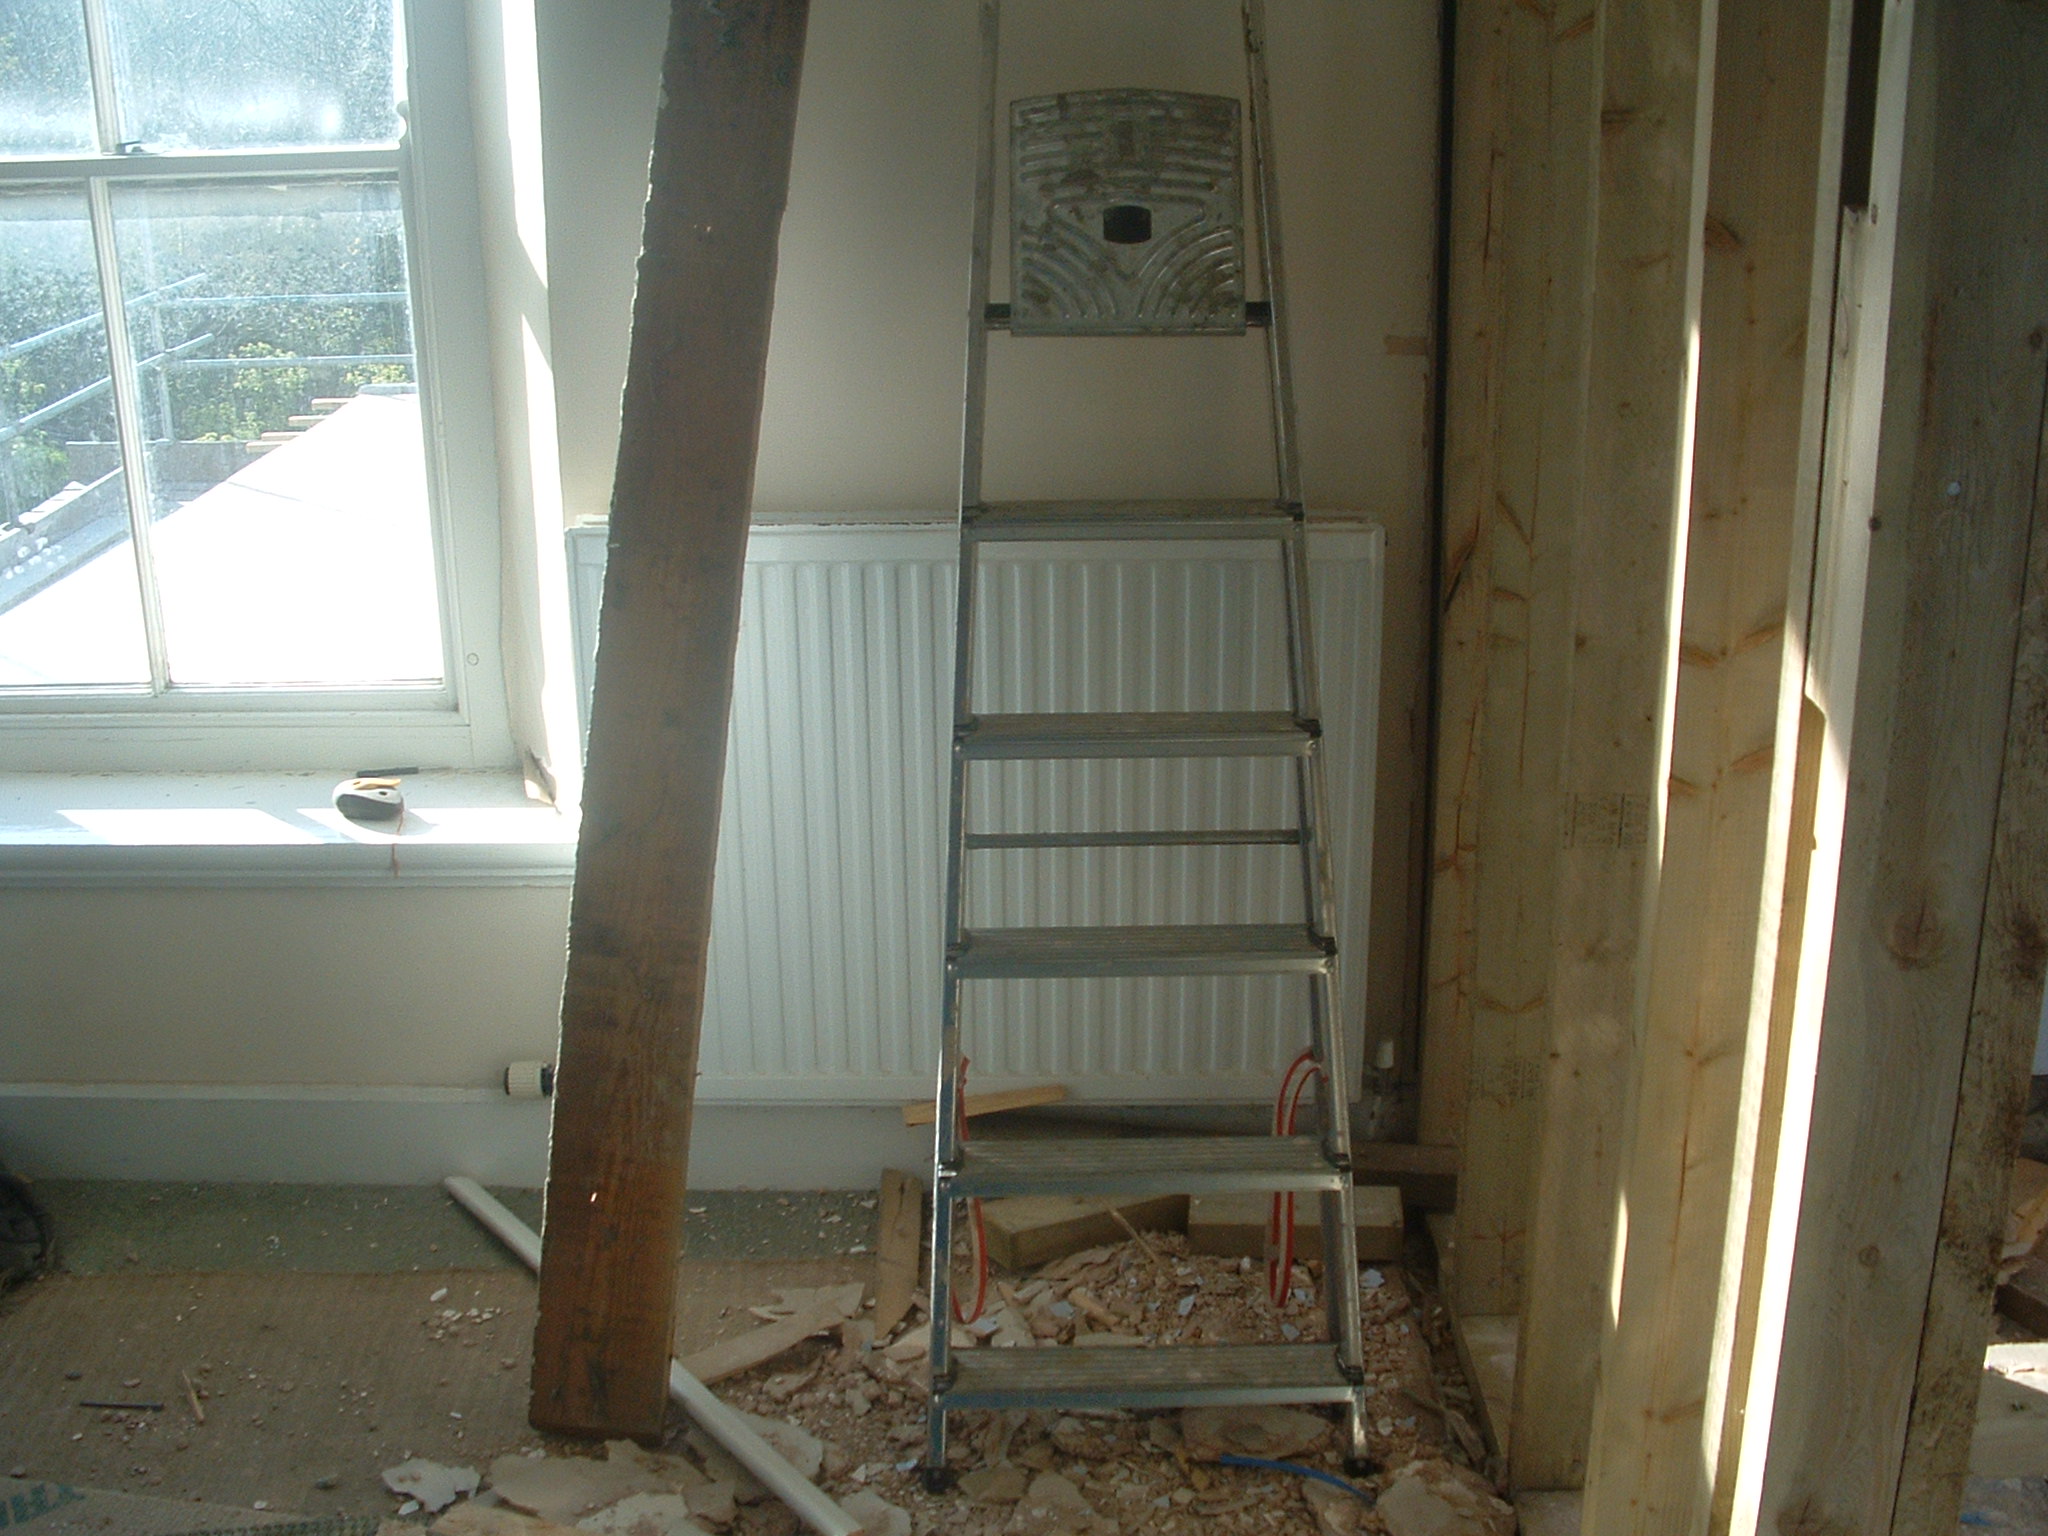
2 Bedroom 1 North wall – existing radiator – see plans for new radiator locations
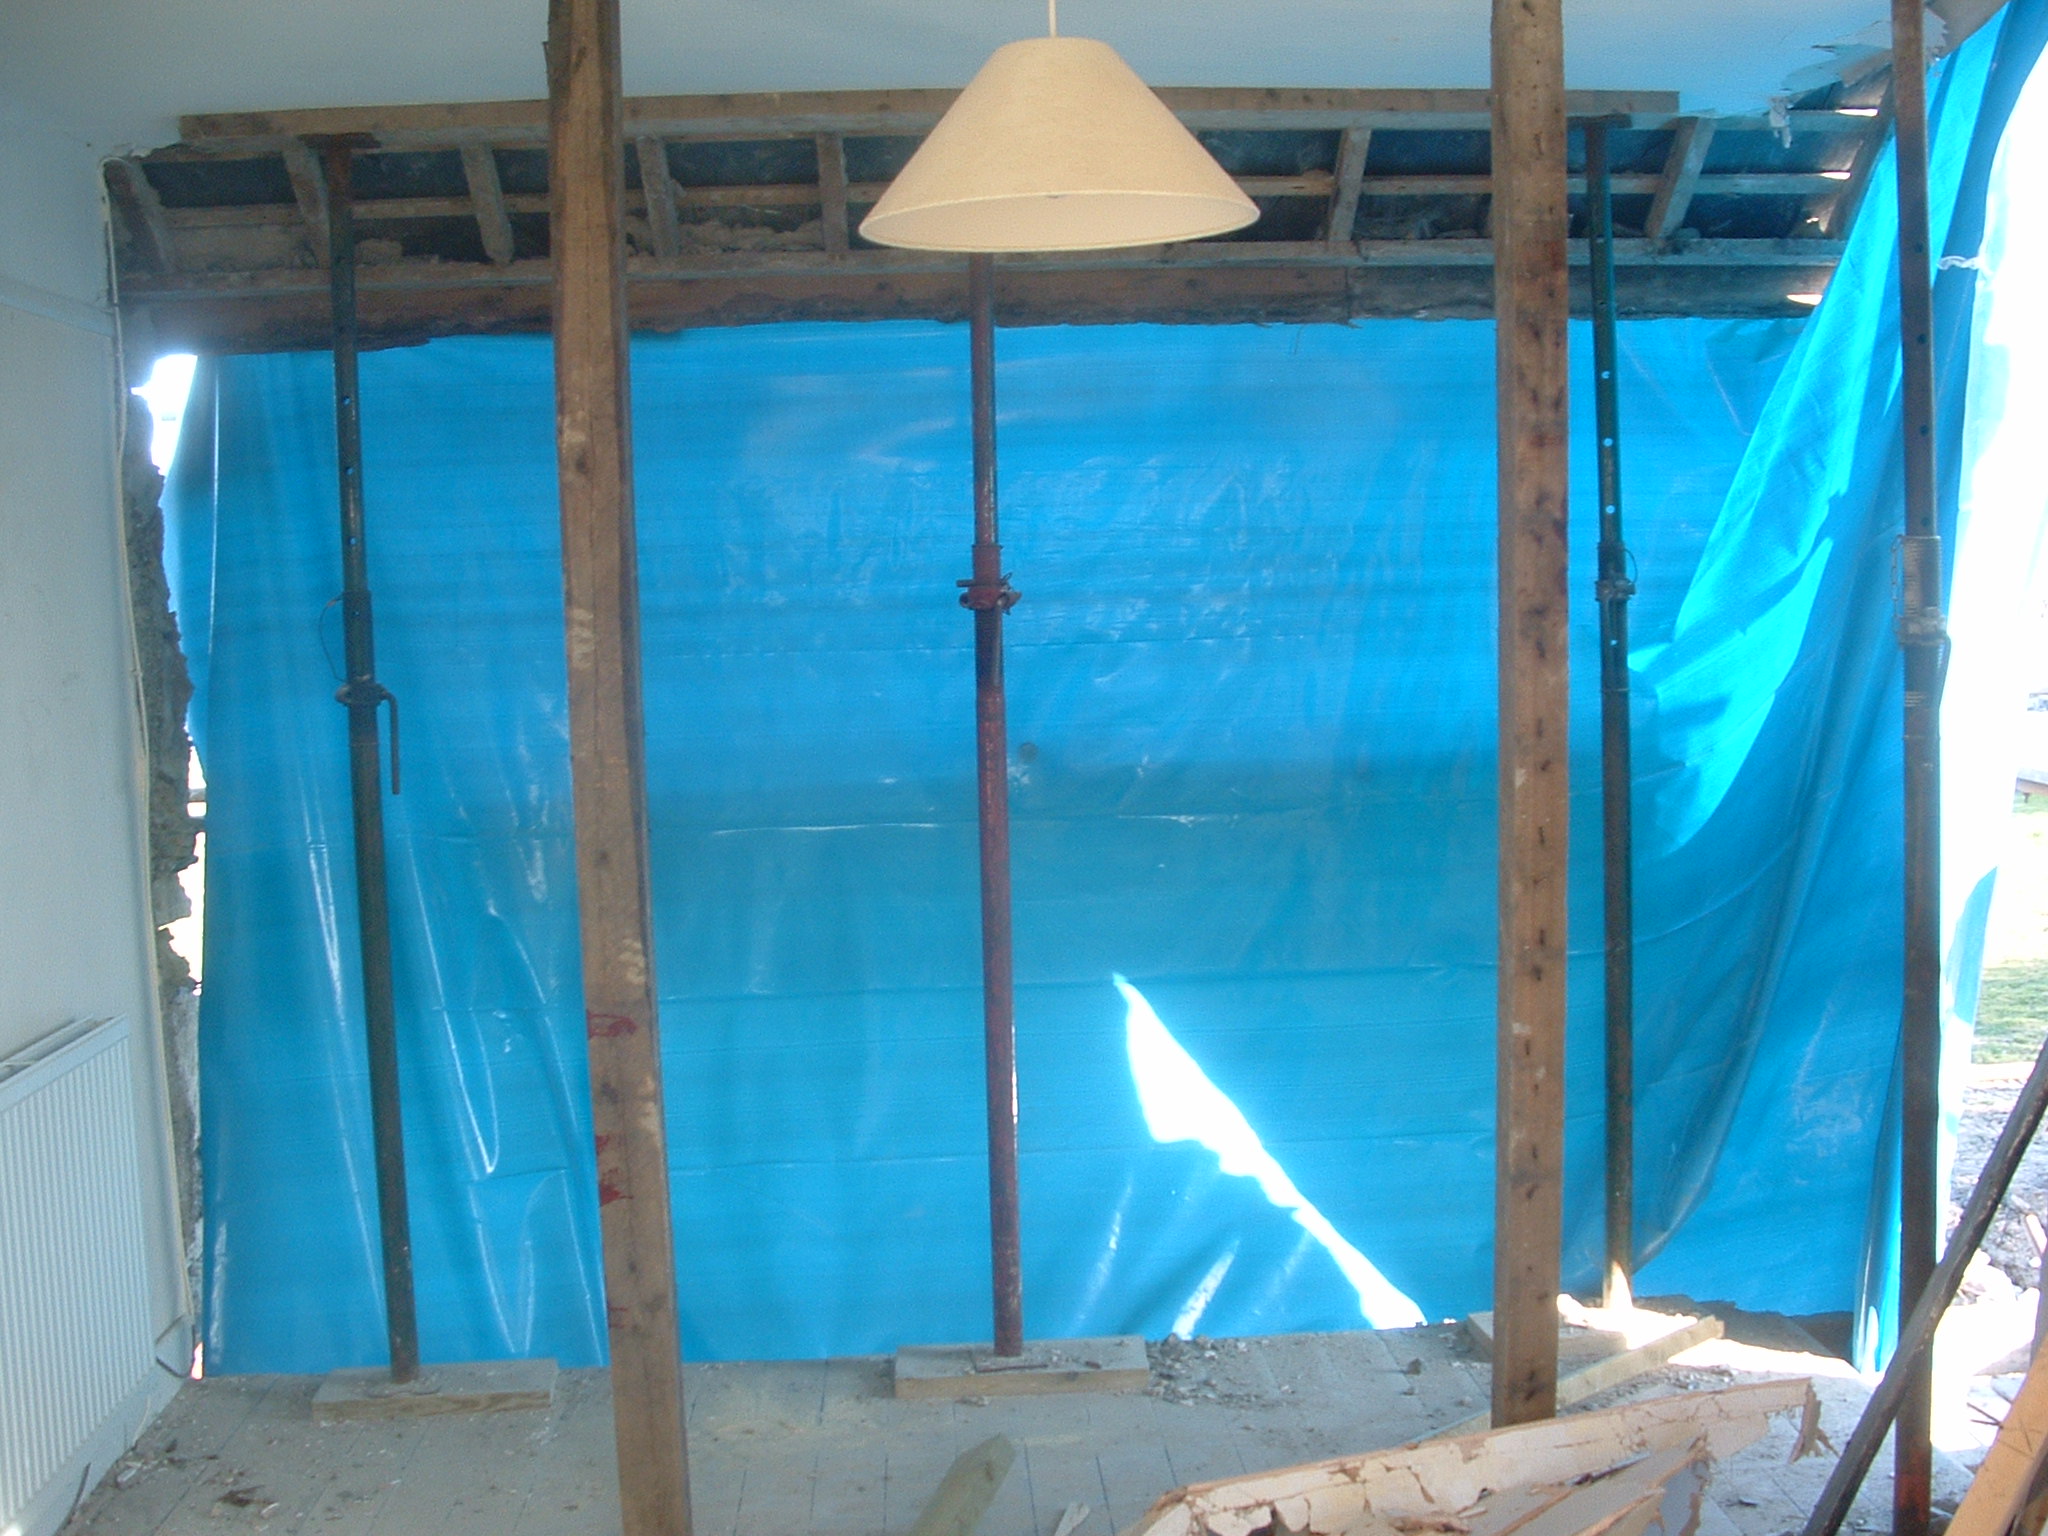
3 Bed room 1 South “wall” (to be rebuilt)
NOTE SB to ask TB to put off cuts of any insulation in between rafters before replastering. Best with foilbacked?
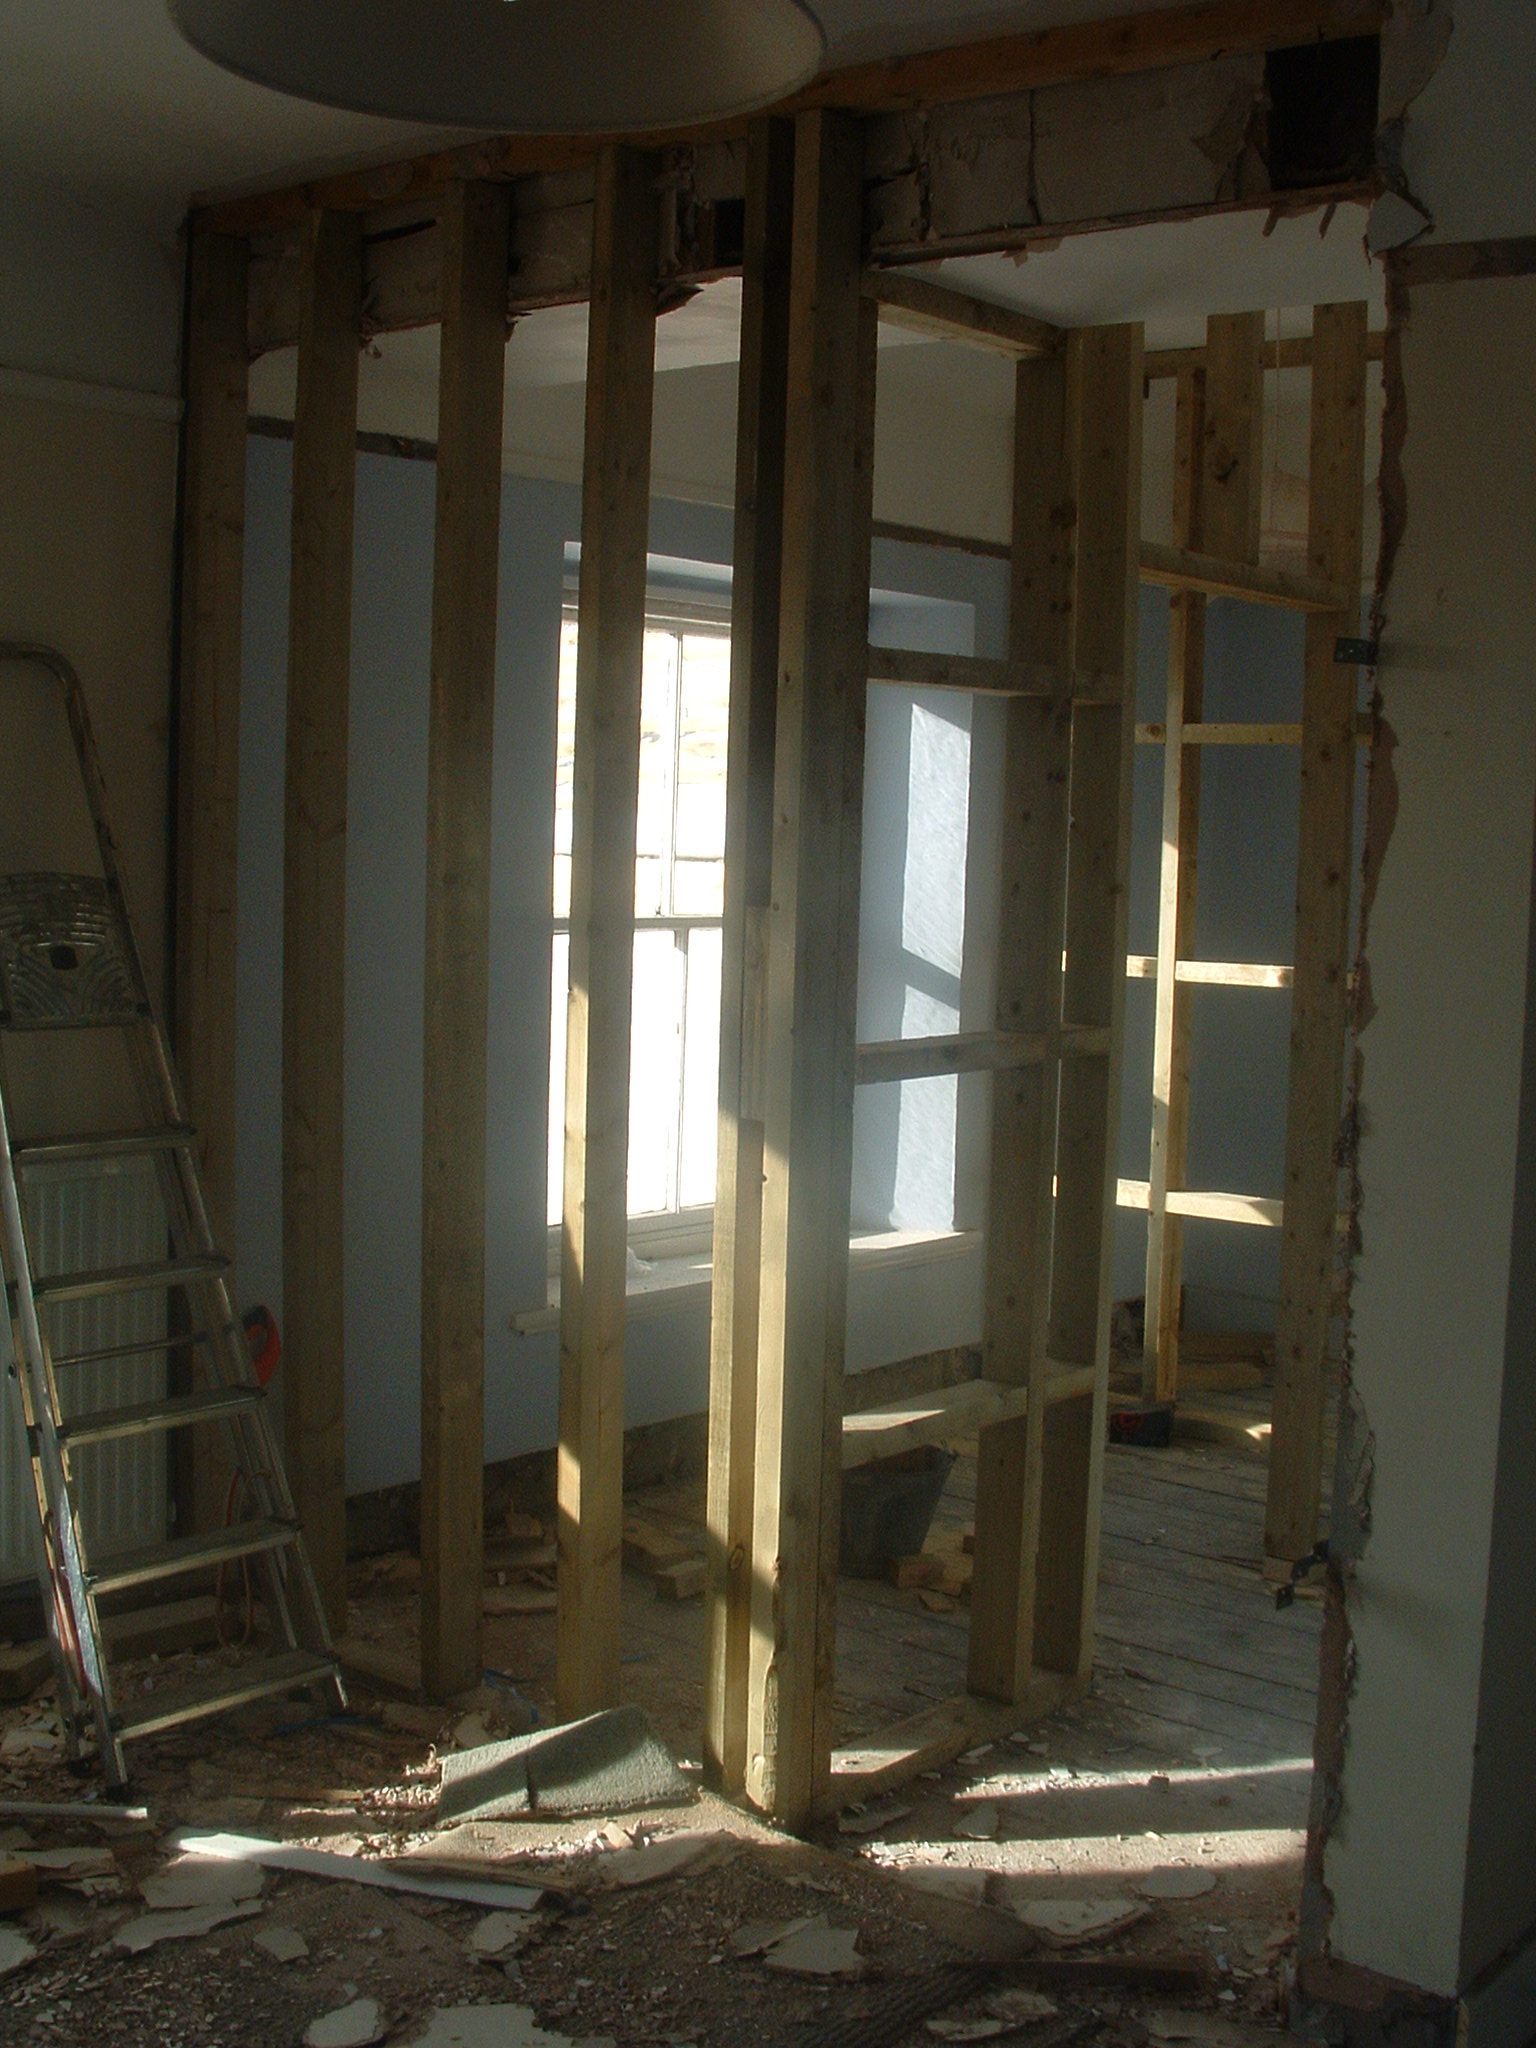
4 Ensuite bathroom West wall studding – abutting Bed 1
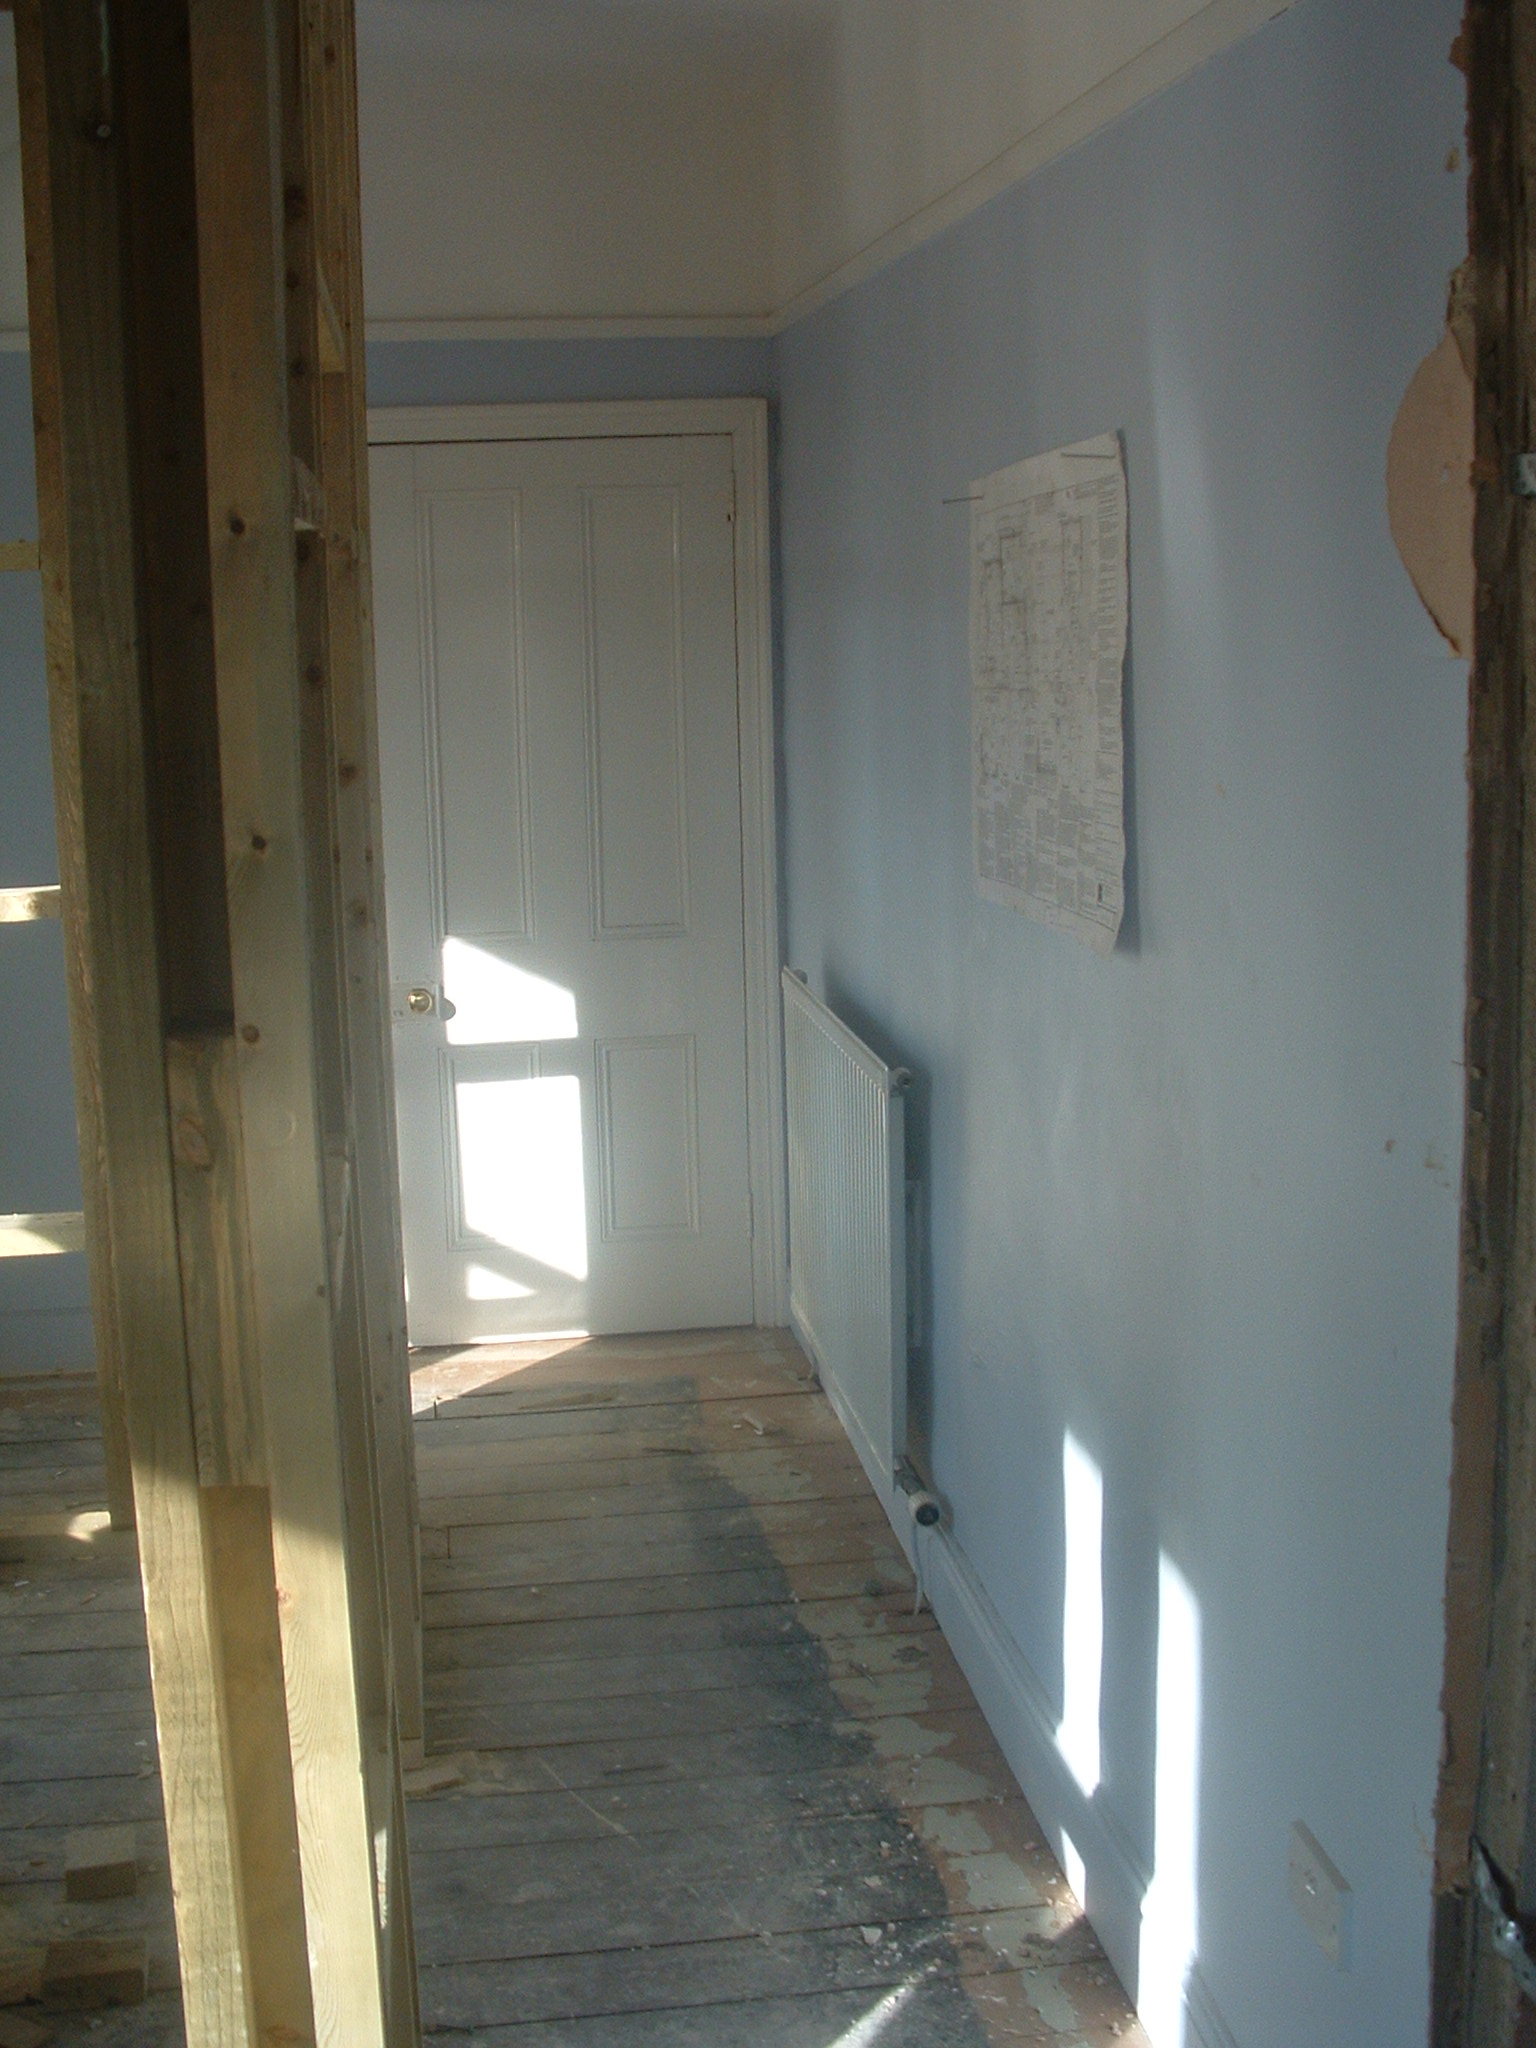
5 En suite corridor and radiator (to stay)
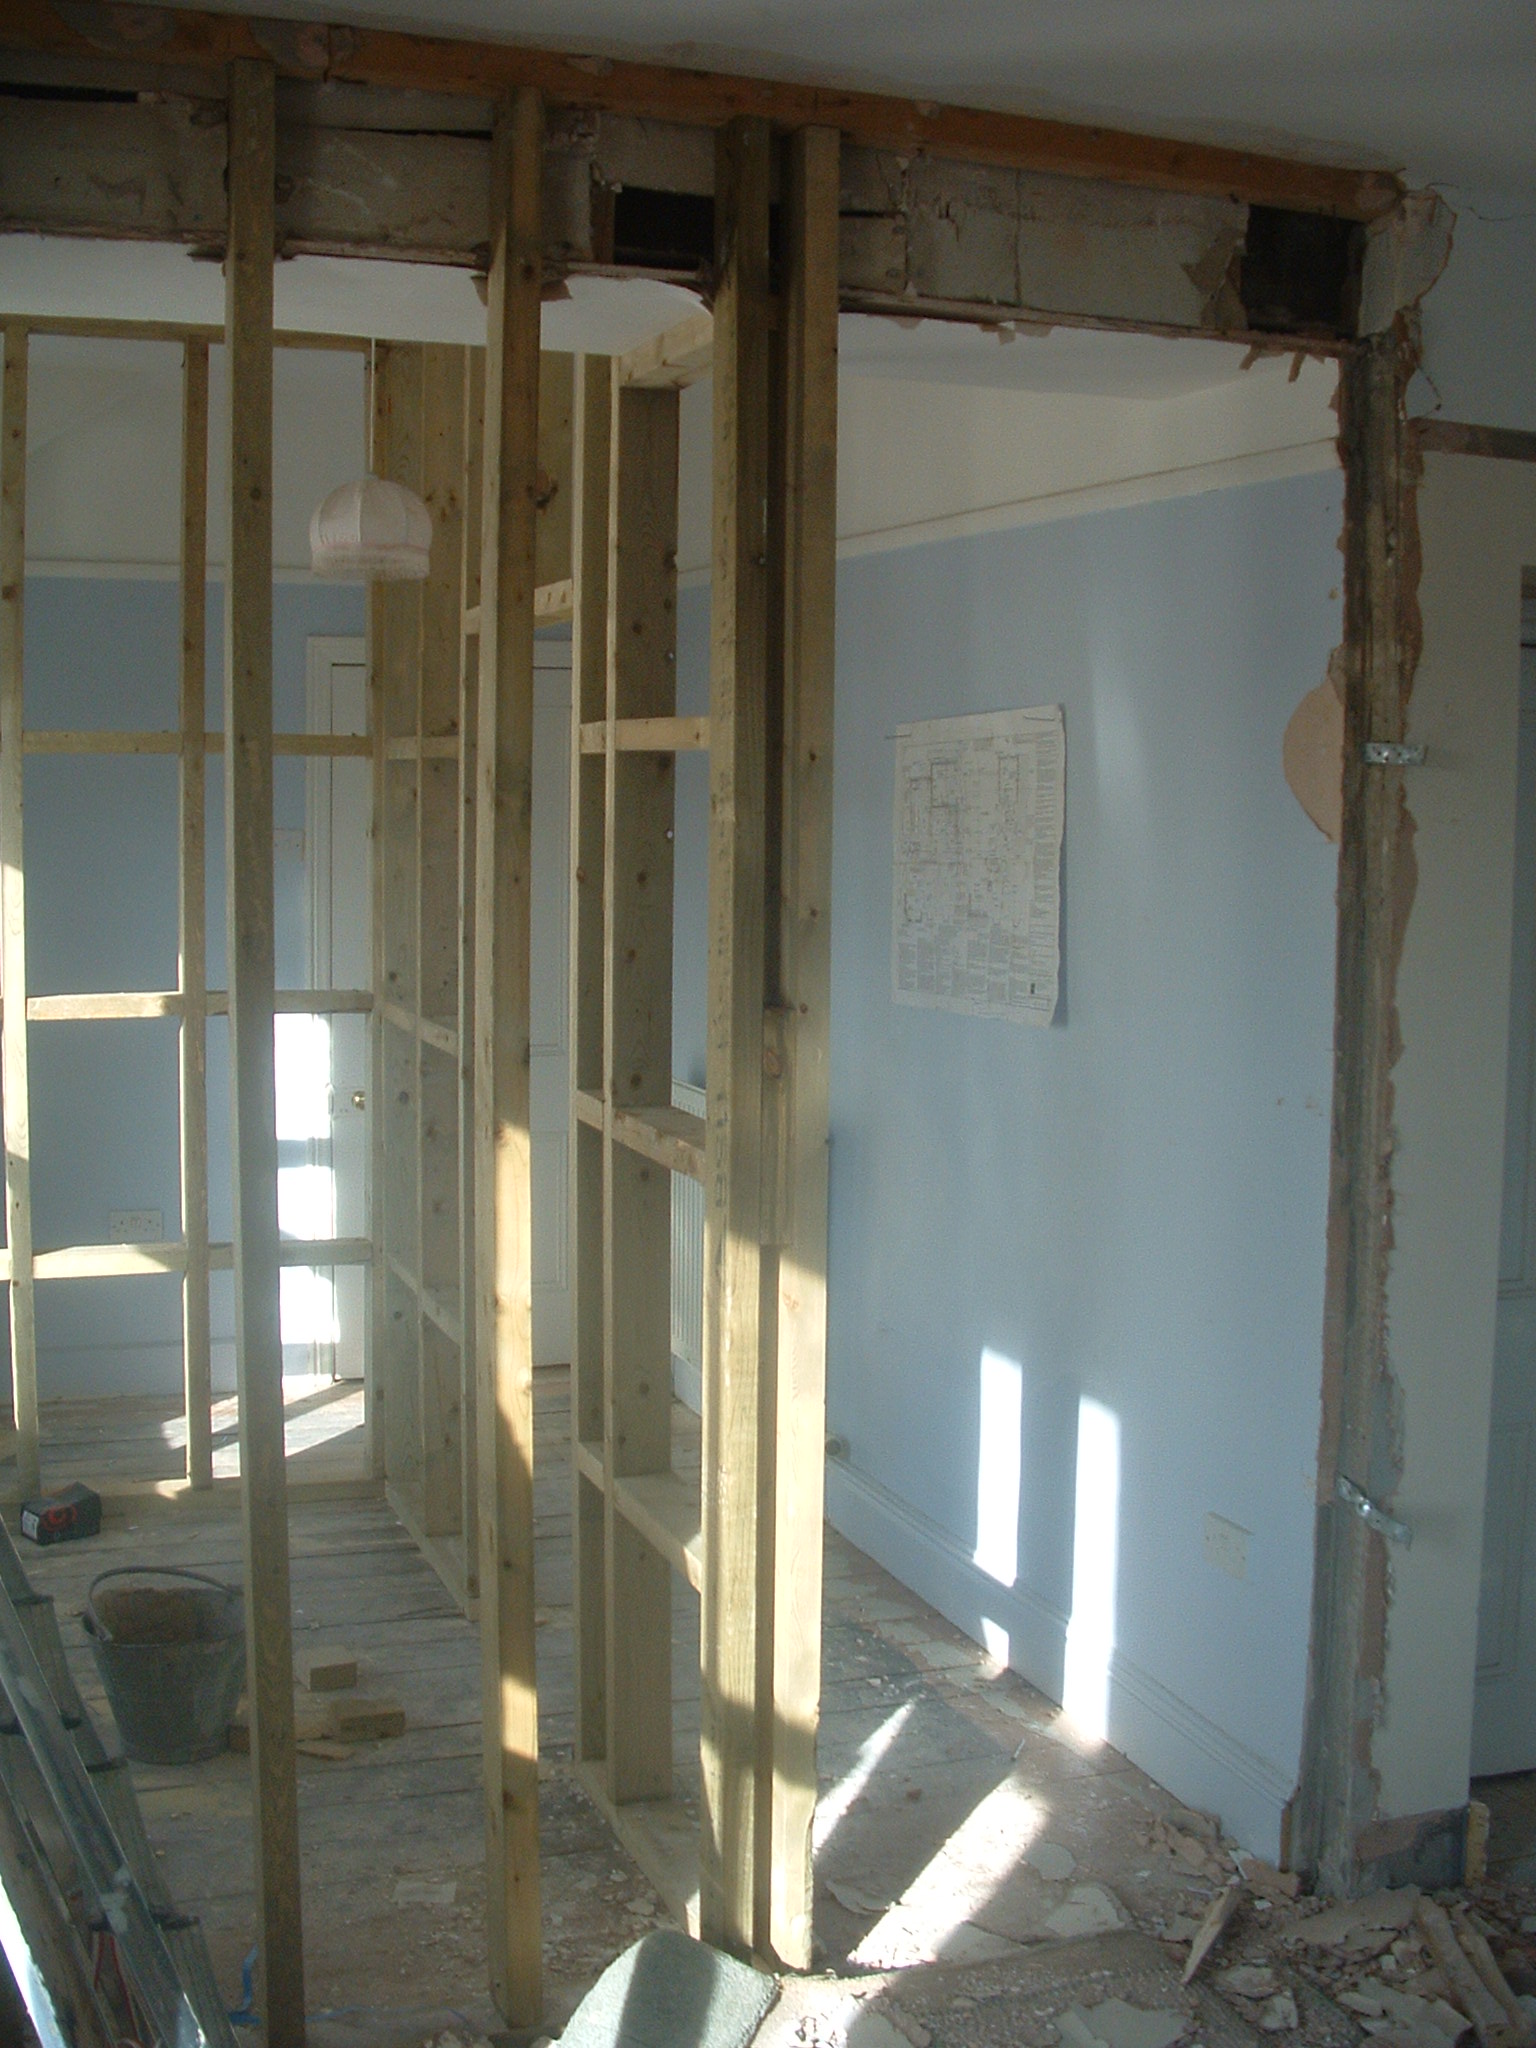
6 En suite studding as per photo t2 above 
7 Bedroom 3 Plaster must come off before insulation put on
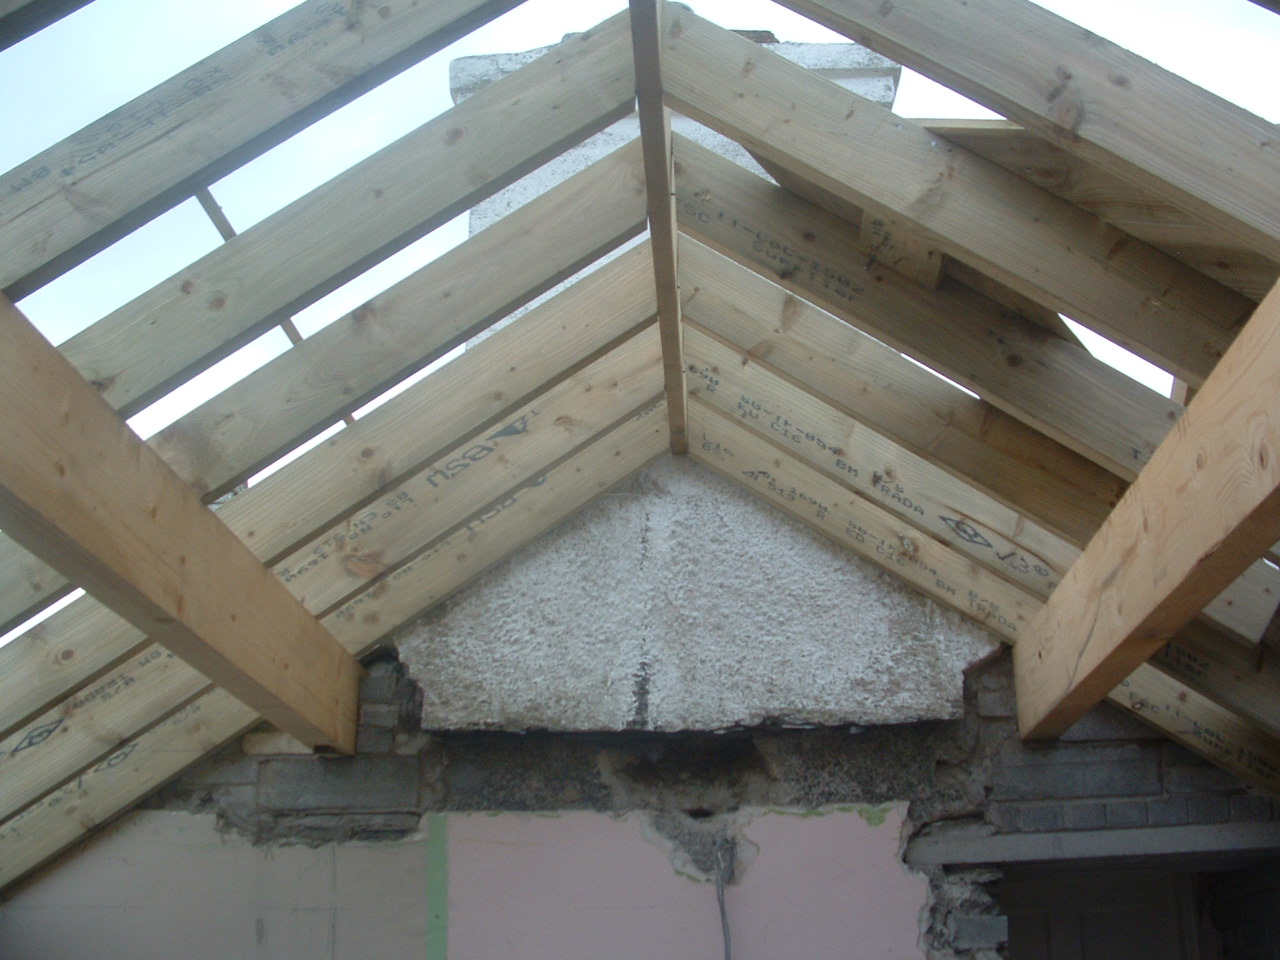
8 Bedroom 4 roof
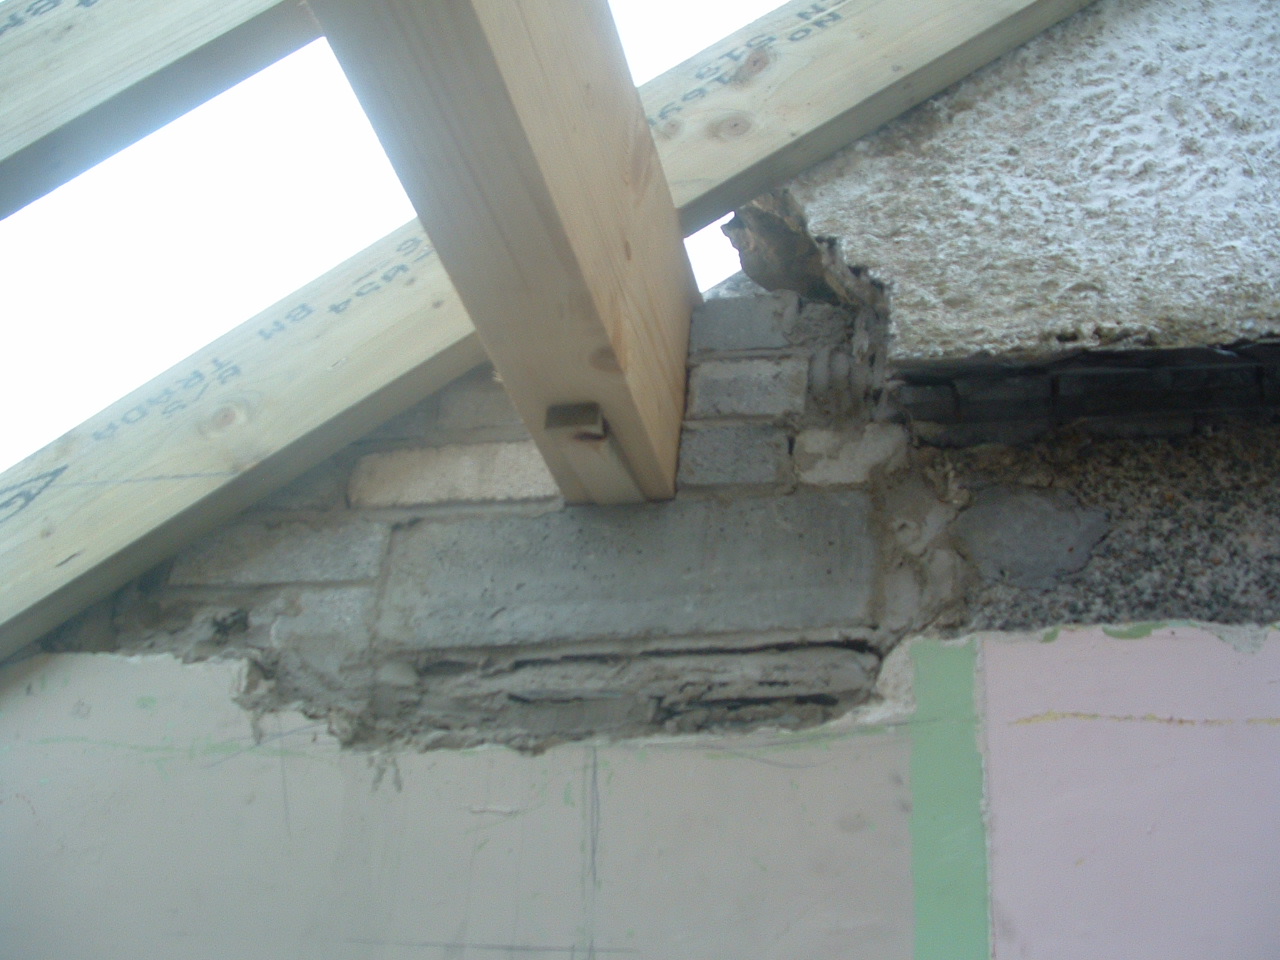
9 Bedroom 4 Purlin wedge on bearing – SB to instruct dry pack and slate instead as agreed 5/6/07

10 Bedroom 4
Note present access to what will be the new F F bathroom to the front of this . Note that in Bedroom 4 there will need to be a short panel from floor to this point which can be covered by a large skirting or be set in the wall flush with plaster. SB and plumber to comment? On 5/6/07 it was noted that the route for pipes would not be here but under the staircase so these are likely to be redundant and re routed under floor of bathroom and down steps to Garage

11 East window First Floor bathroom – postion for low temperature high performance radiator
GROUND FLOOR
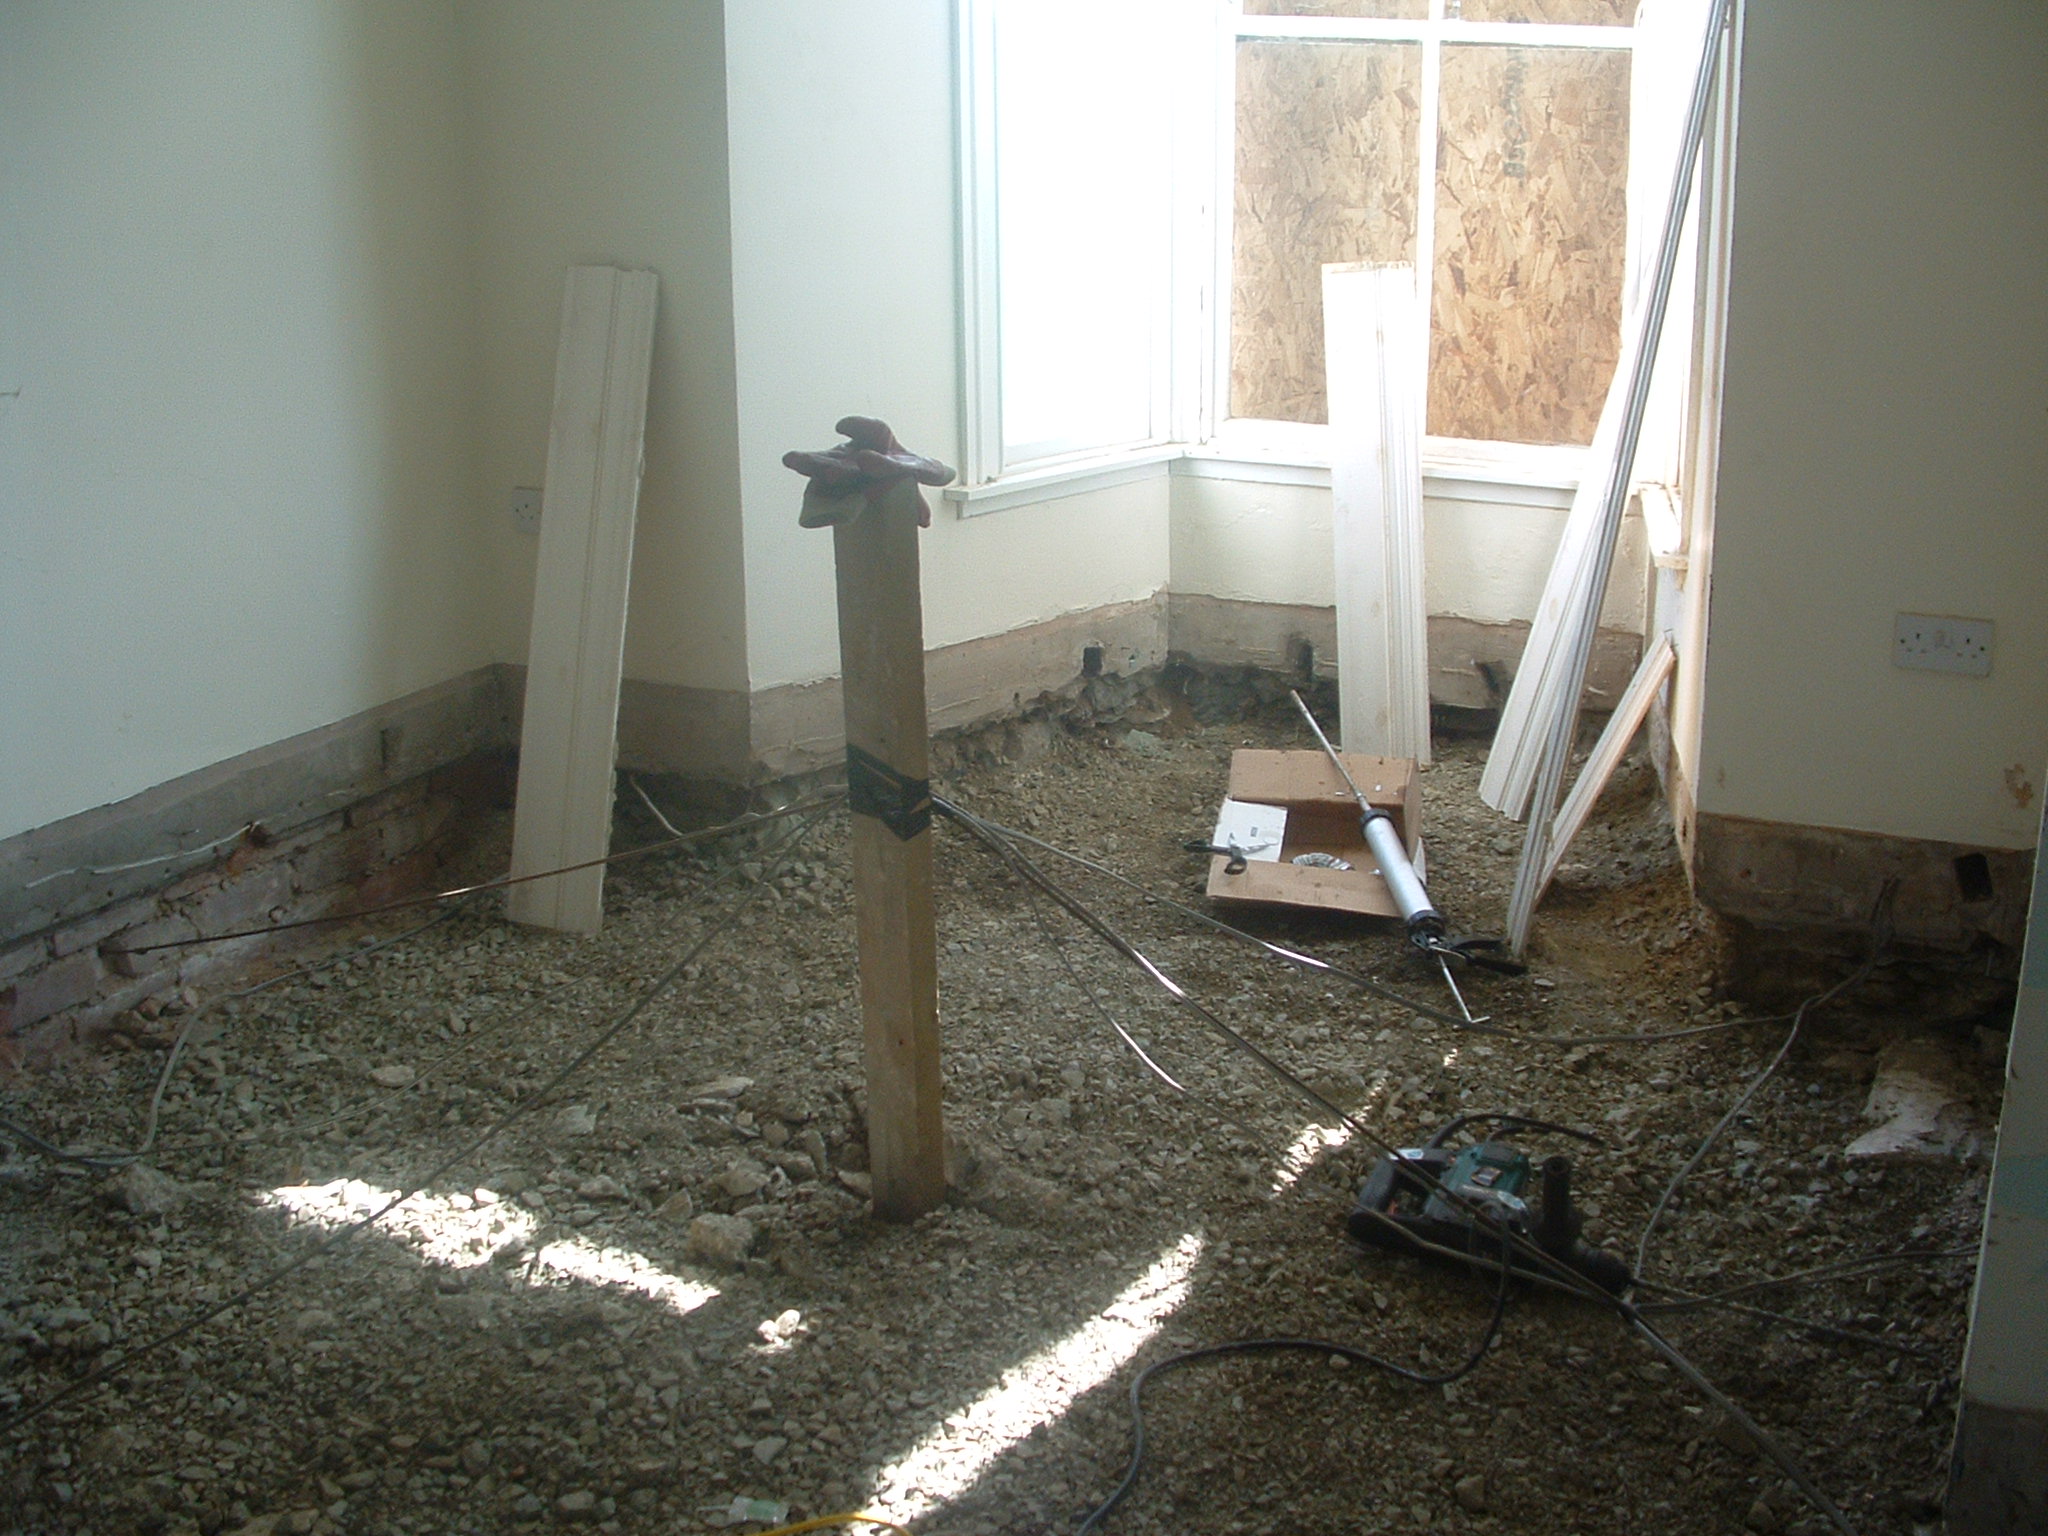
12 Sitting room floor – looking South to bay – TV aeriel crossing left to right with other electrics
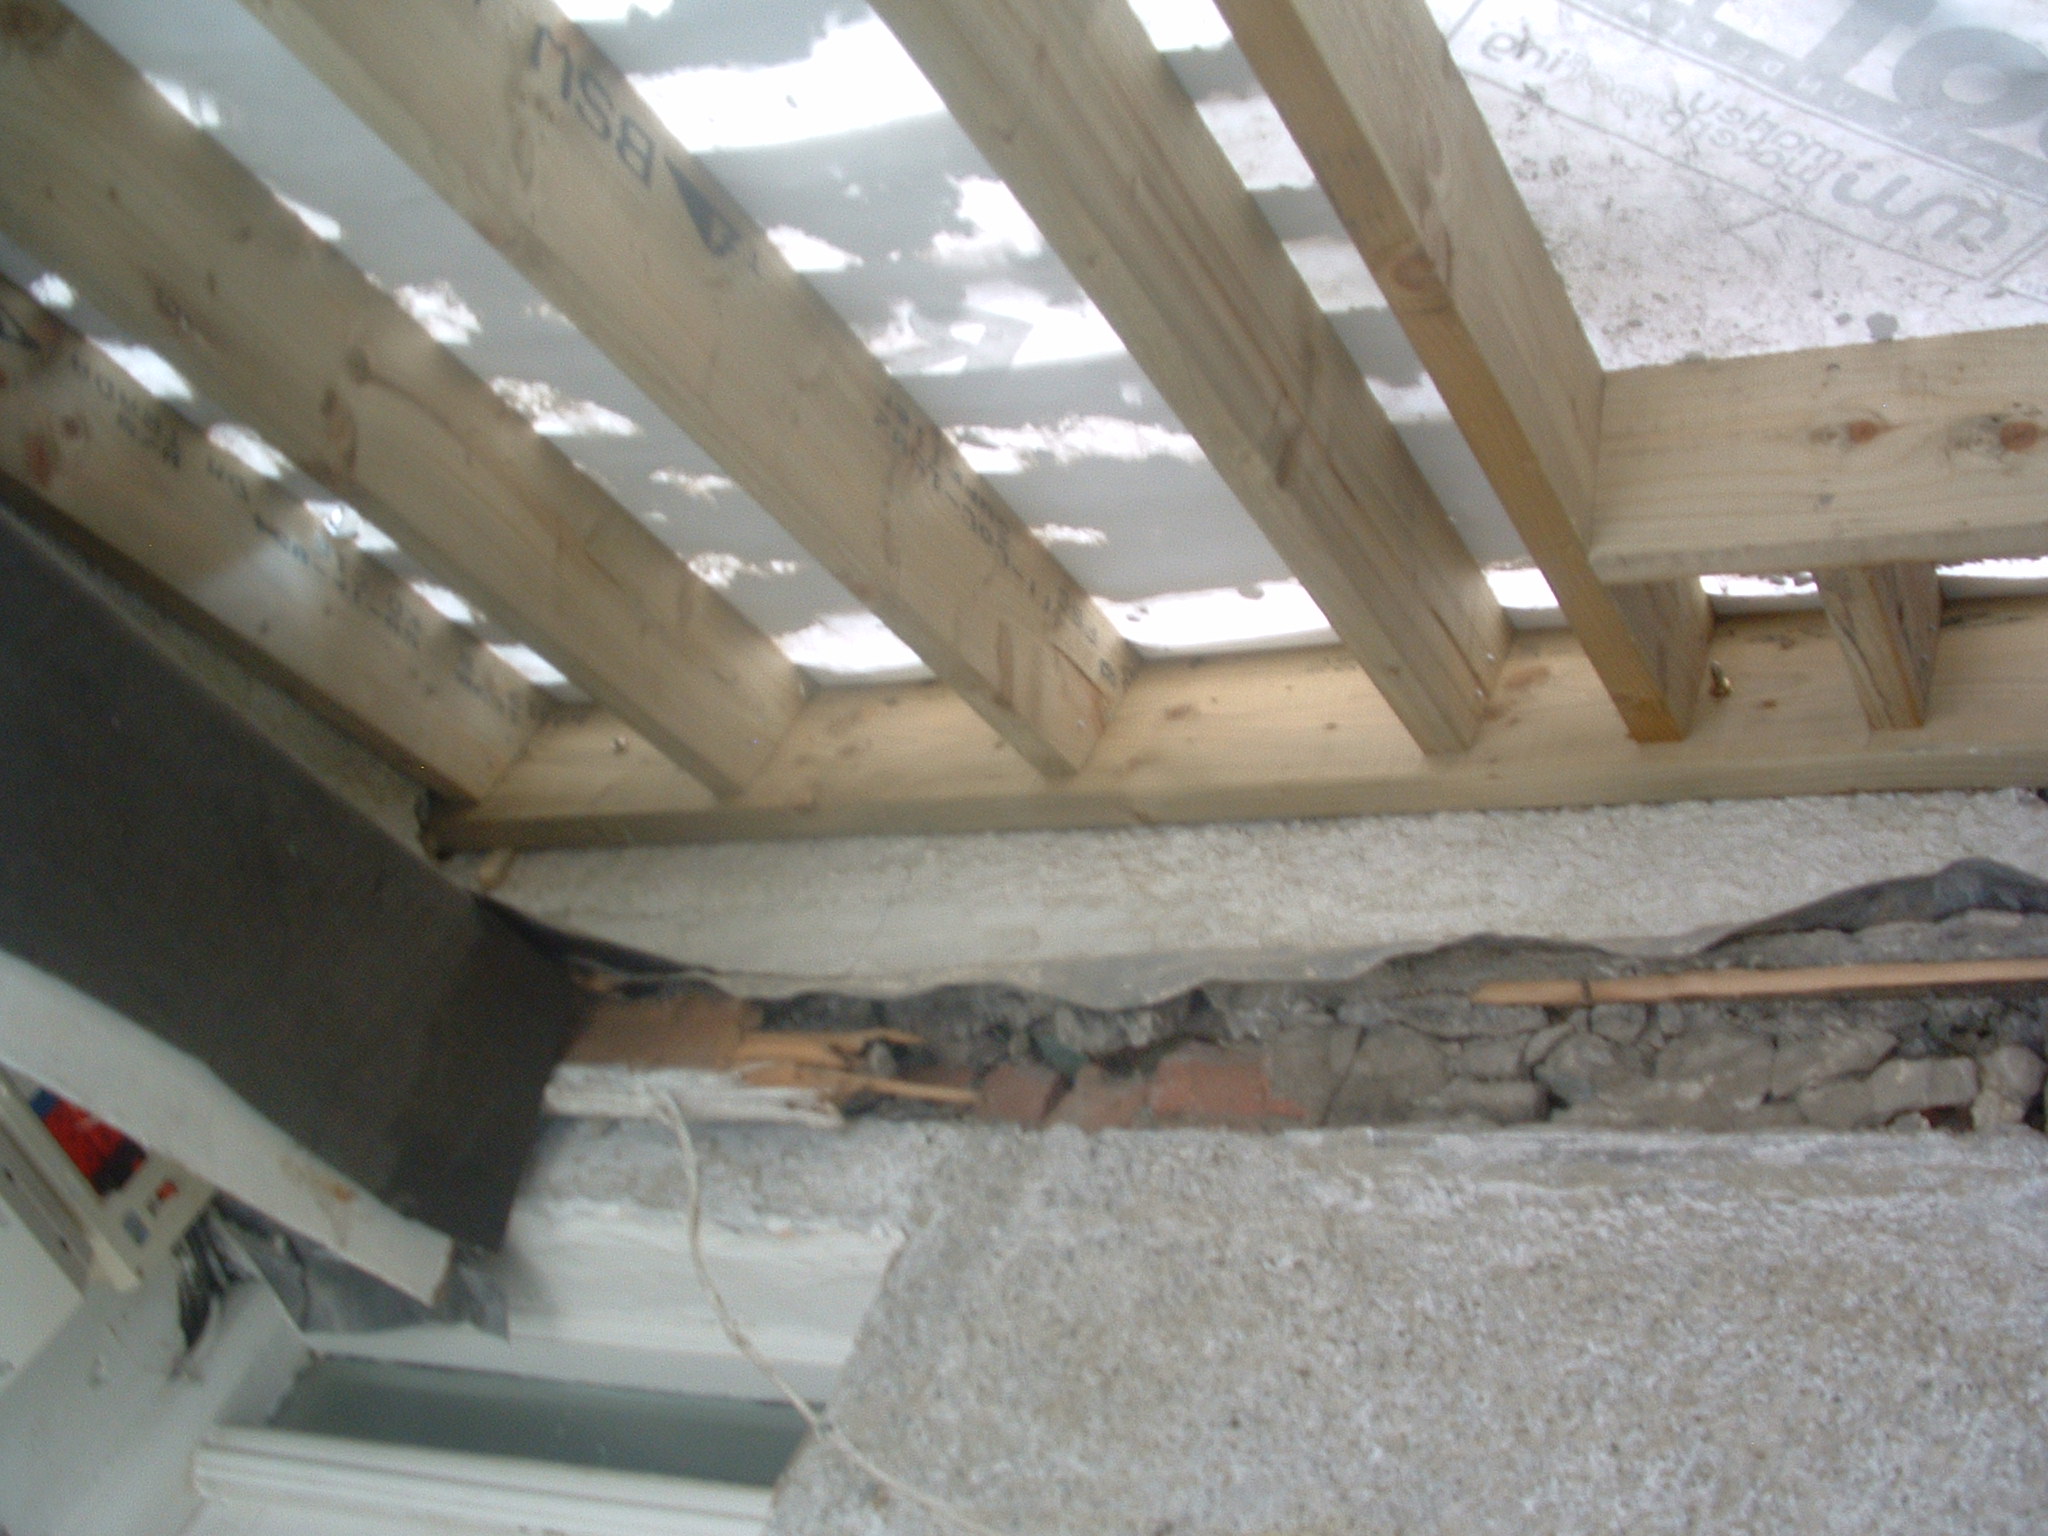
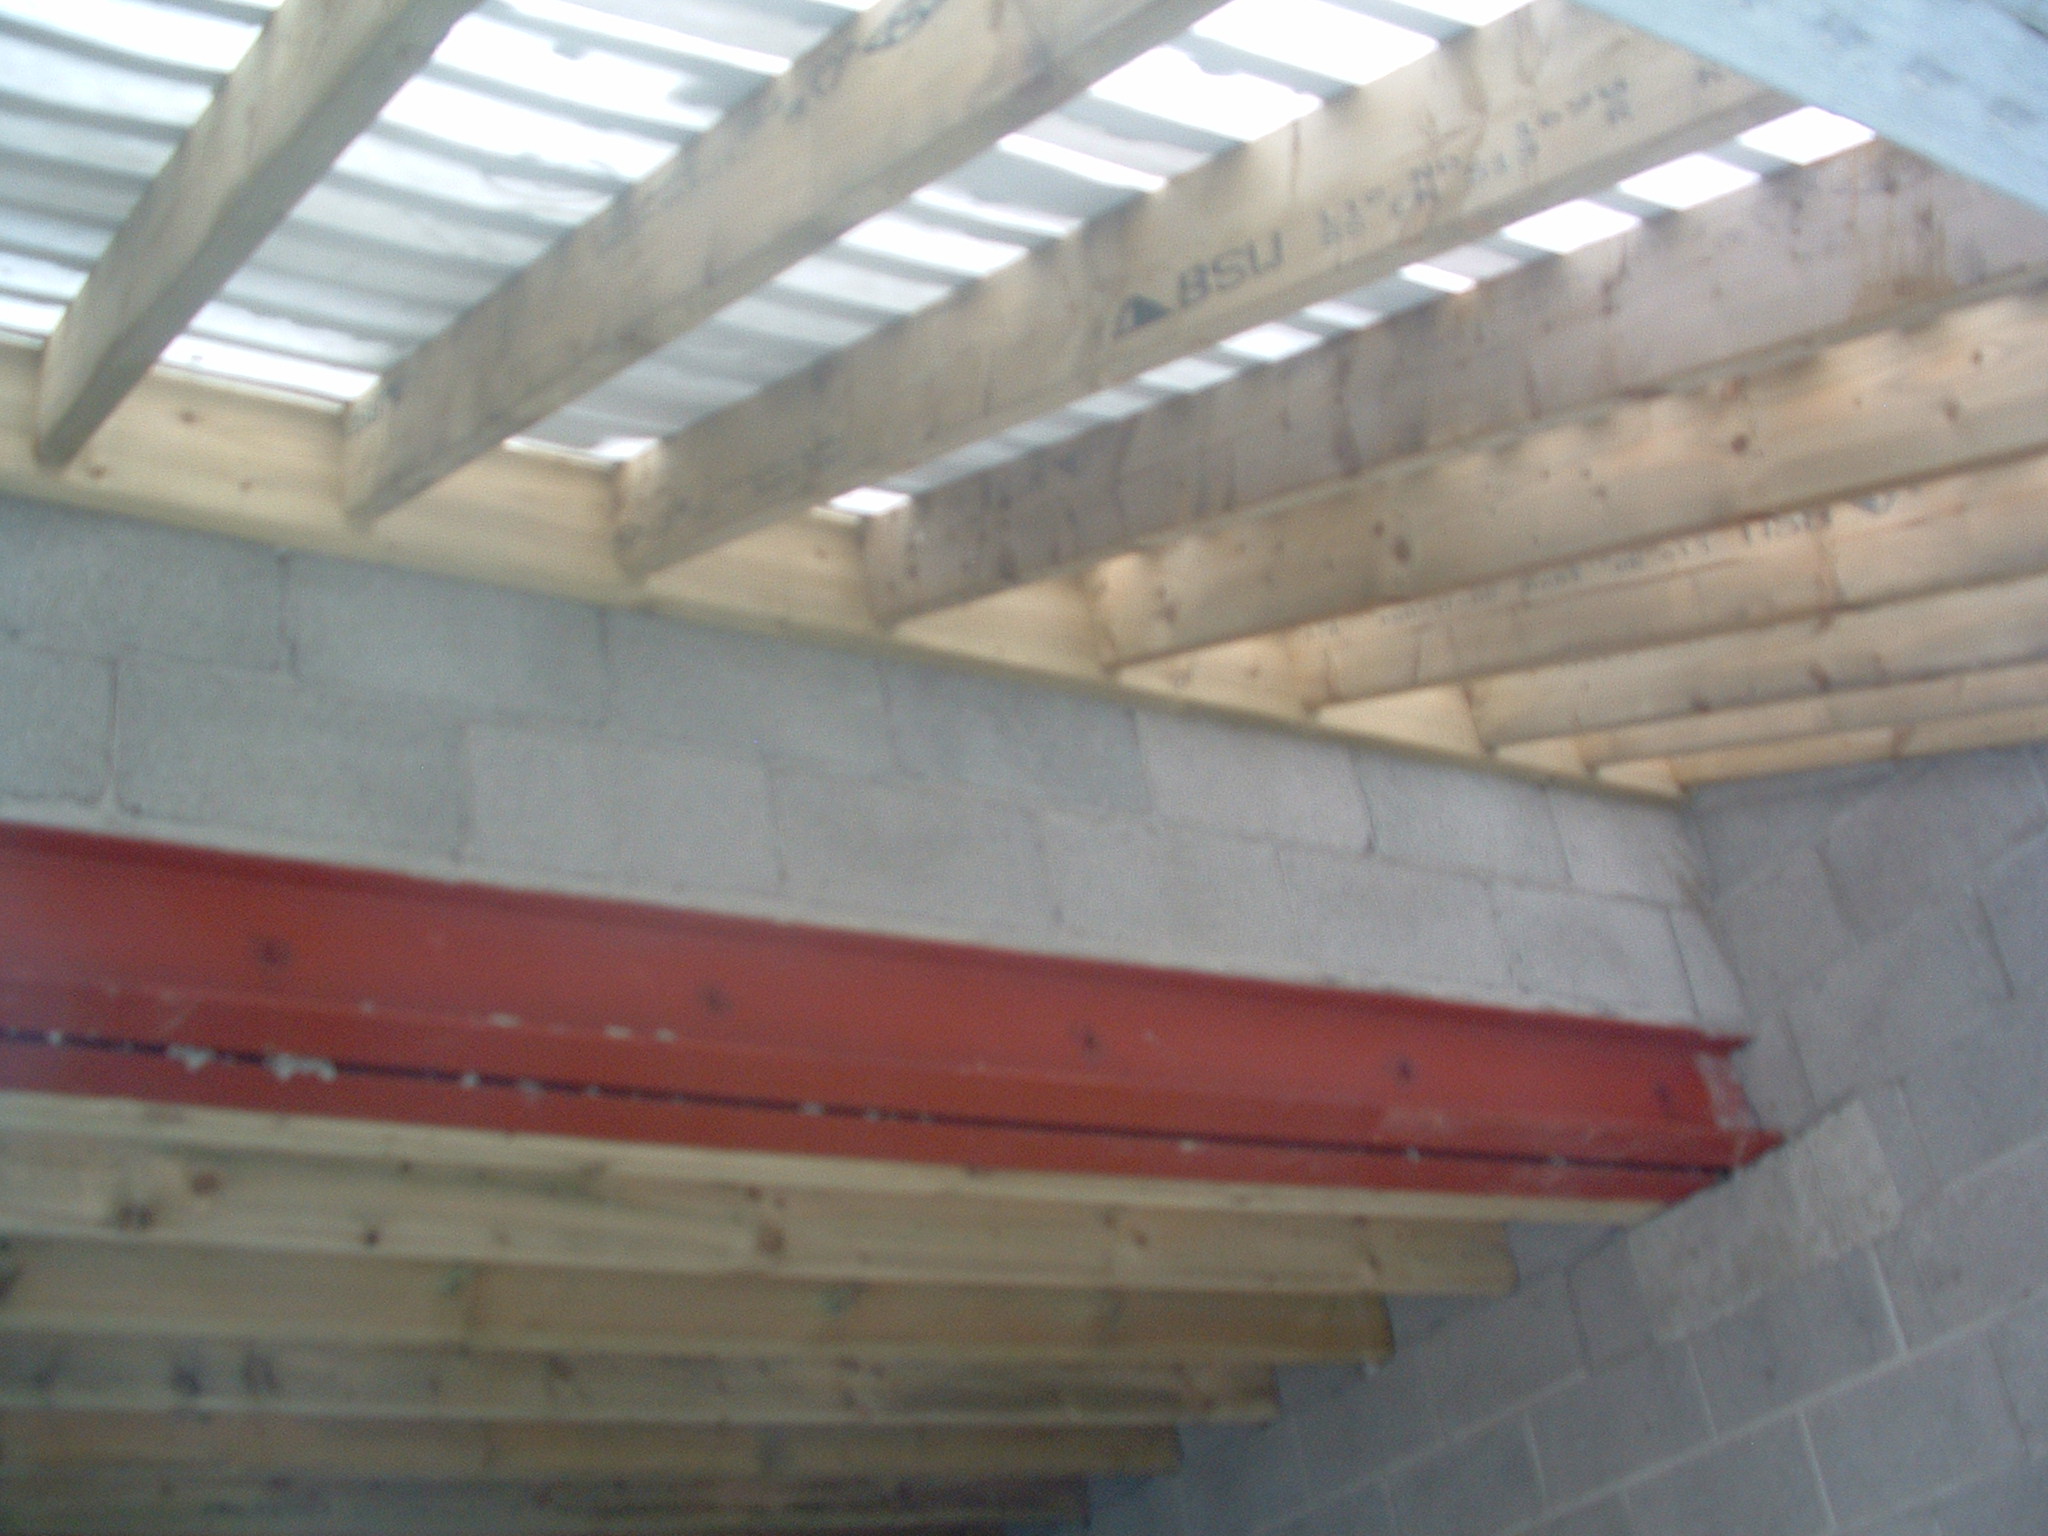
13 rear addtion roof east on GROUND FLOOR – SB to instruct all holes to be taped up
14 rear addtion roof east on GROUND FLOOR
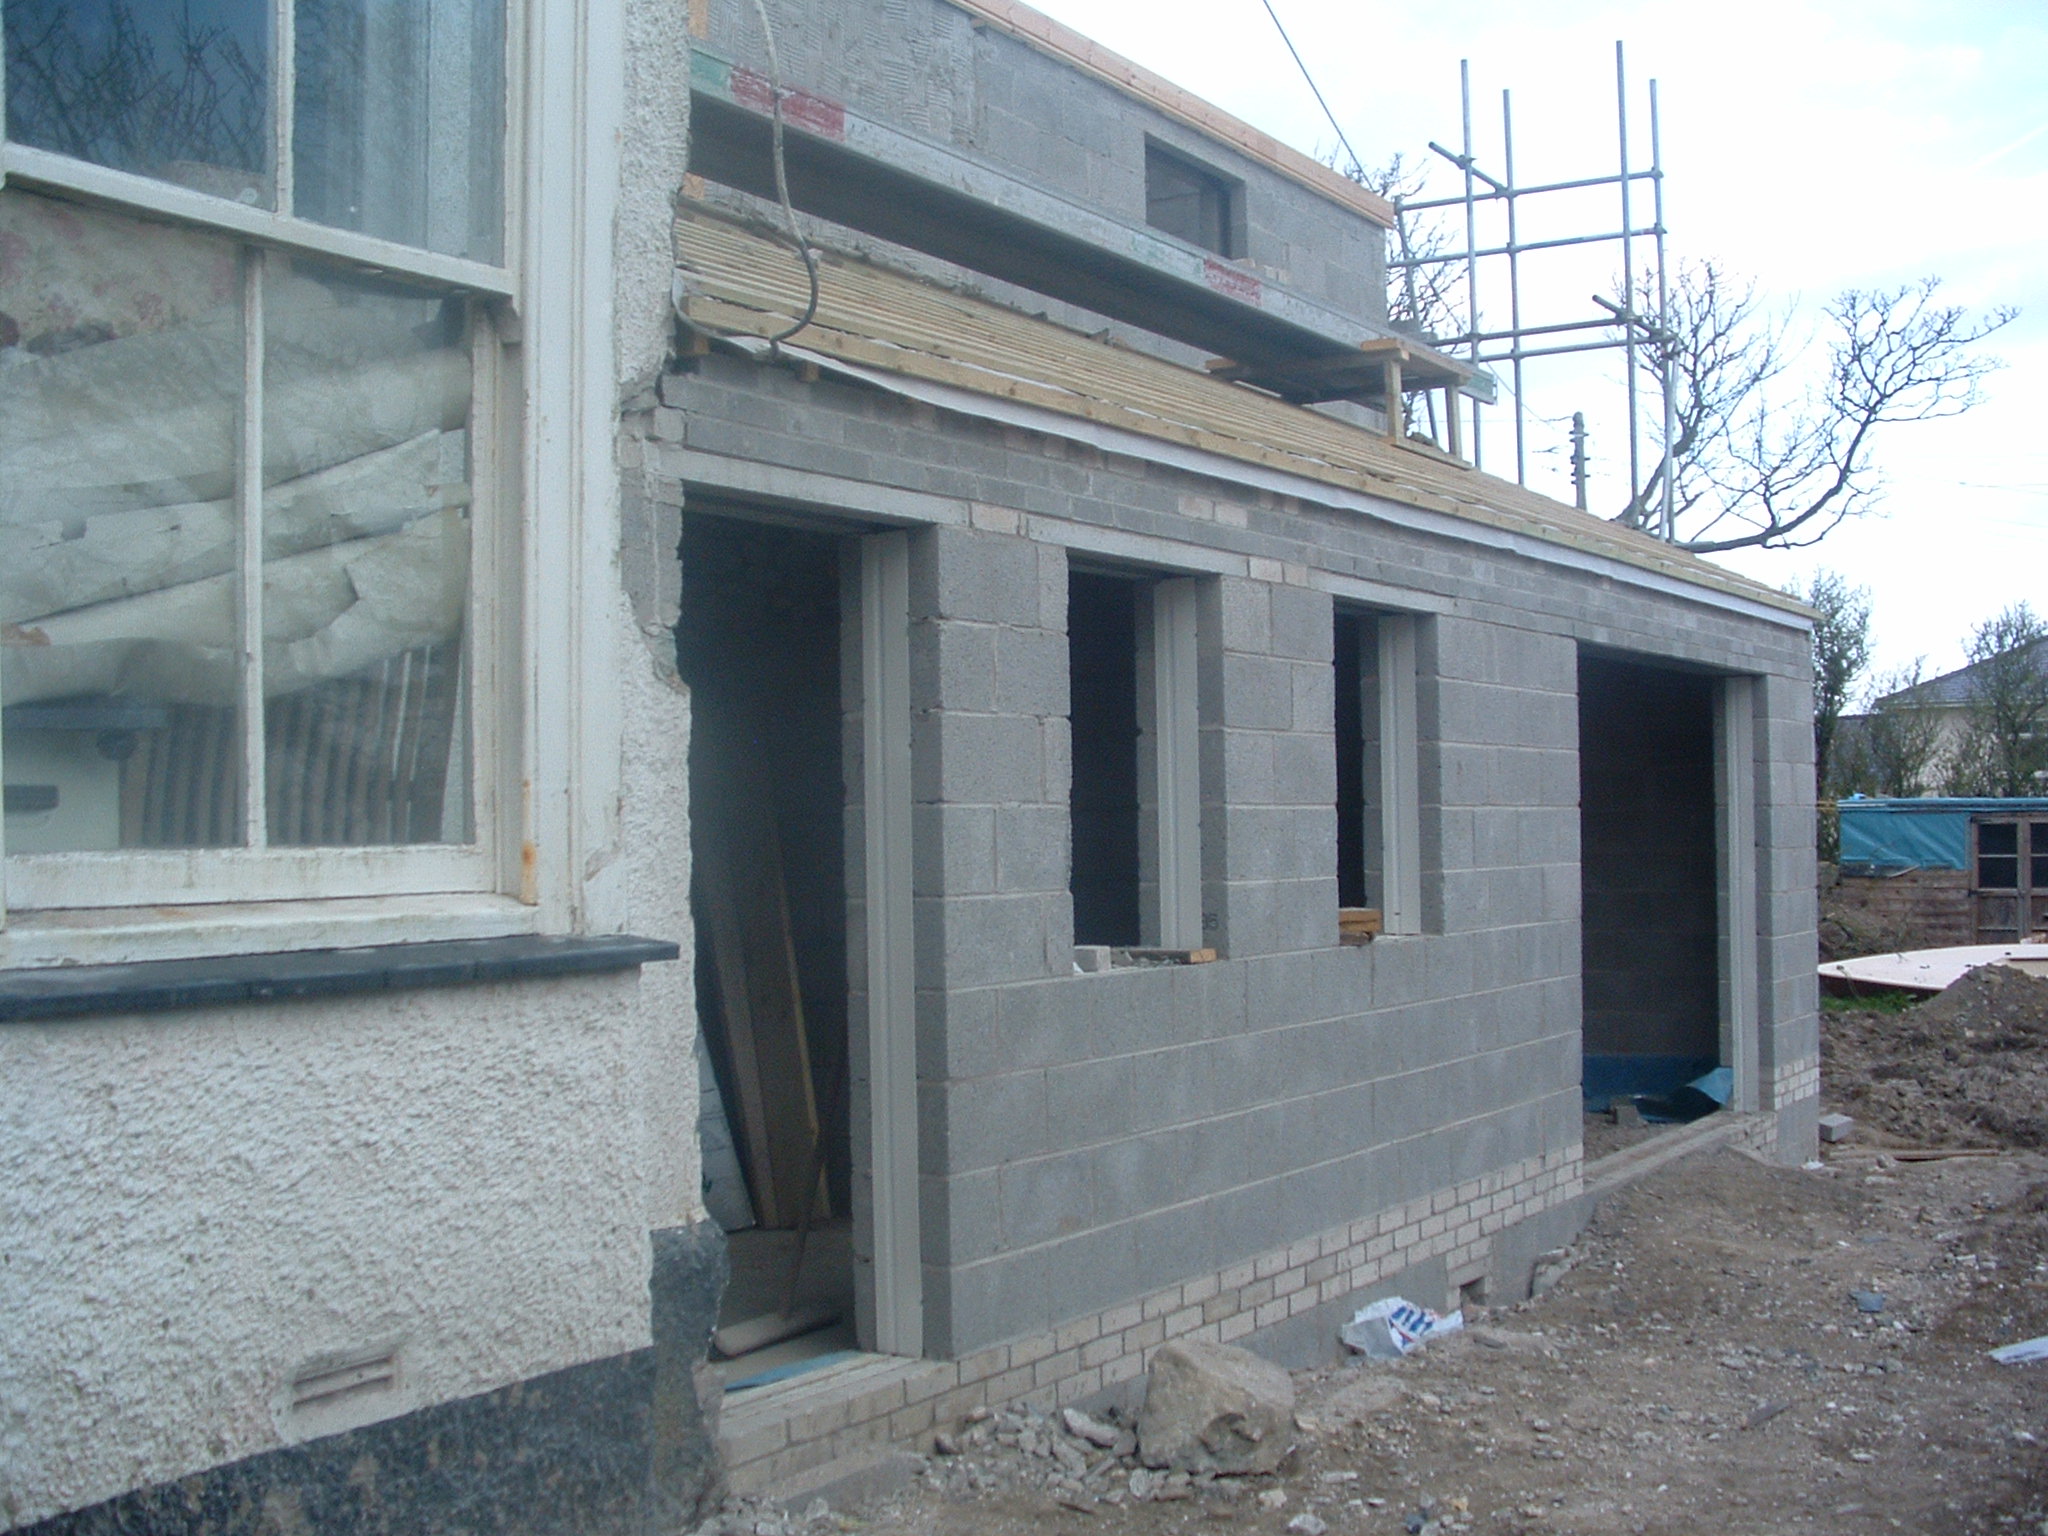
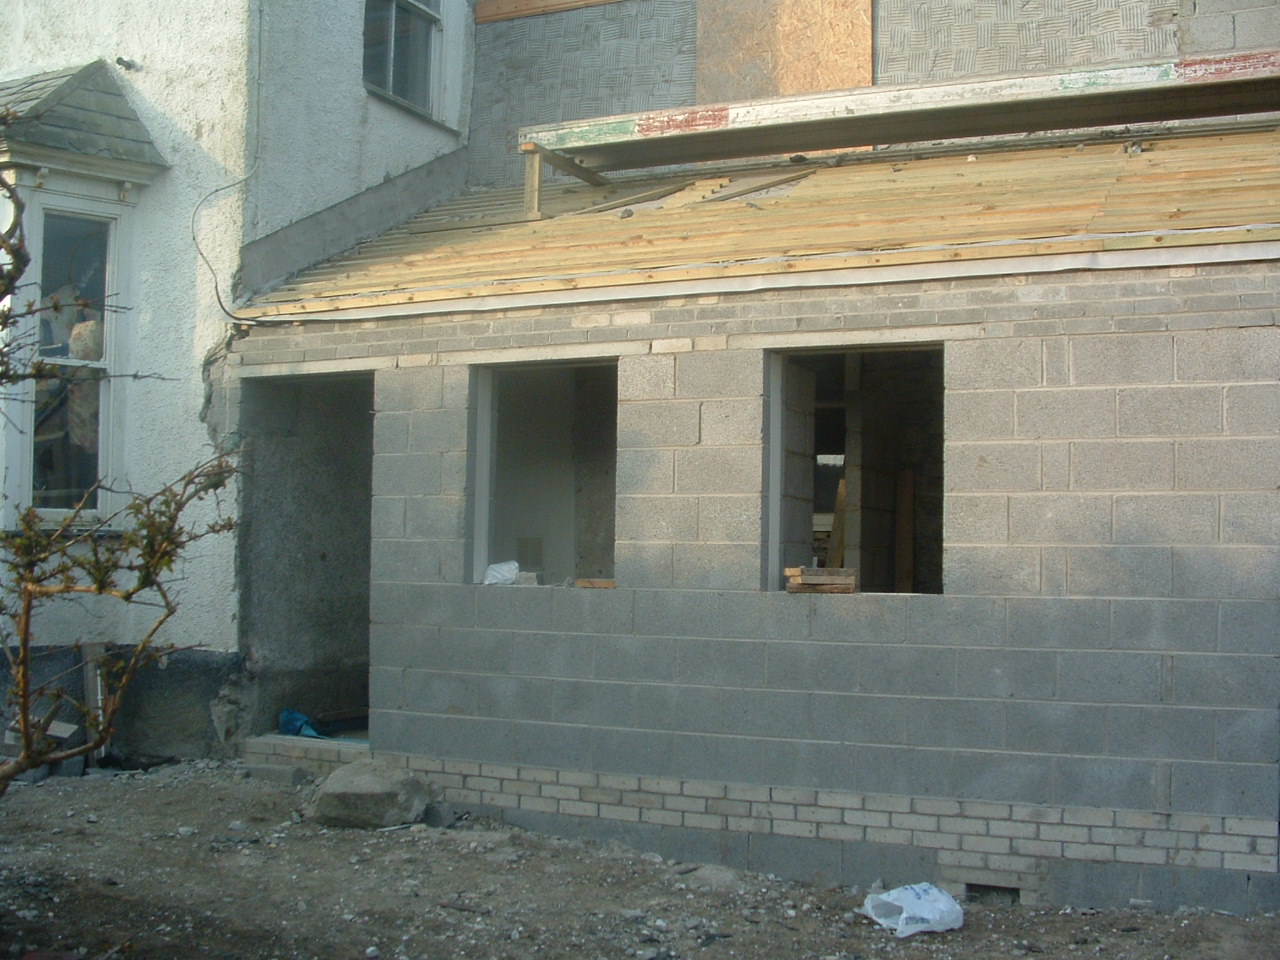
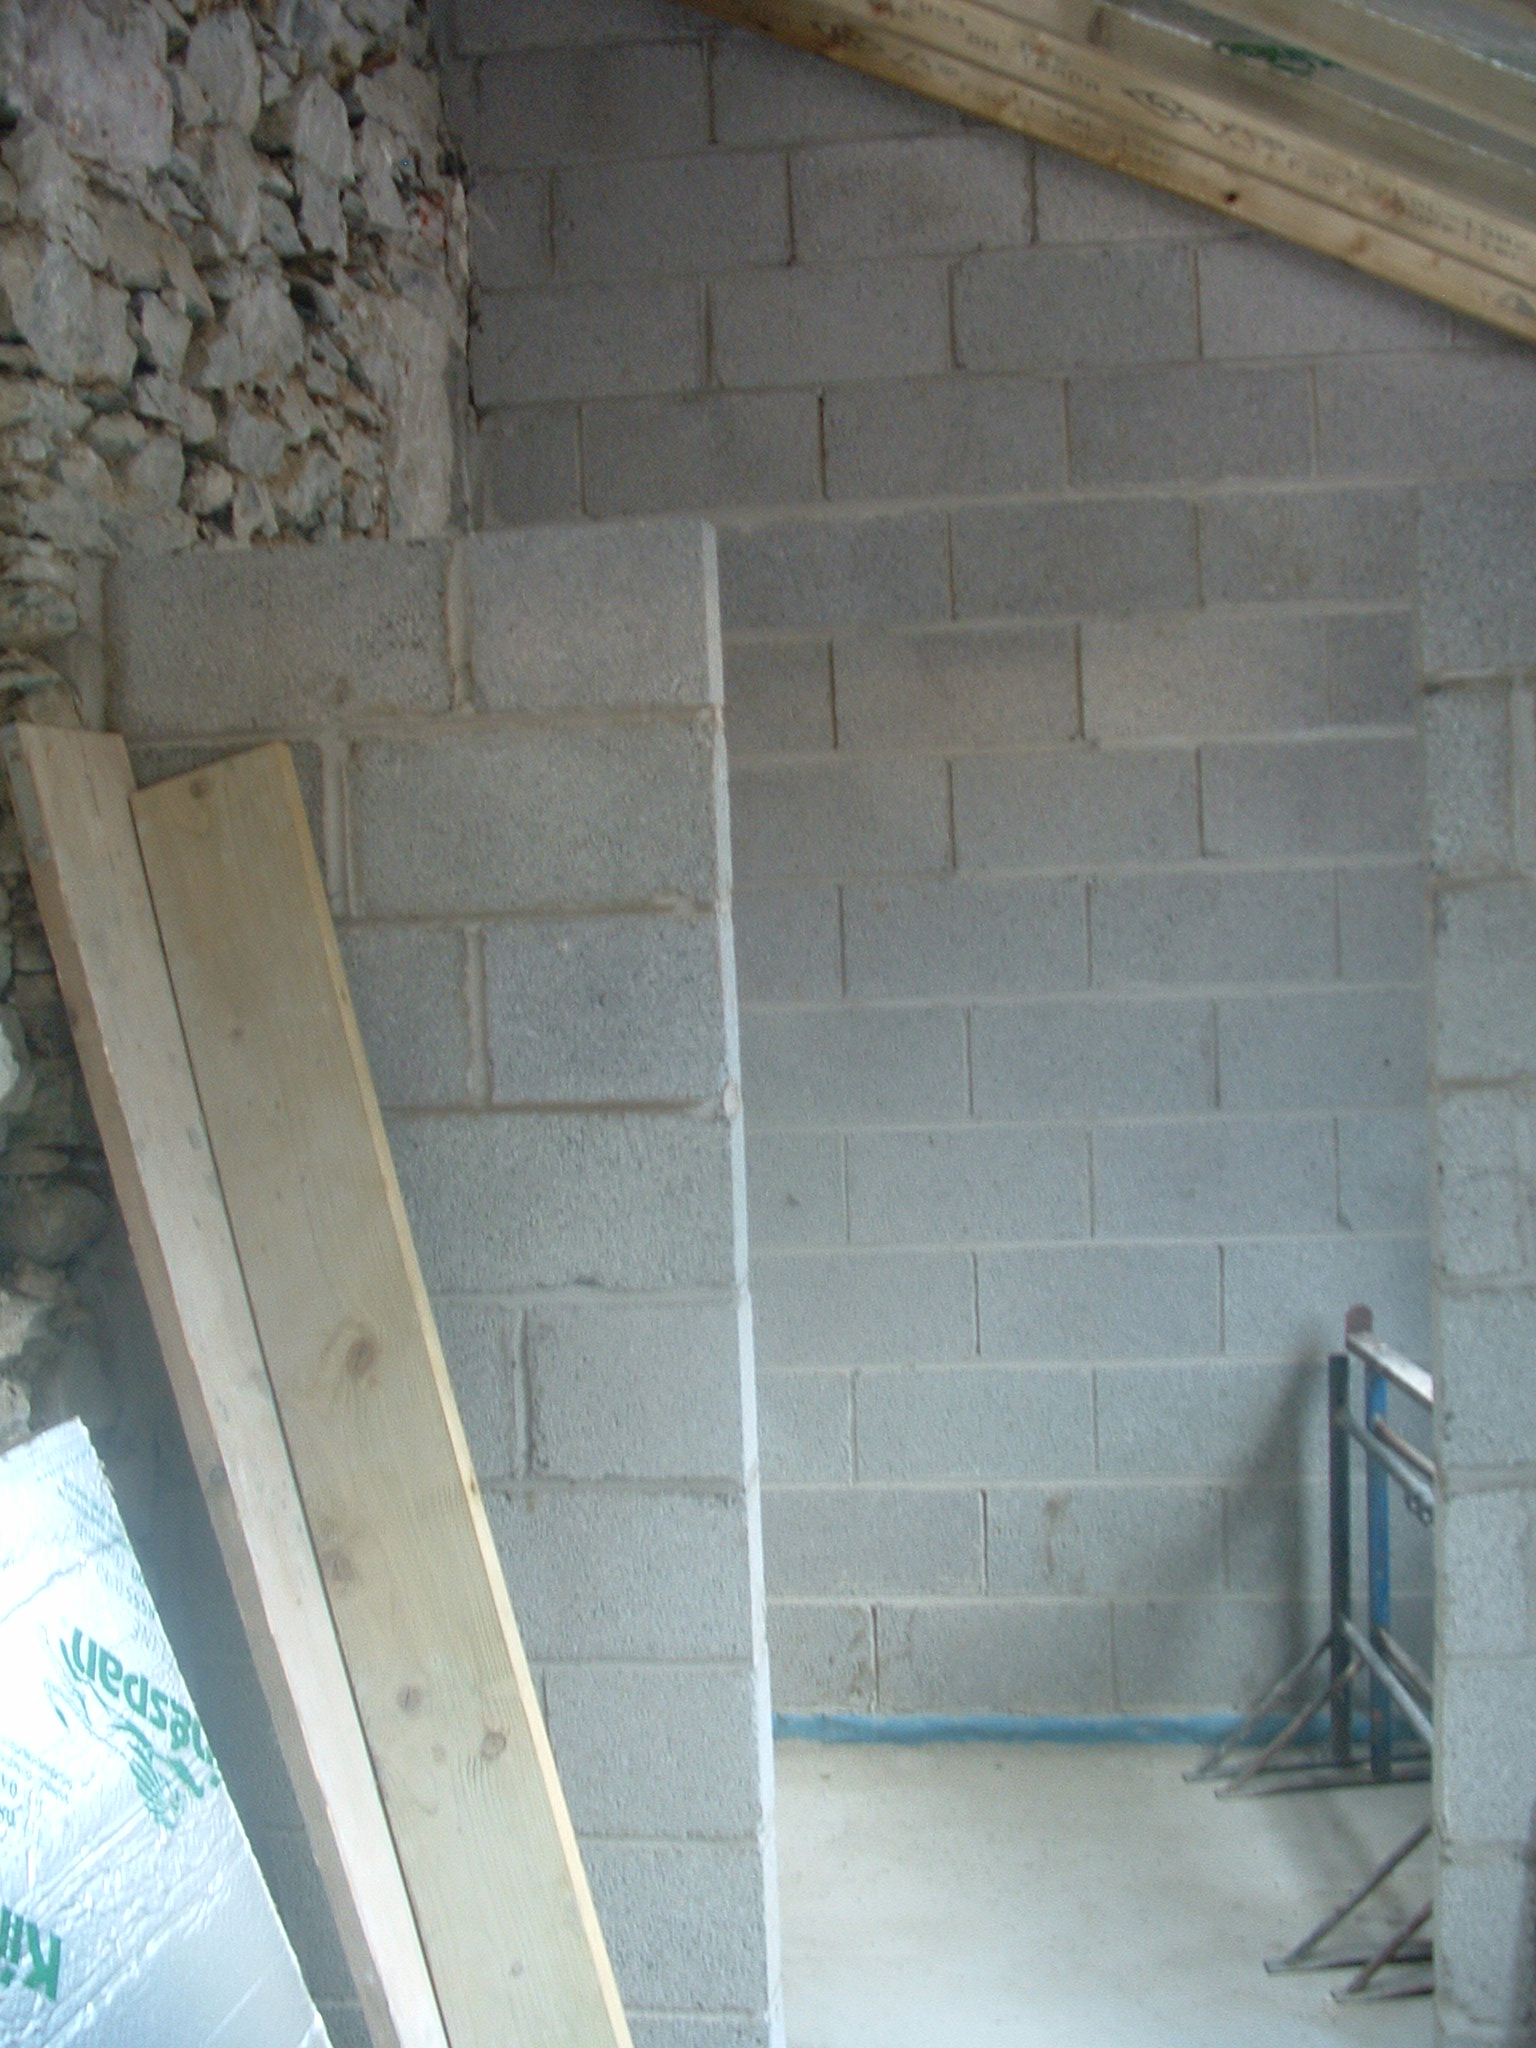
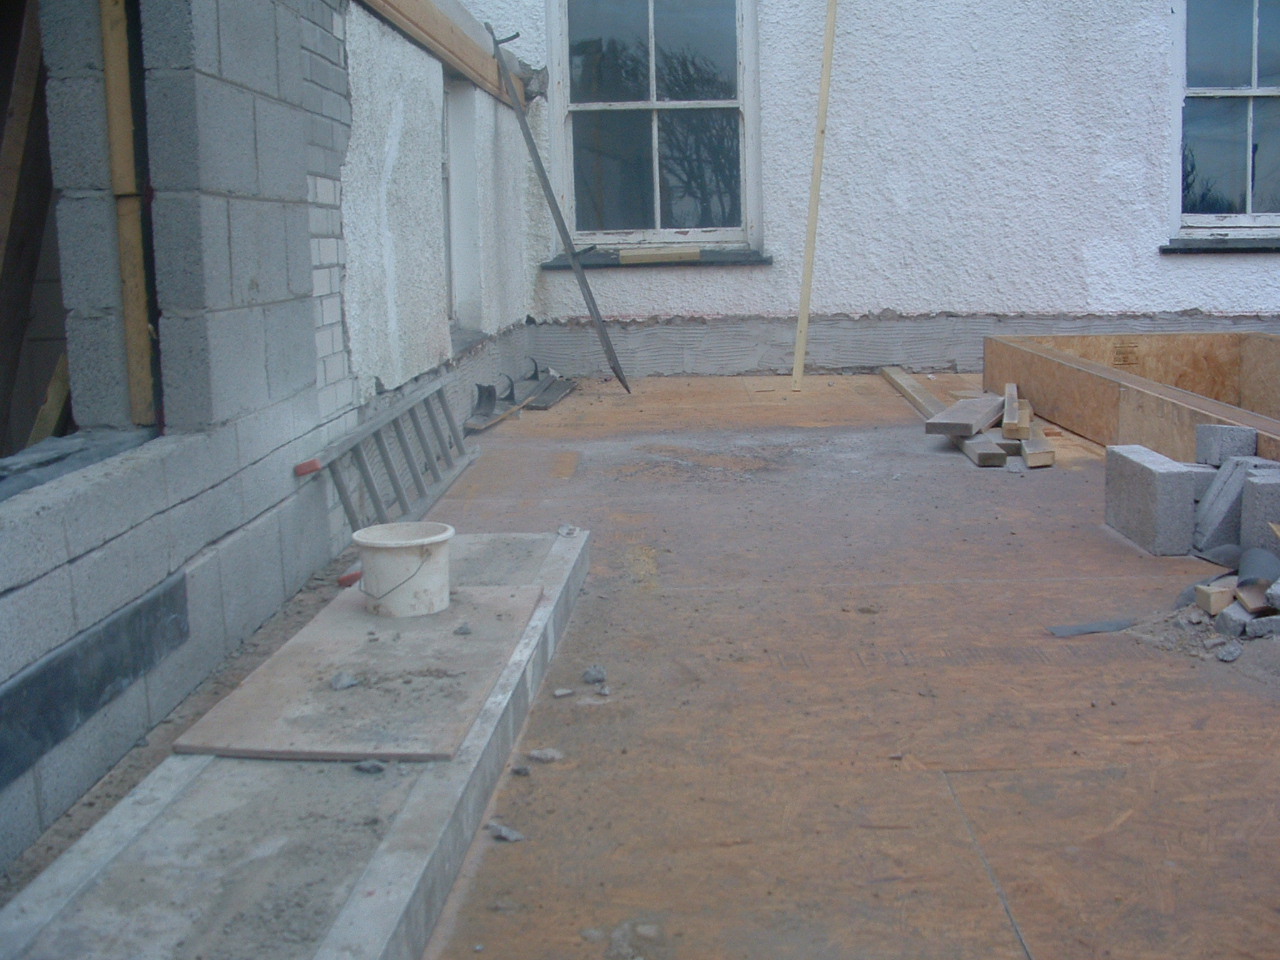
15 Dry room Eastern elevation – Garage to rear
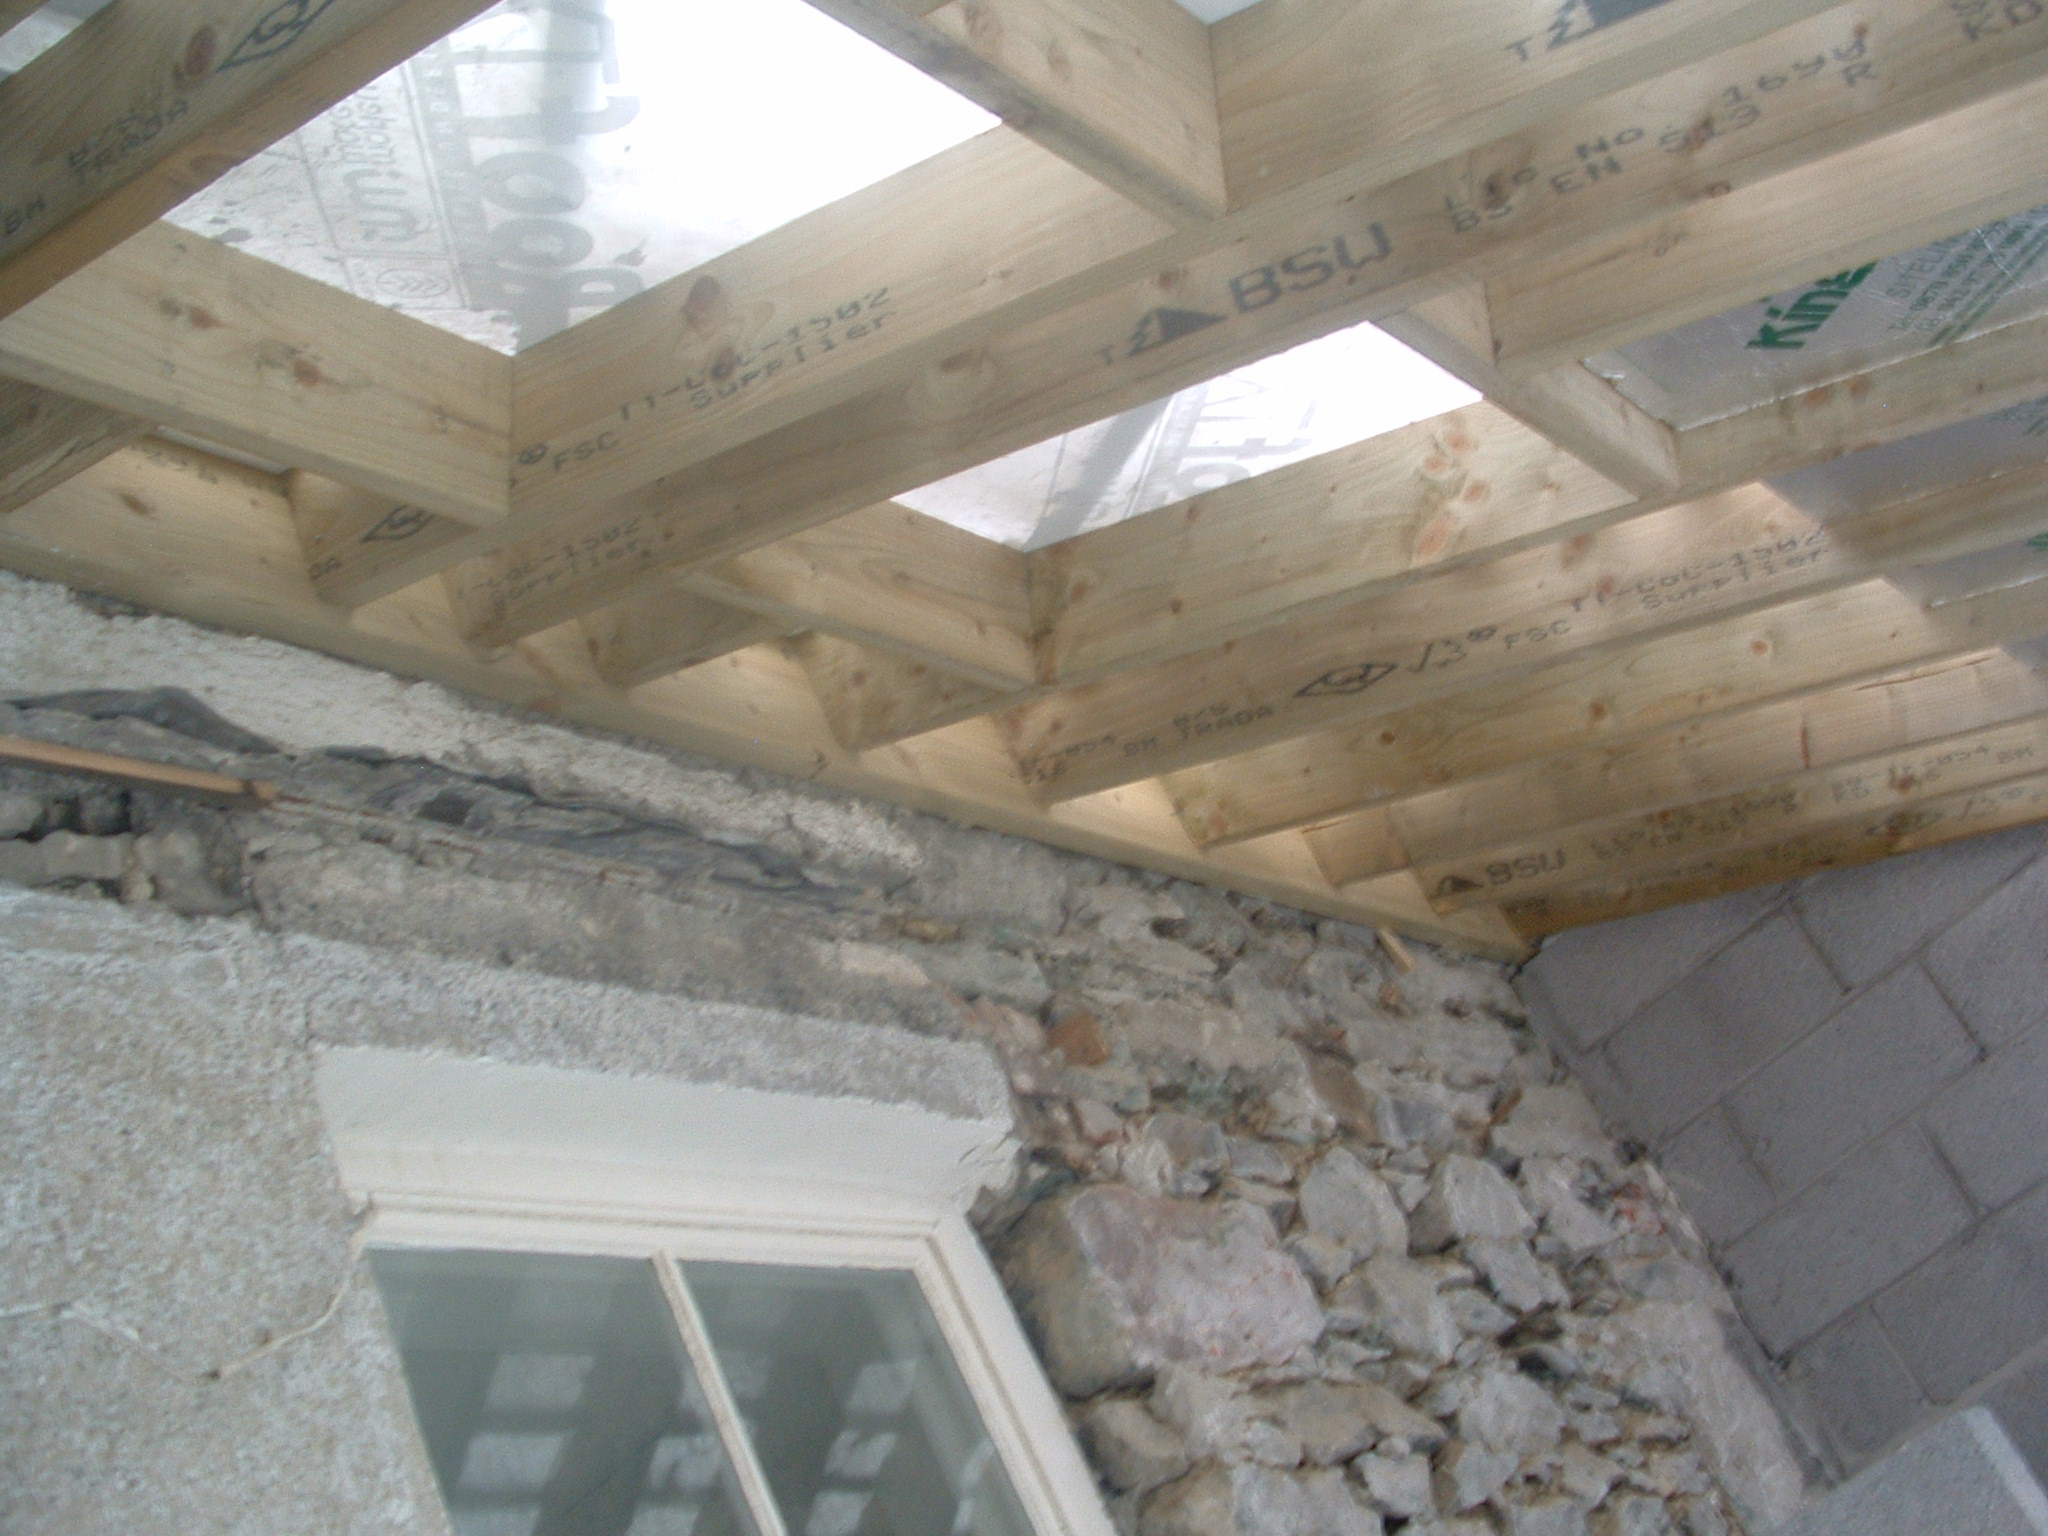
16 Dry room roof (north section) – plate to be properly bolted to wall.
17 Dry room roof – Southern end with electrics
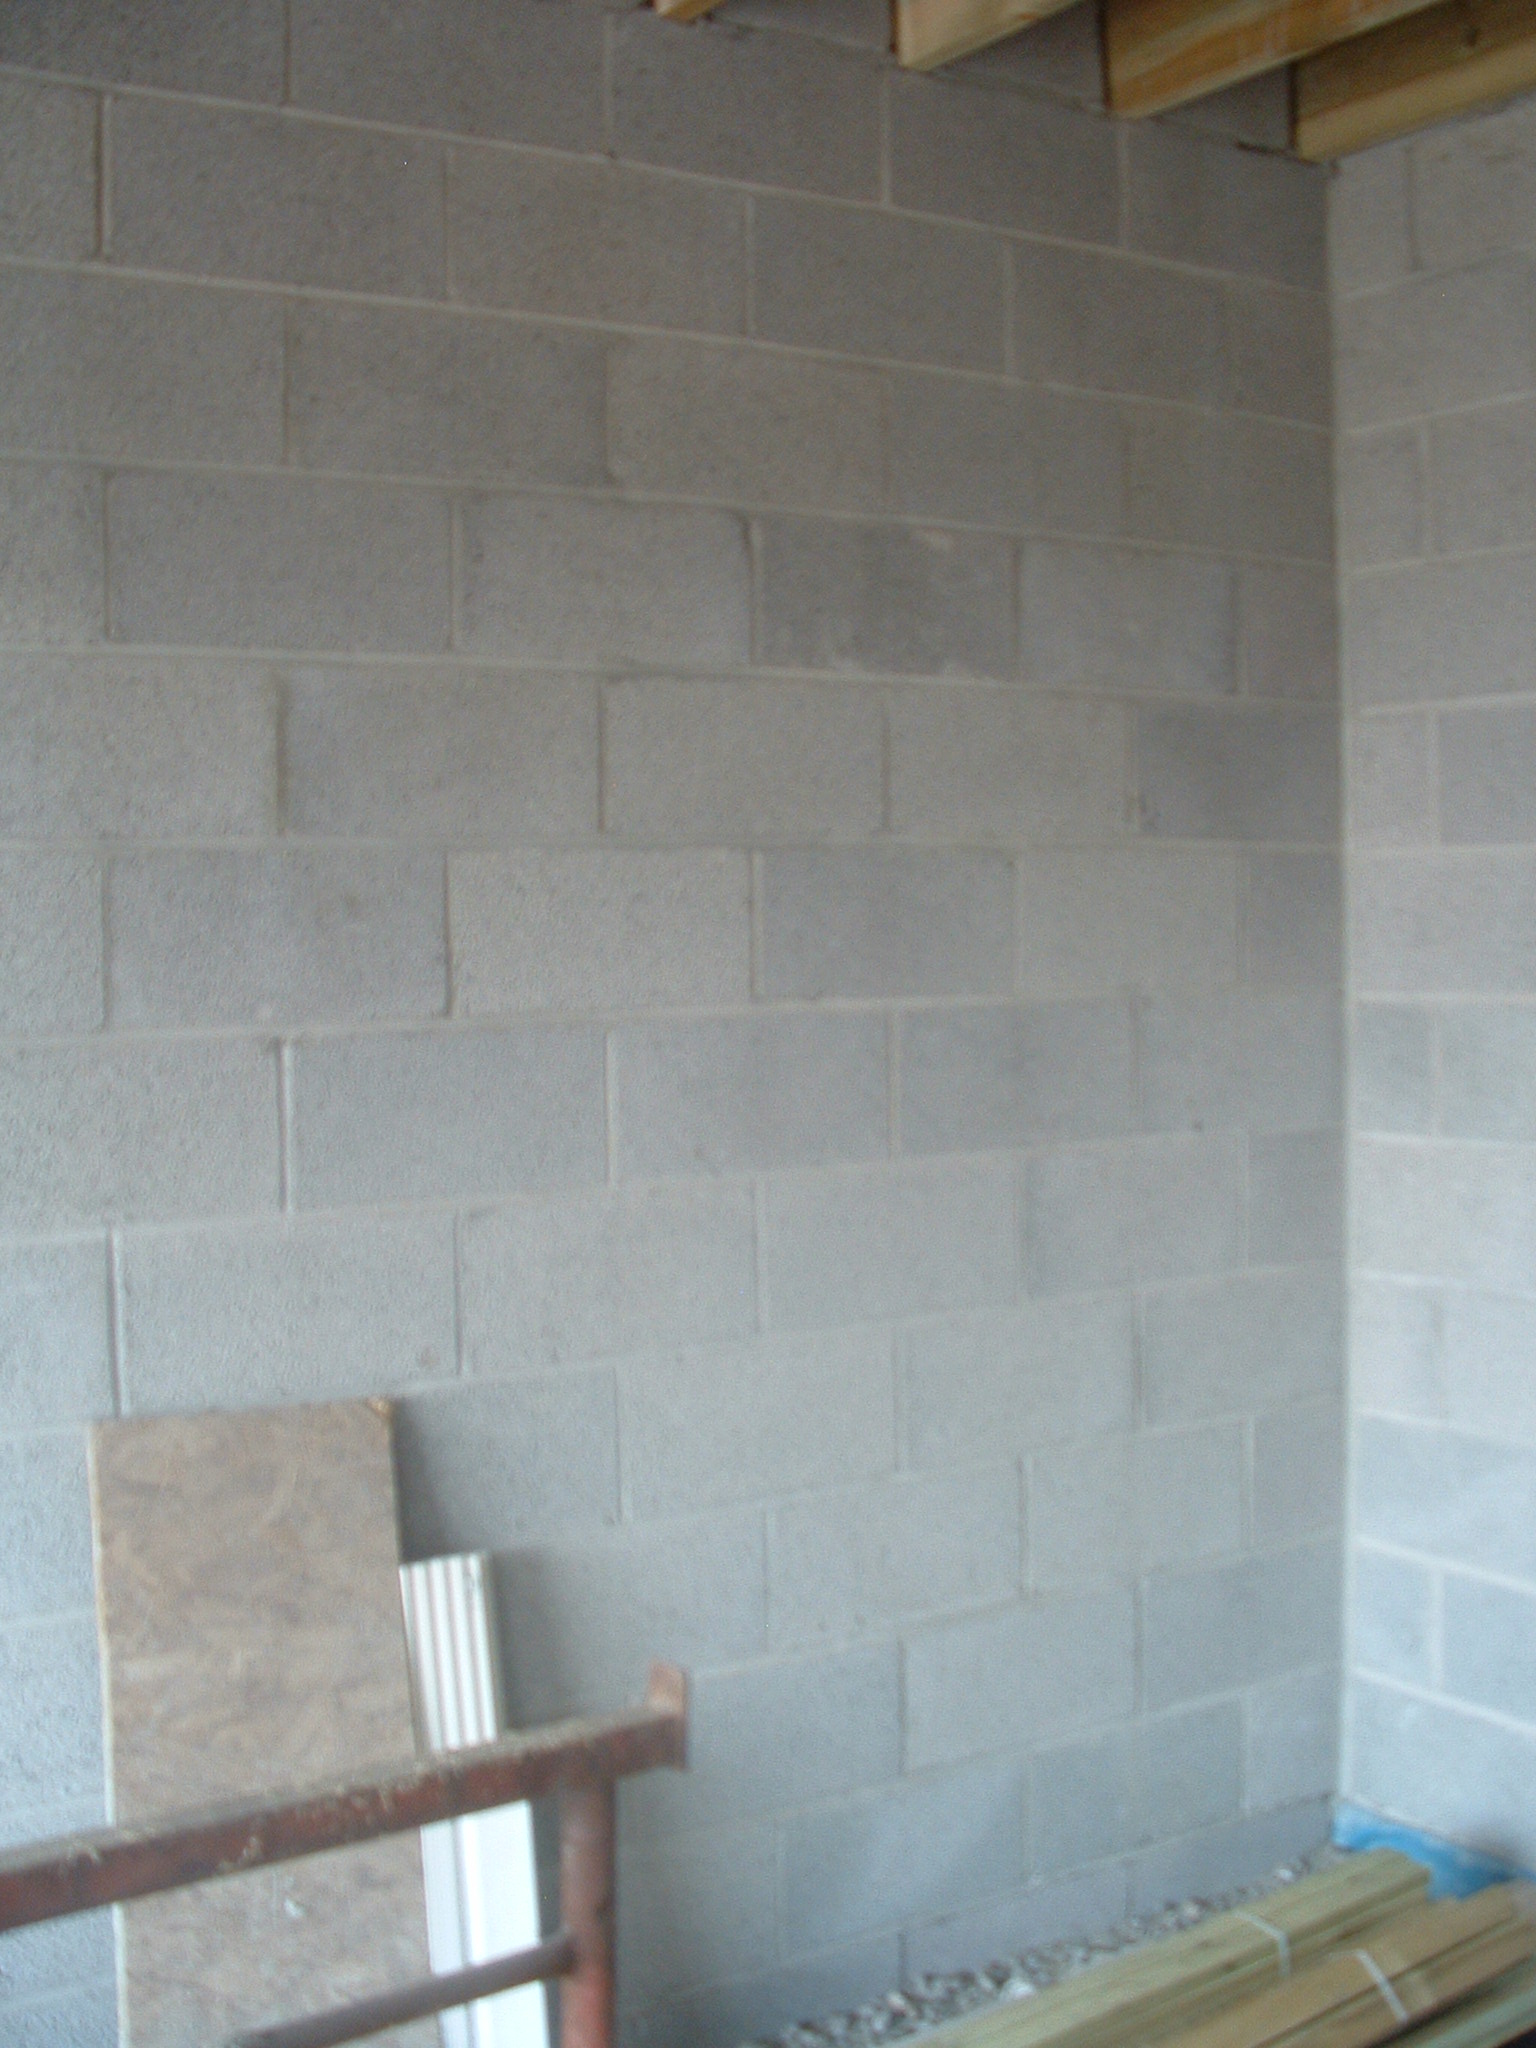
18 Dry room blockwork from South – shows where shower room will be. This wall on left for hooks 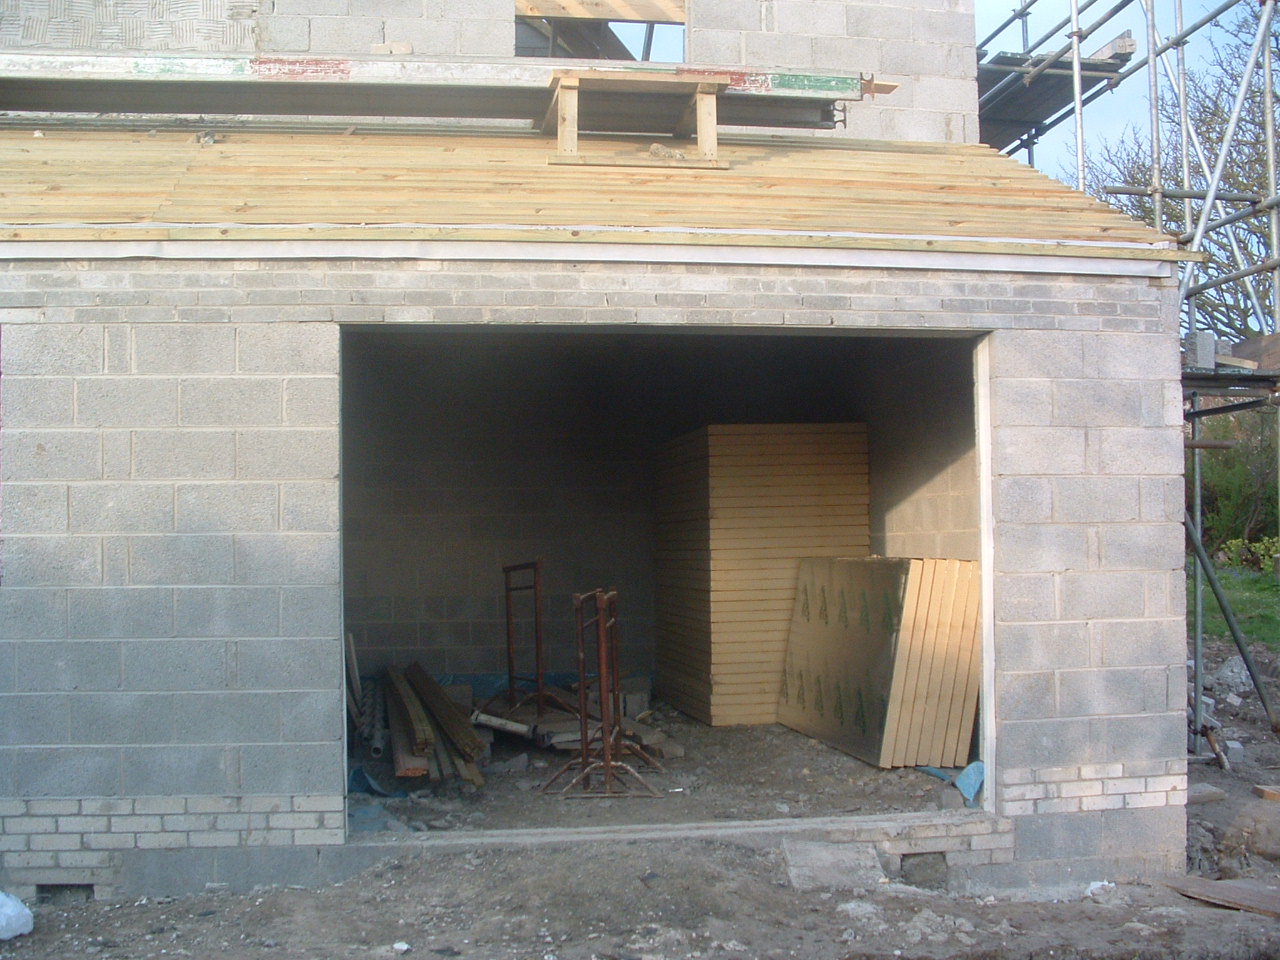
19 Garage doorway

20 Garage showing bedroom 4 floor
21 Location of wall in Garage to be cut through at a high level for pipes in duct at ceiling level in Kitchen
22 Garage roof for surfboard storage. Is this insulated?
I need to use all this space for hanging wind surfers so the light should be close to the door
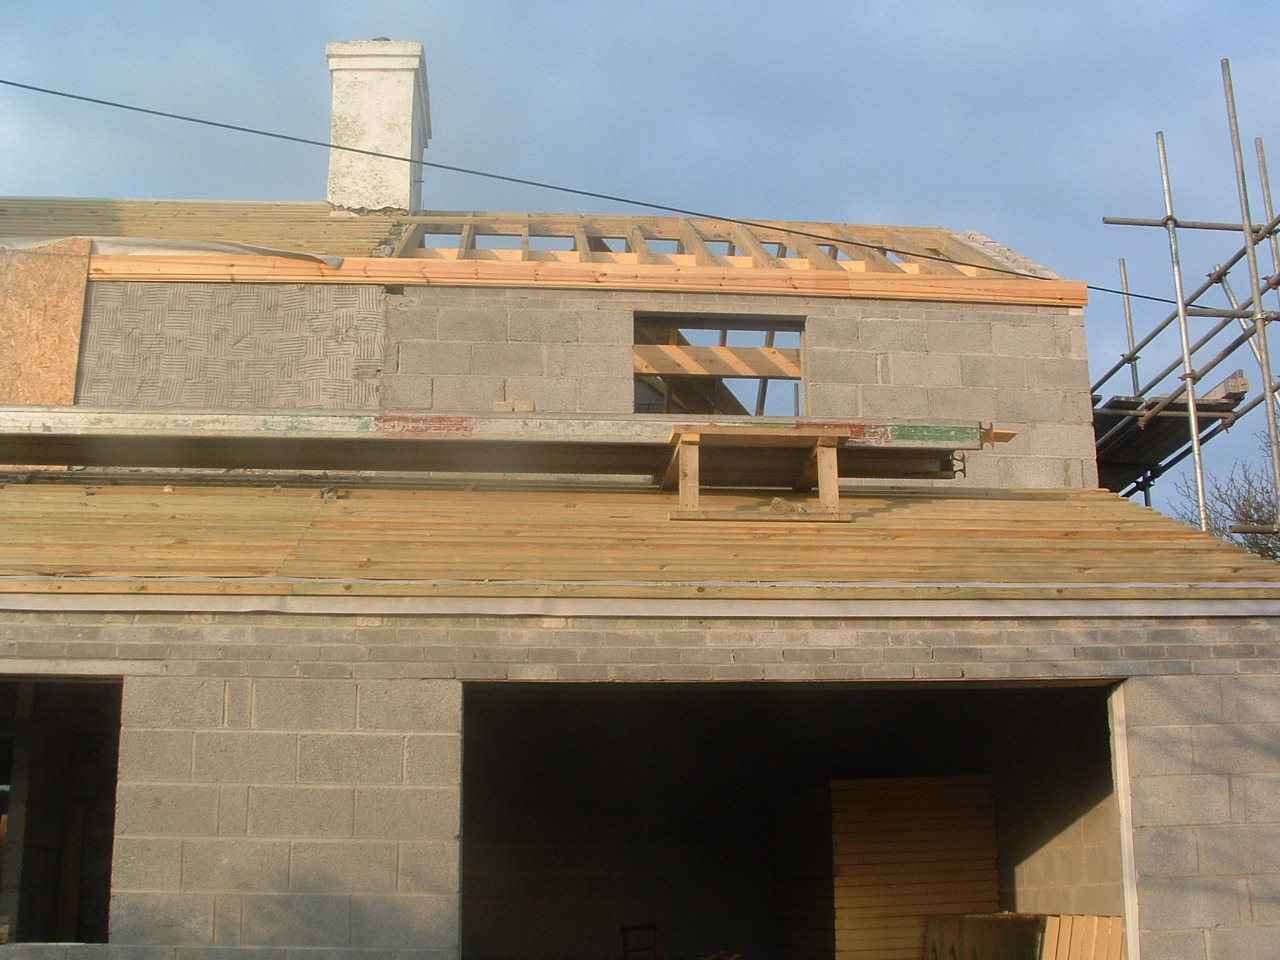
23 Rear addtion GF roof – over dry room and garage
24 Kitchen and rear addtion – external
25 Kitchen roof light from above
26 Kitchen roof – east
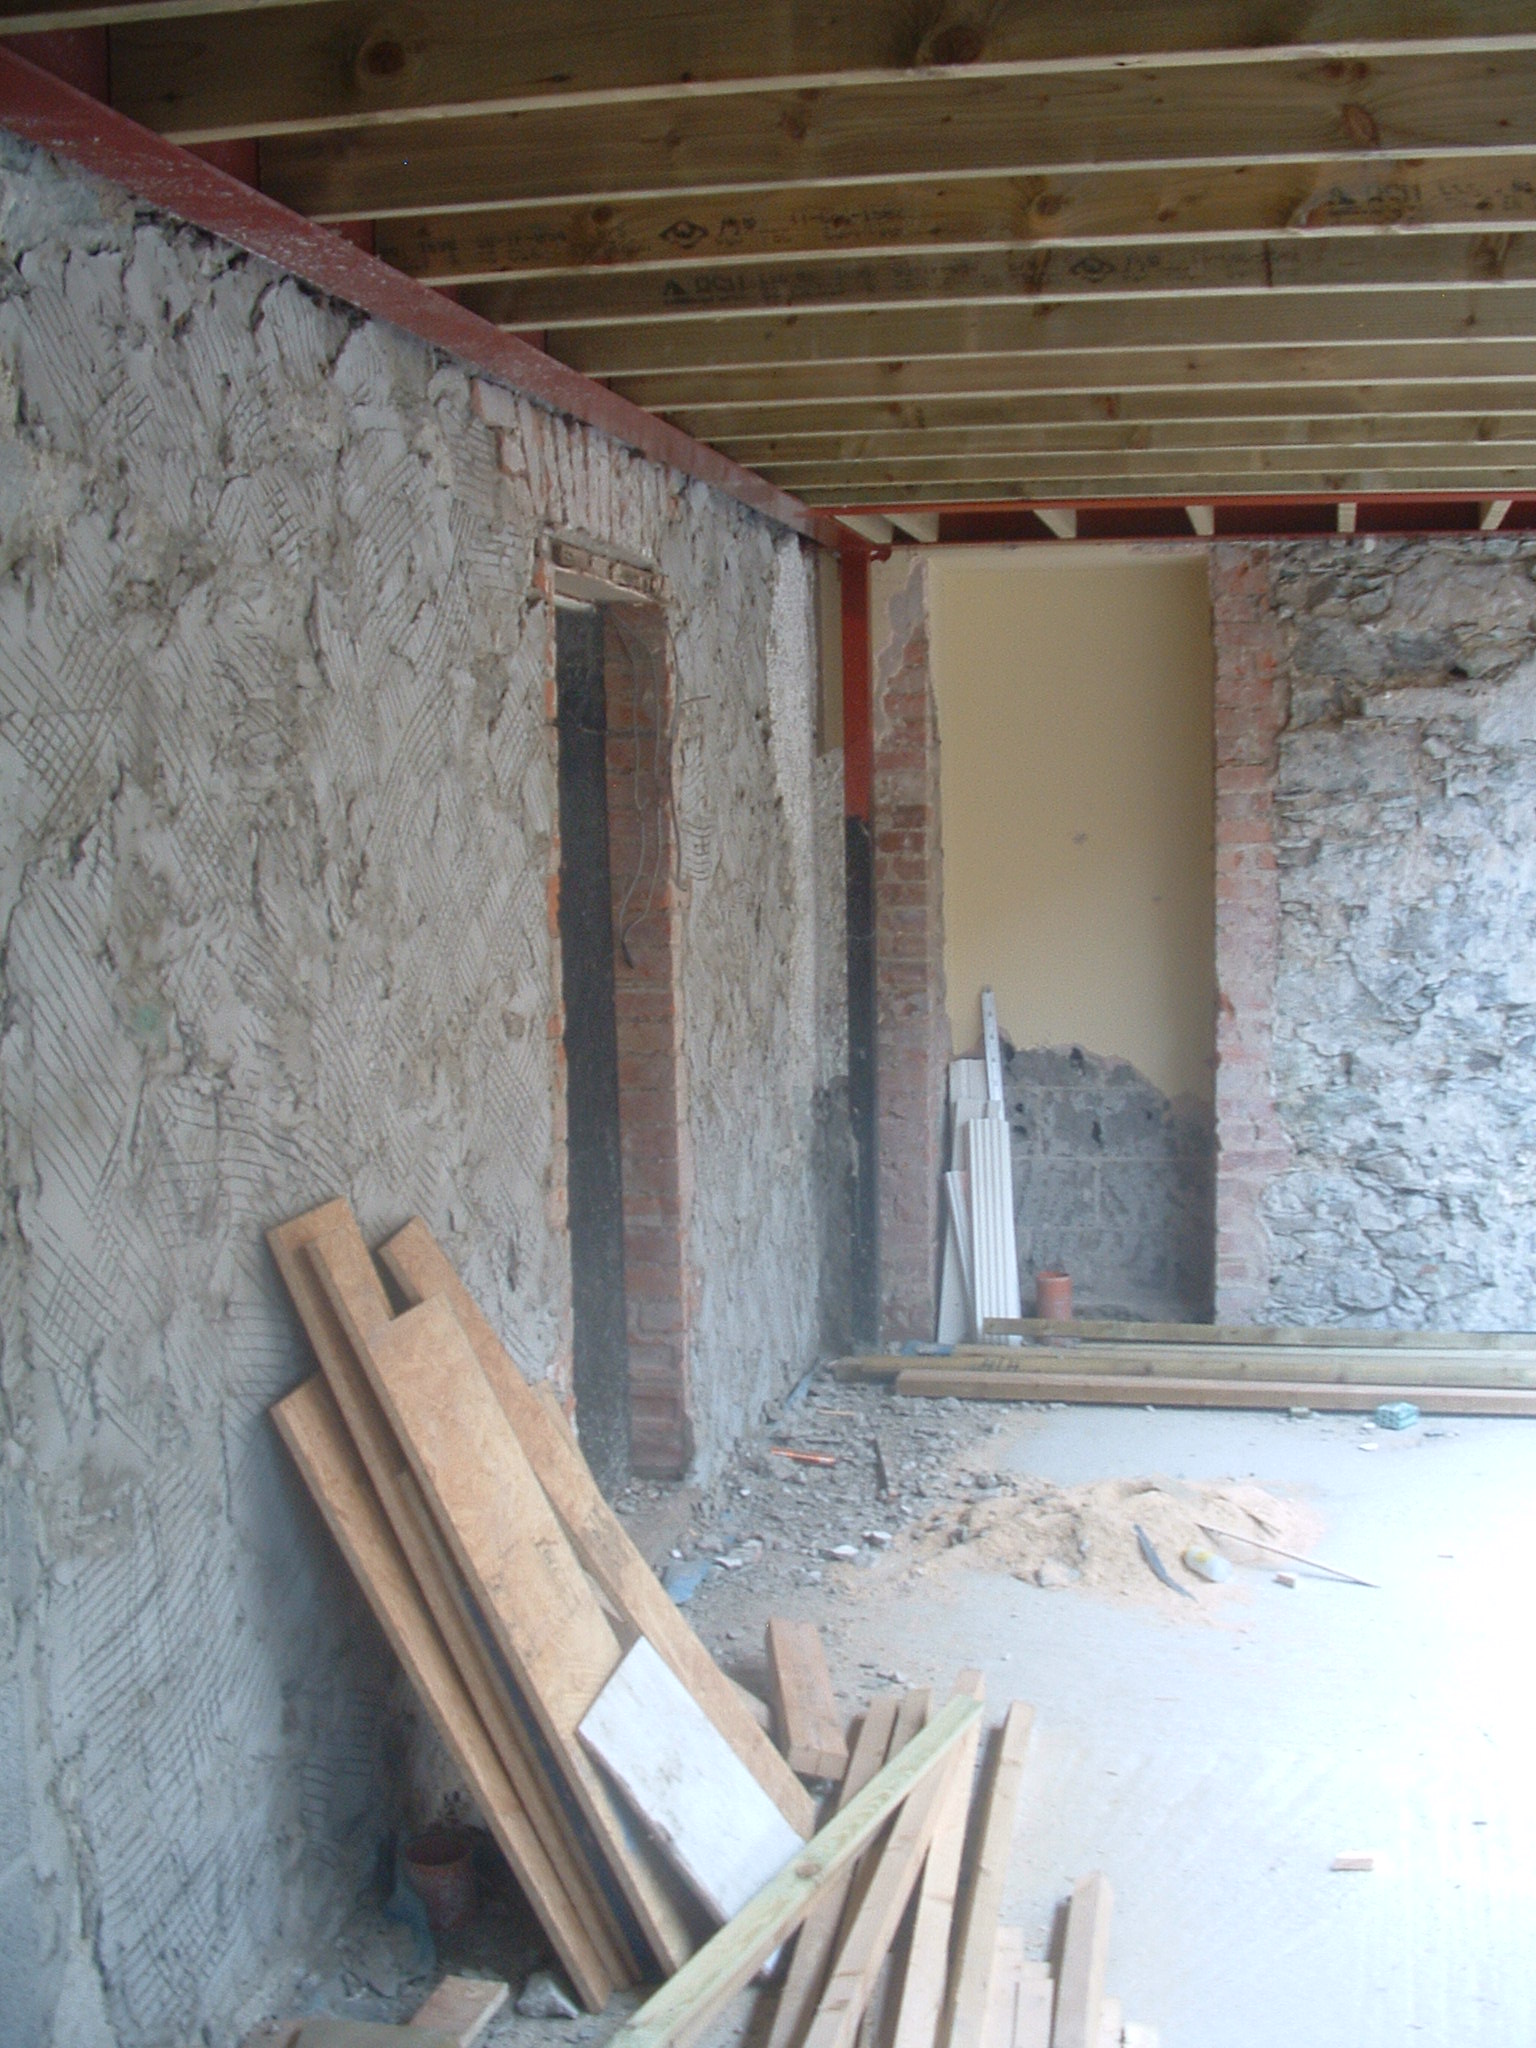
27 Kitchen East wall
This shows alcove that is to be used for
a) SVP to ensuite bathroom (Chris has idea for SB as how to do this)
b) location for Optiflow 6 port for UFH of both kitchen and sitting room
c)DHW and CW supplies
all as shown in the plans pdf

28 Alcove base – the plan is to cut a lintel in from the next room at about 1 m up to support the breeze block – build a stud partition and ply about 6″ in from the line of the sitting room wall – put on it an Optiflow manifold for the UFH of both sitting room and Kitchen and cover the front, south face with a touch latched panel that fits into the wall of the sitting room unobtrusively. This side will be blacked off probably withbreeze blocks (SB to determine) once the SVP routing has been fixed and determined.

29 Kitchen North wall

30 kitchen roof – east from inside facing north

31 Roof timbers need to be clear of masonry
32 Kitchen roof West from inside taken facing North
33 Sitting room West wall composition
see Bedroom 1 first floor joists and floor

34 Sitting room floor viewed East to West
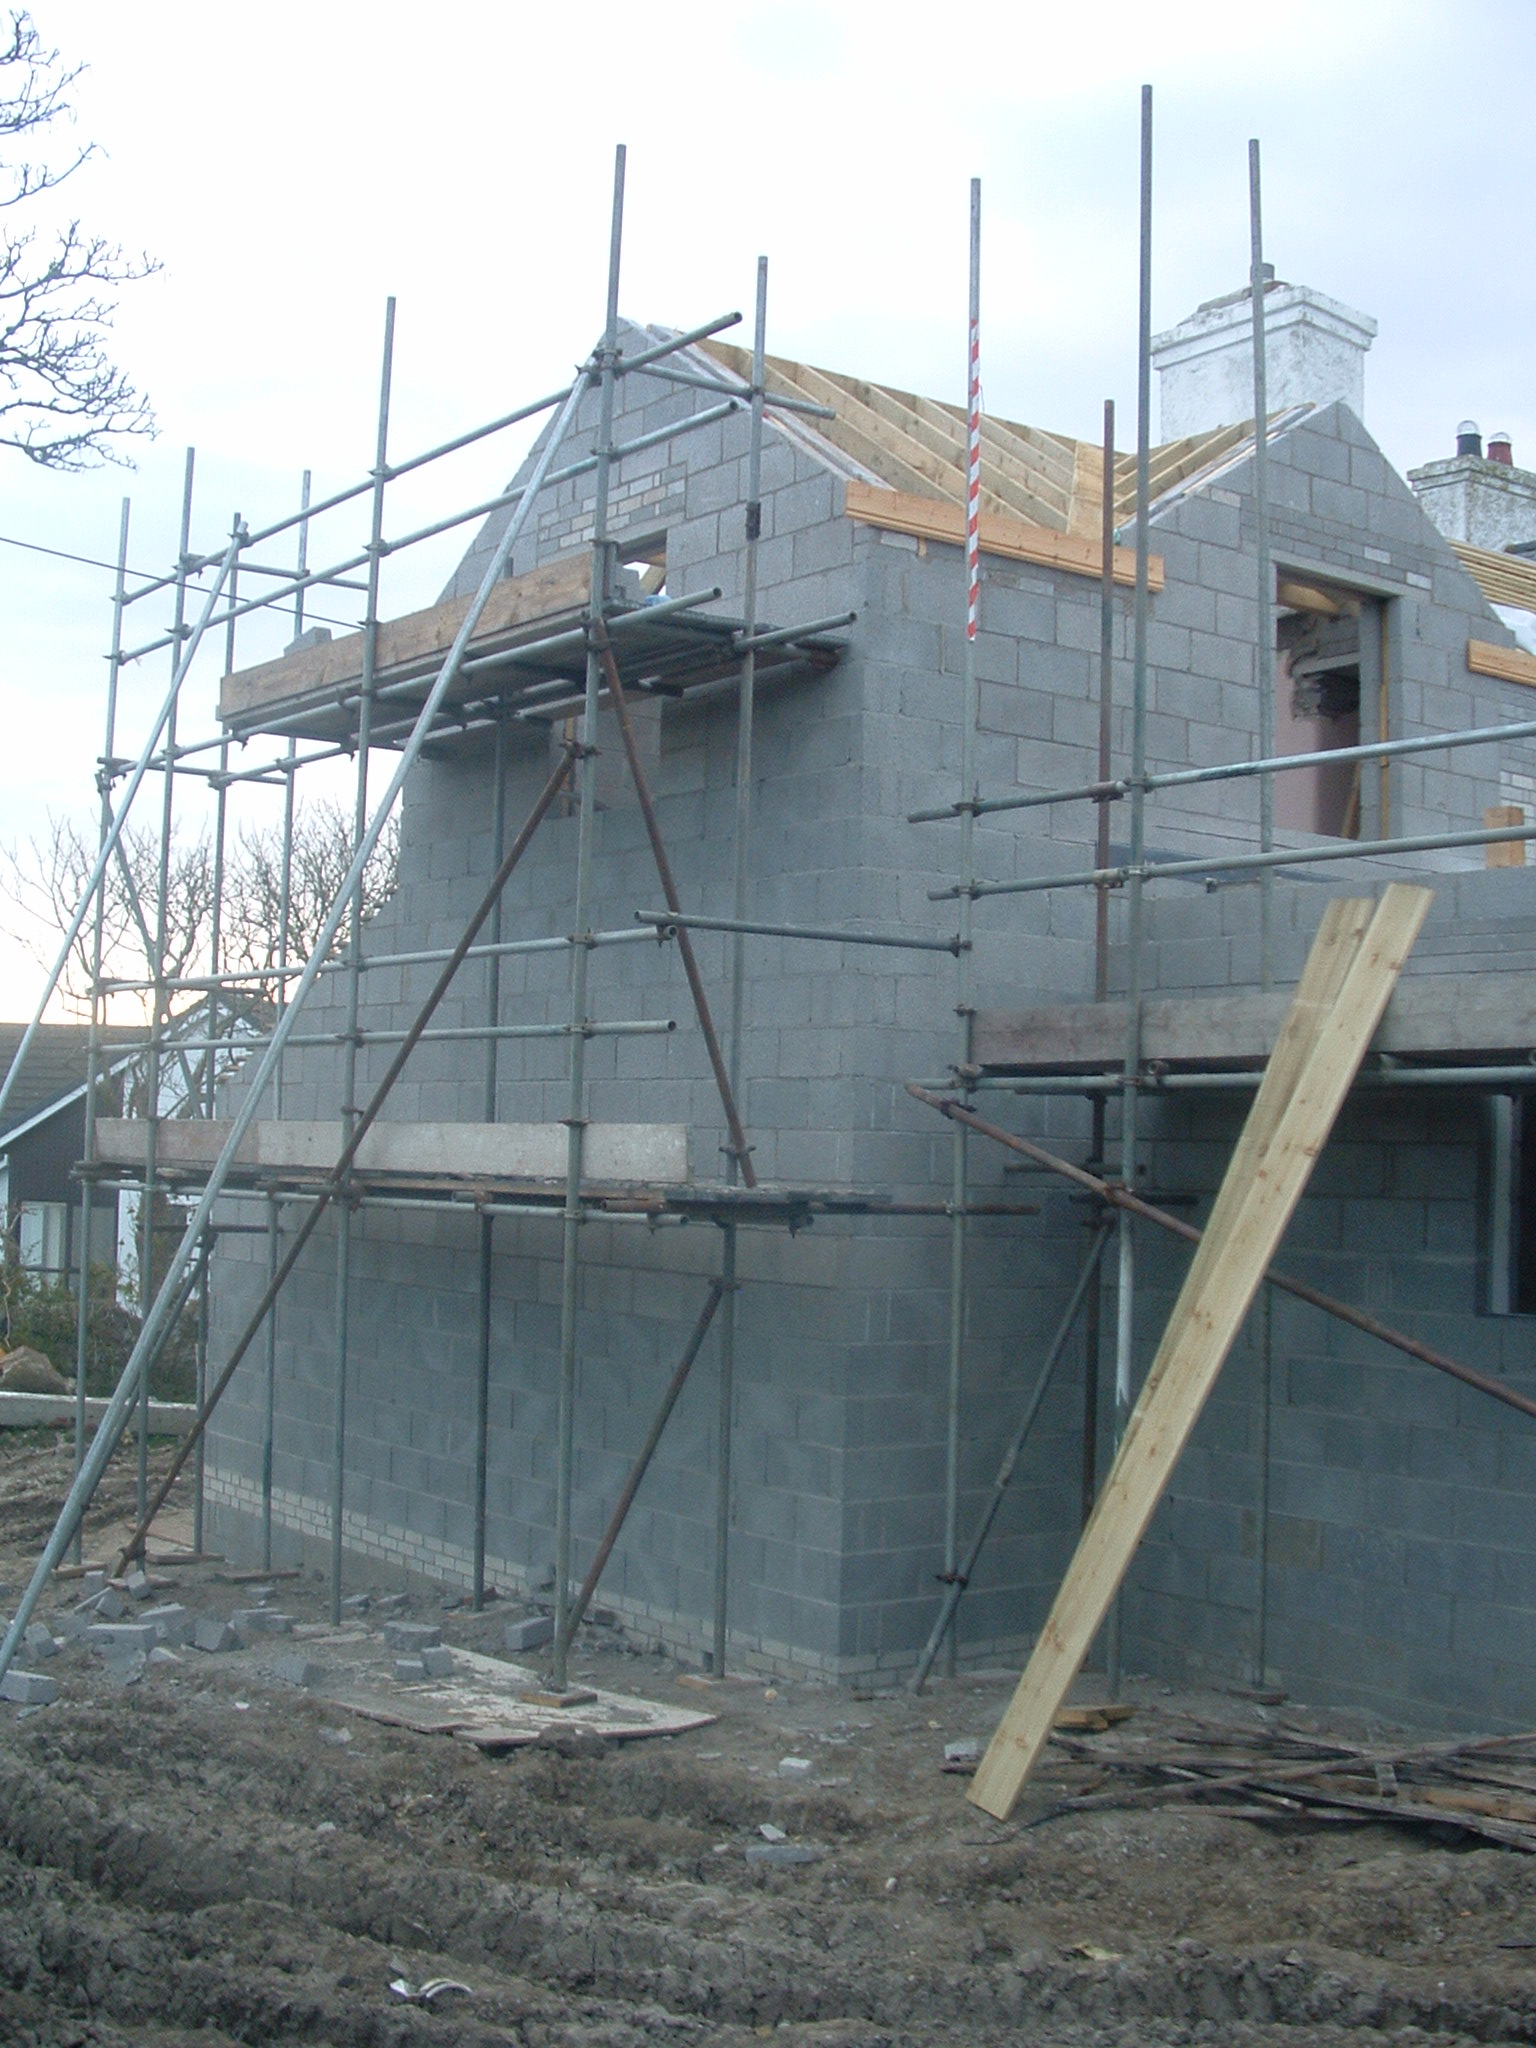
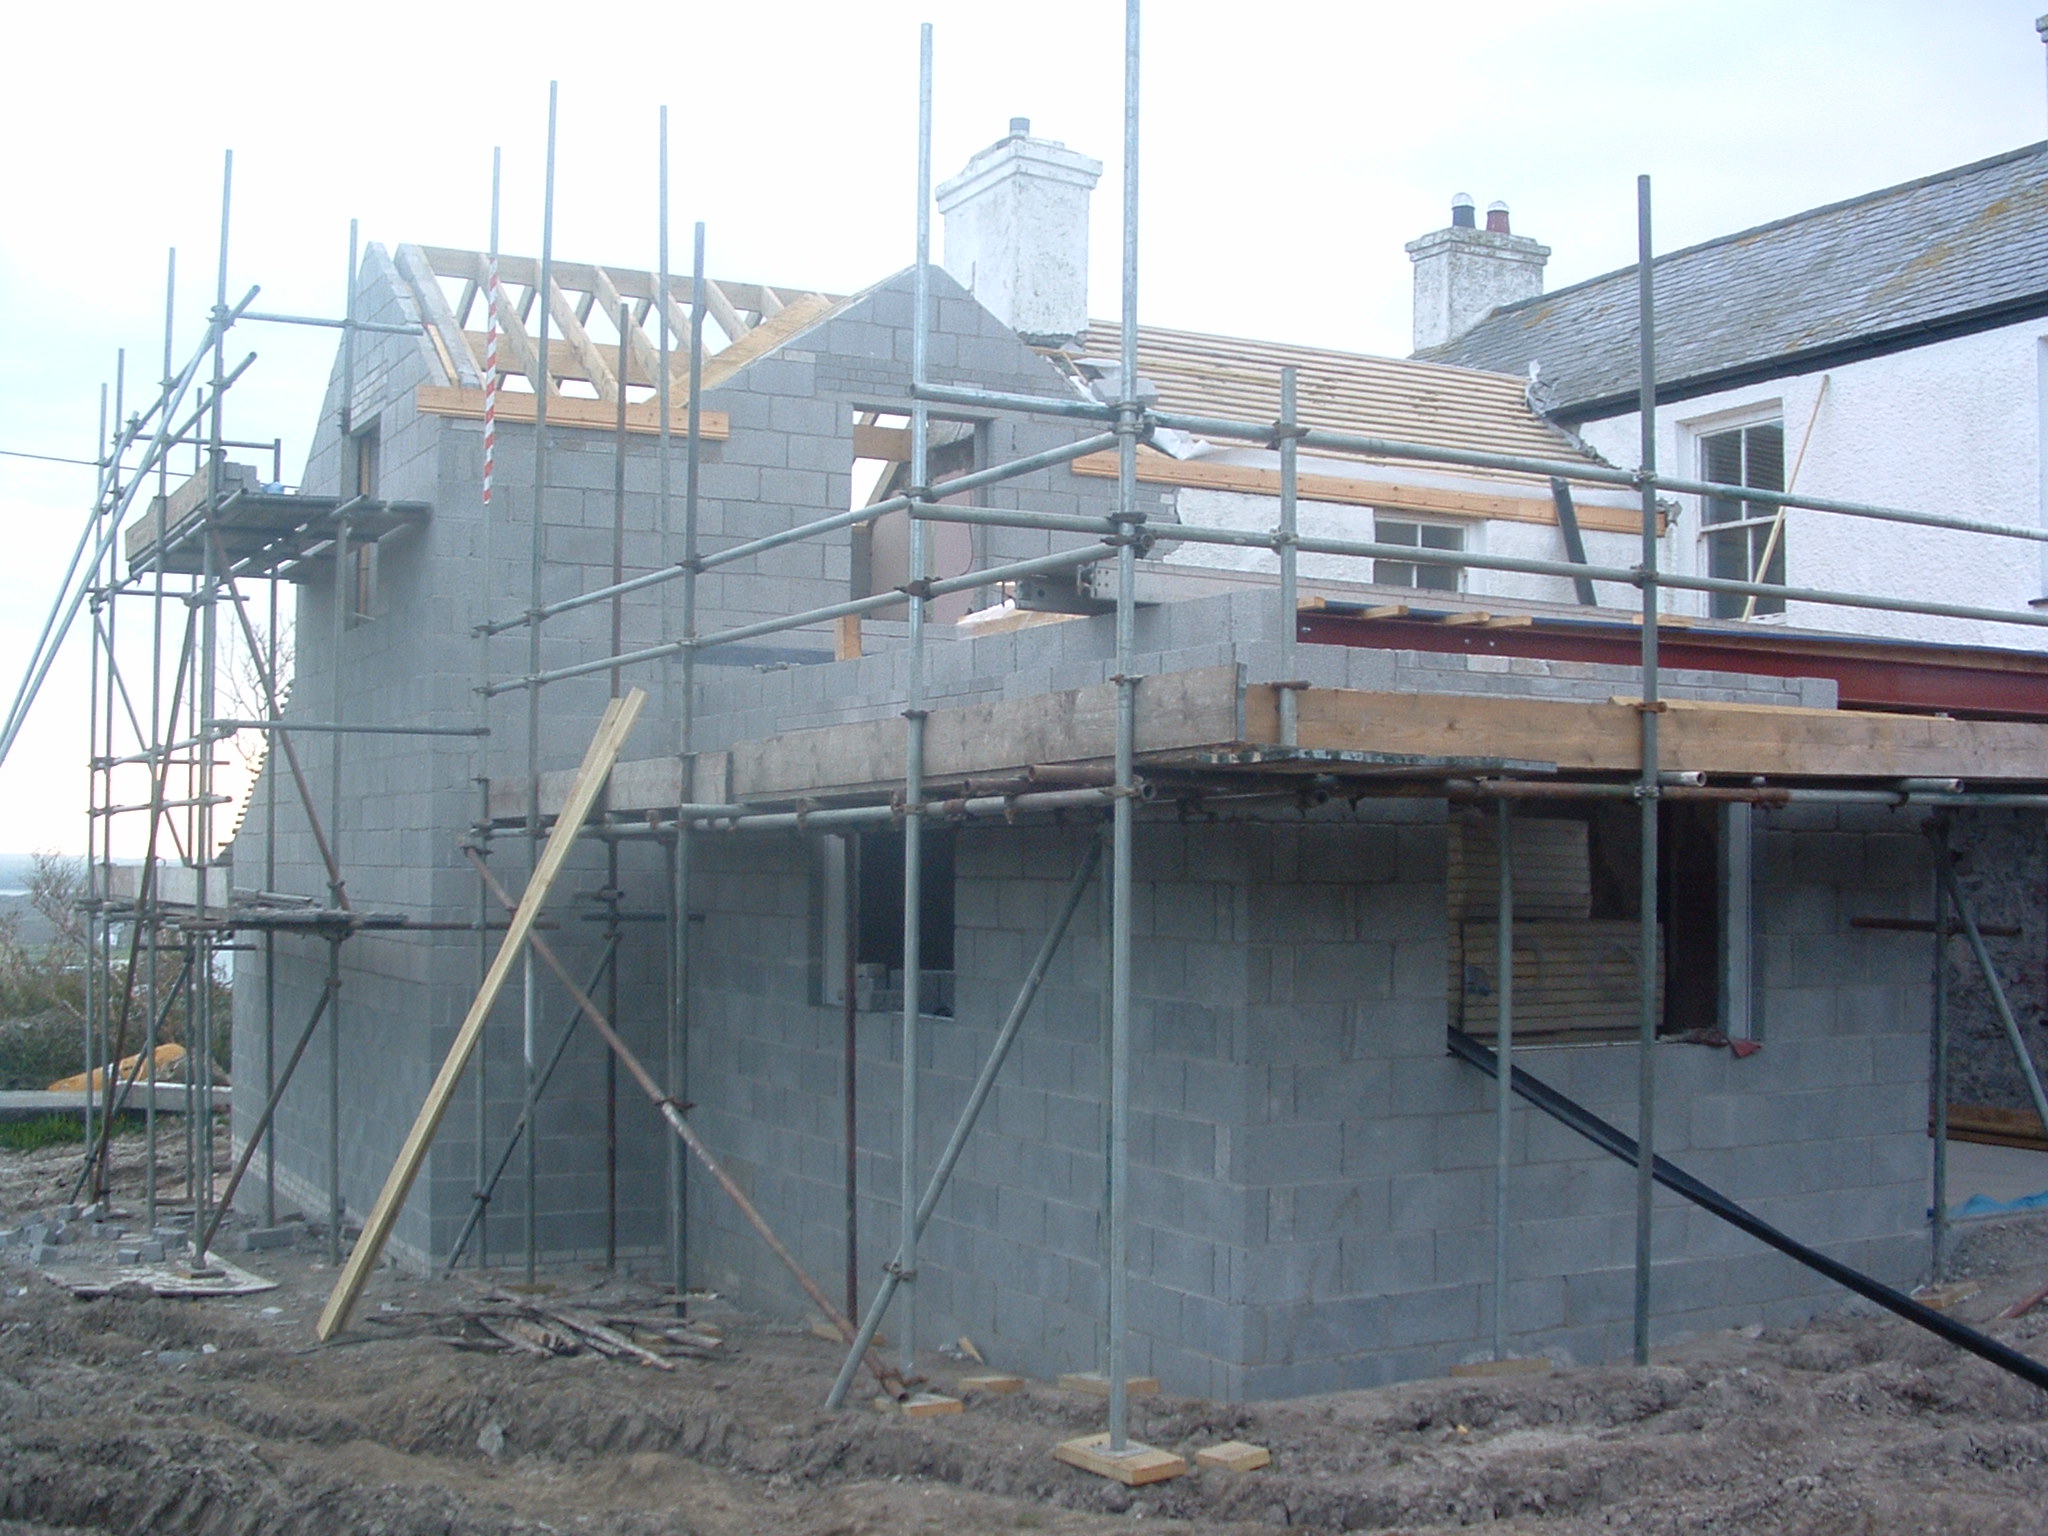
35 external view of rear addtion – garage and bedroom 4 north wall

36 SB’s heat pump access hole – will need to be enlarged to allow two pipes in side by side but otherwise fine as we can get the 500mm radius to it in the digout of the earth outside and protect the pipe with insulation and a pathway
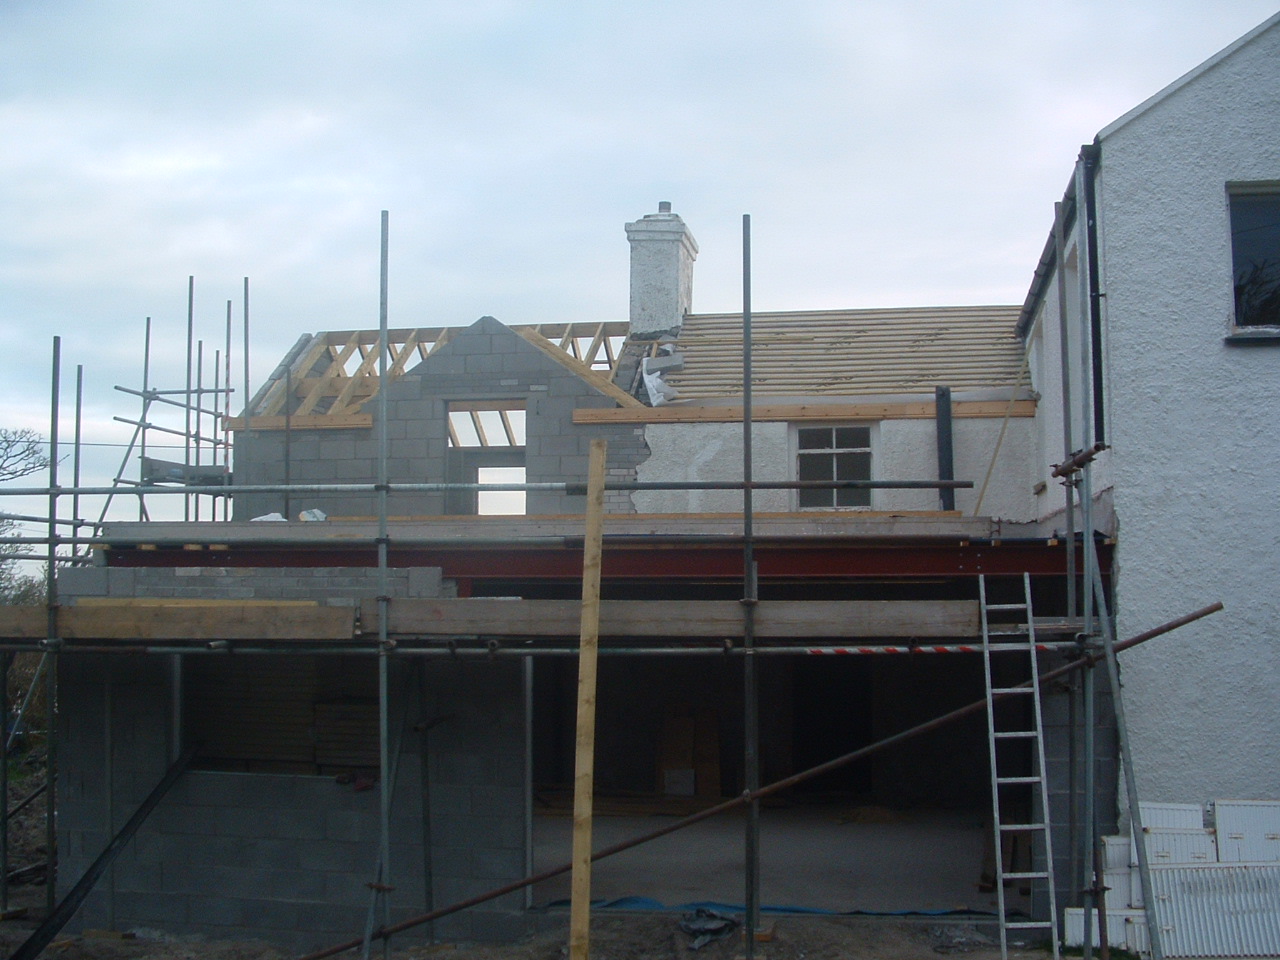
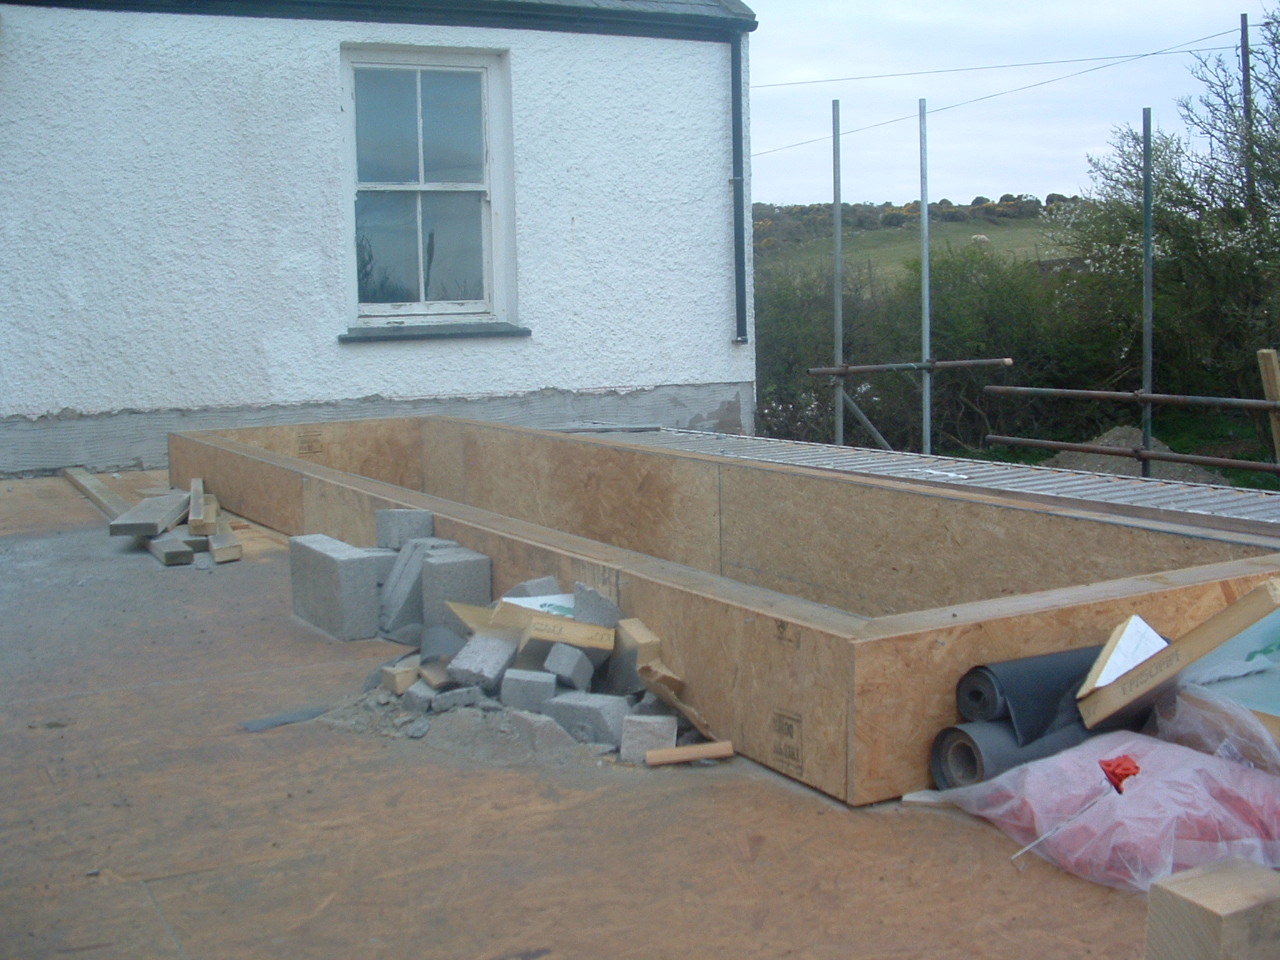
37 Rear addition roof West

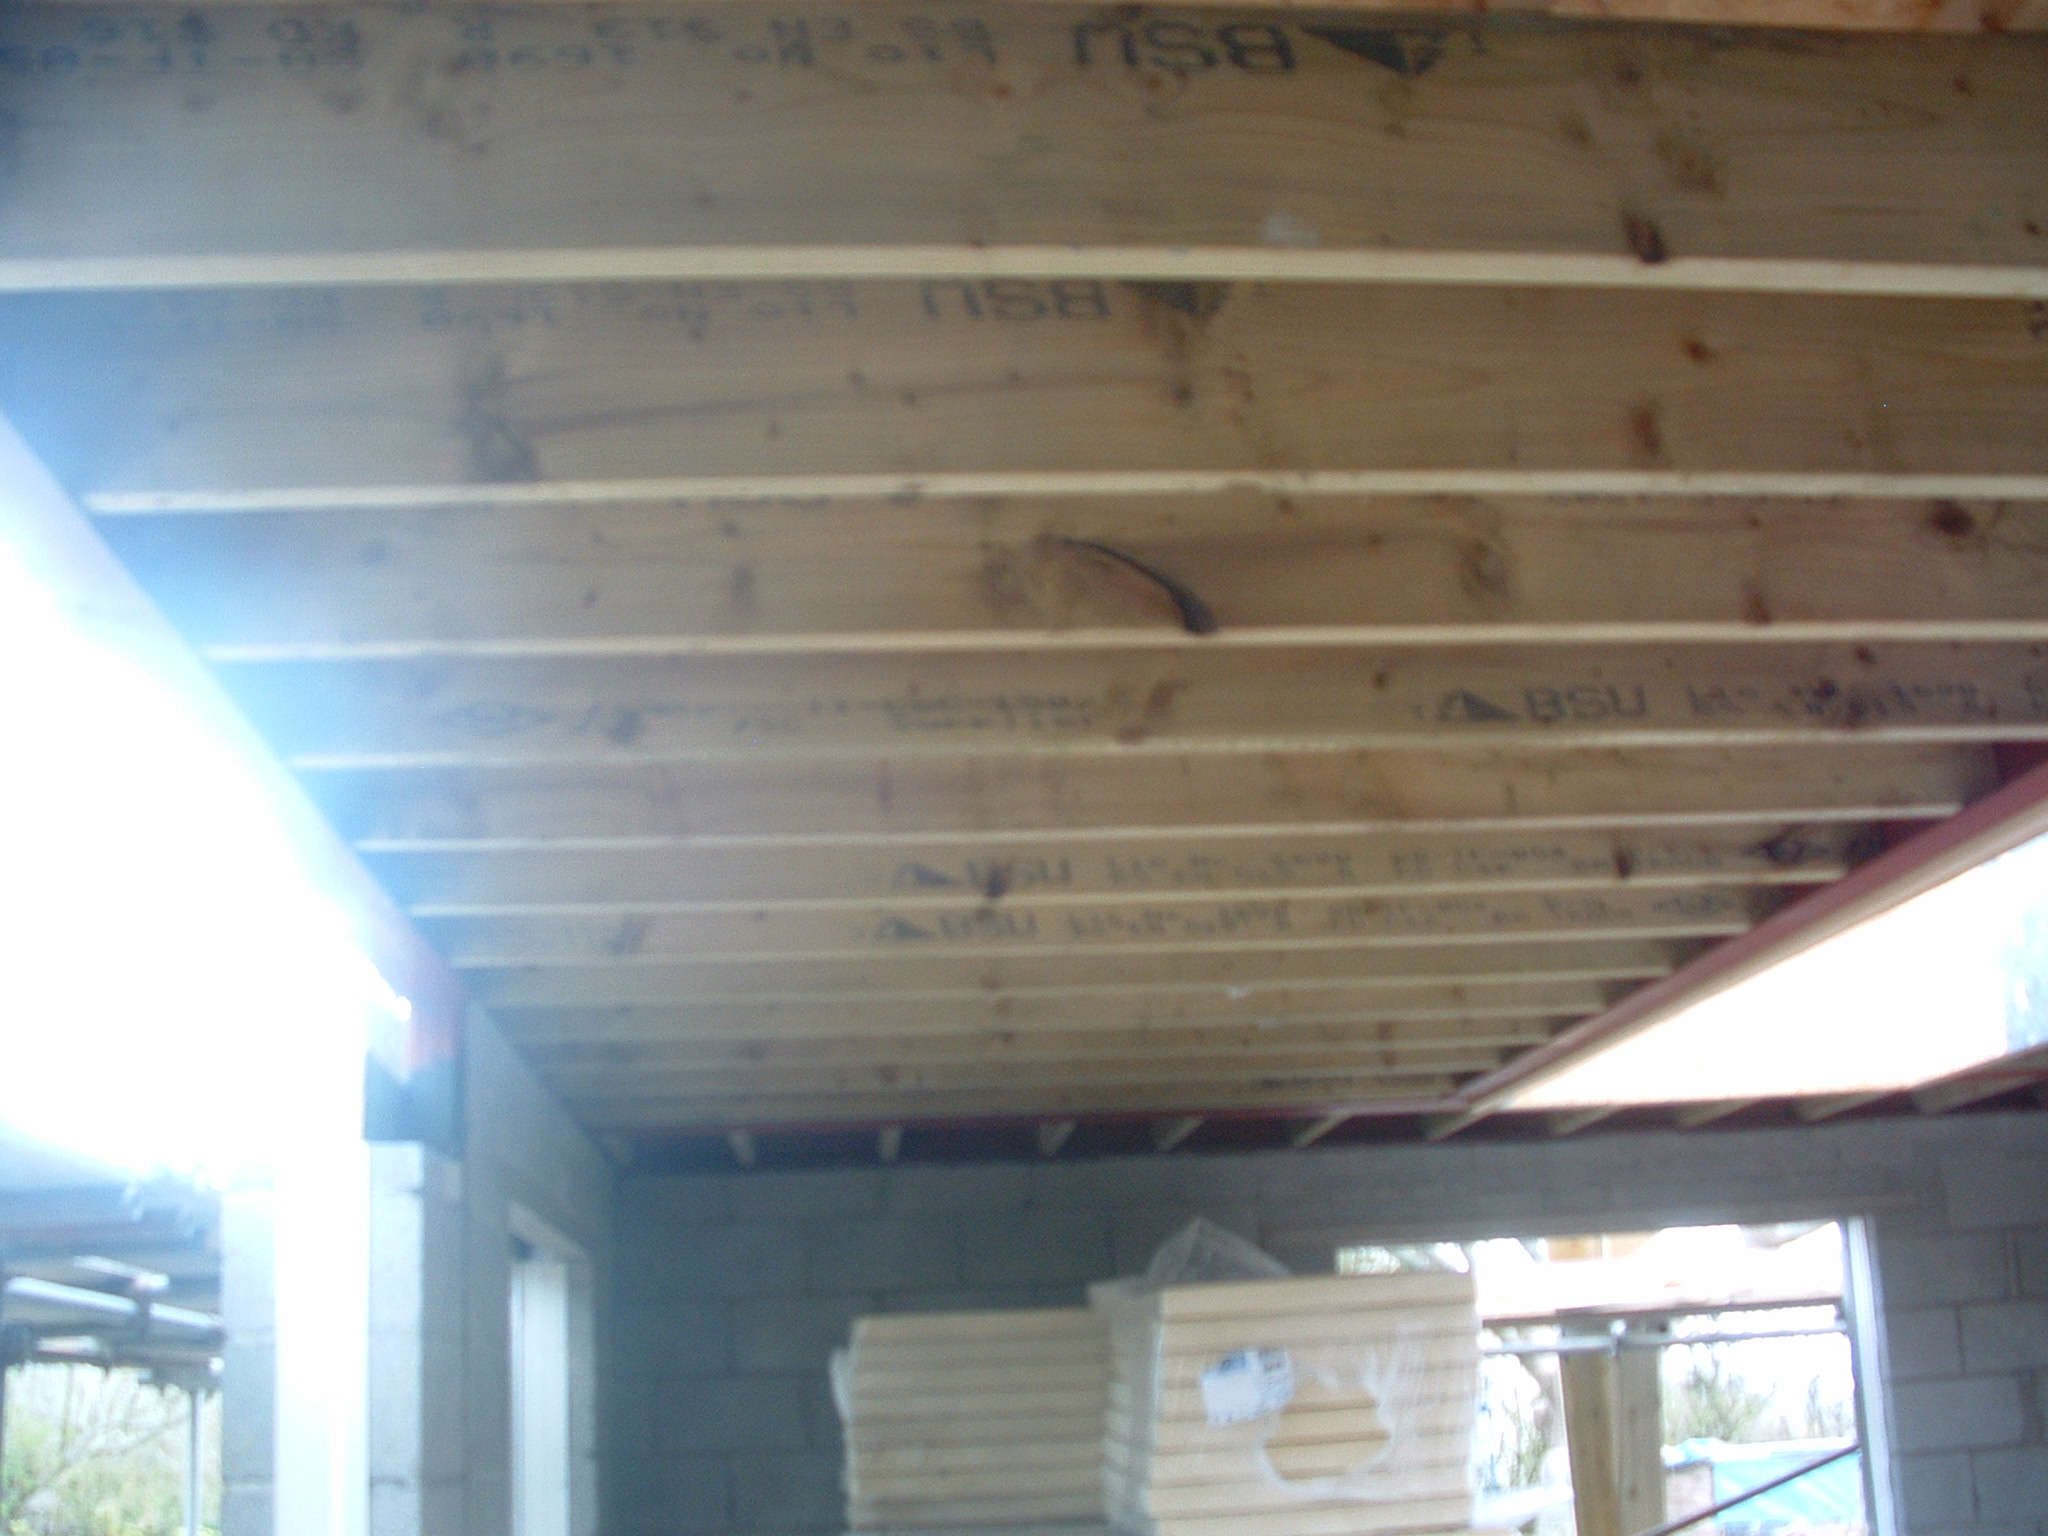
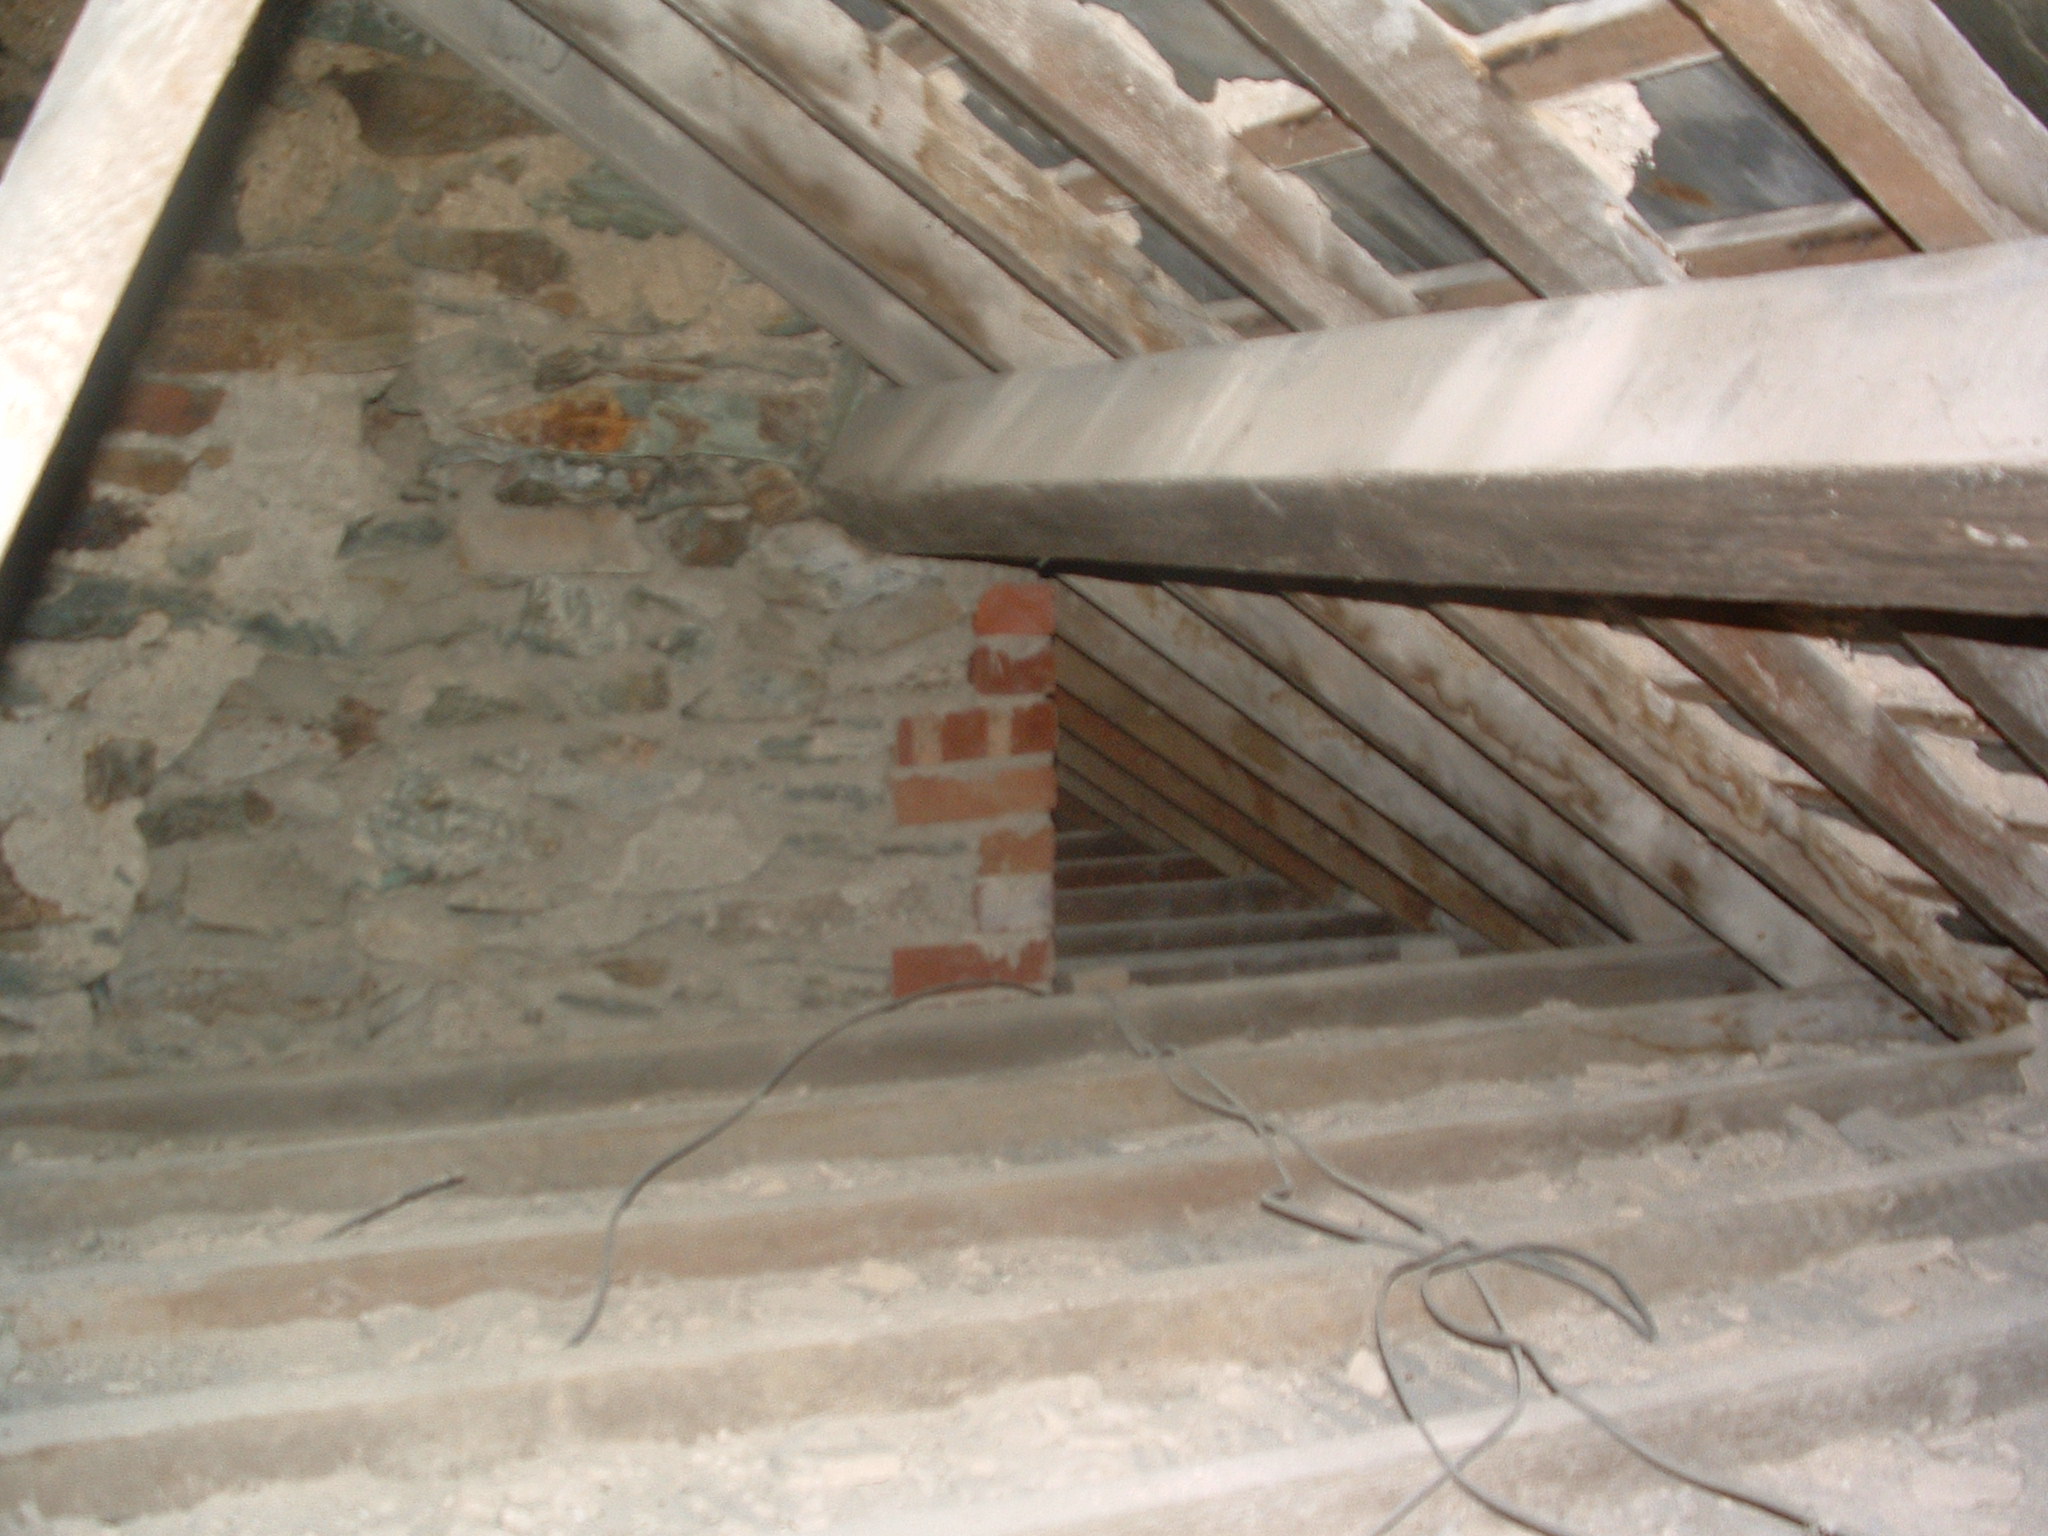
38 Roof Void of main building East to West with access hatch
Suggested position of water tank is between the truss seen and the truss from which this picture was taken with CW pipes running down the back of the cupboard on the first floor next to the en suite bathroom
39 Roof void east to wes from West truss
this gap shows only access to void above bedroom 1

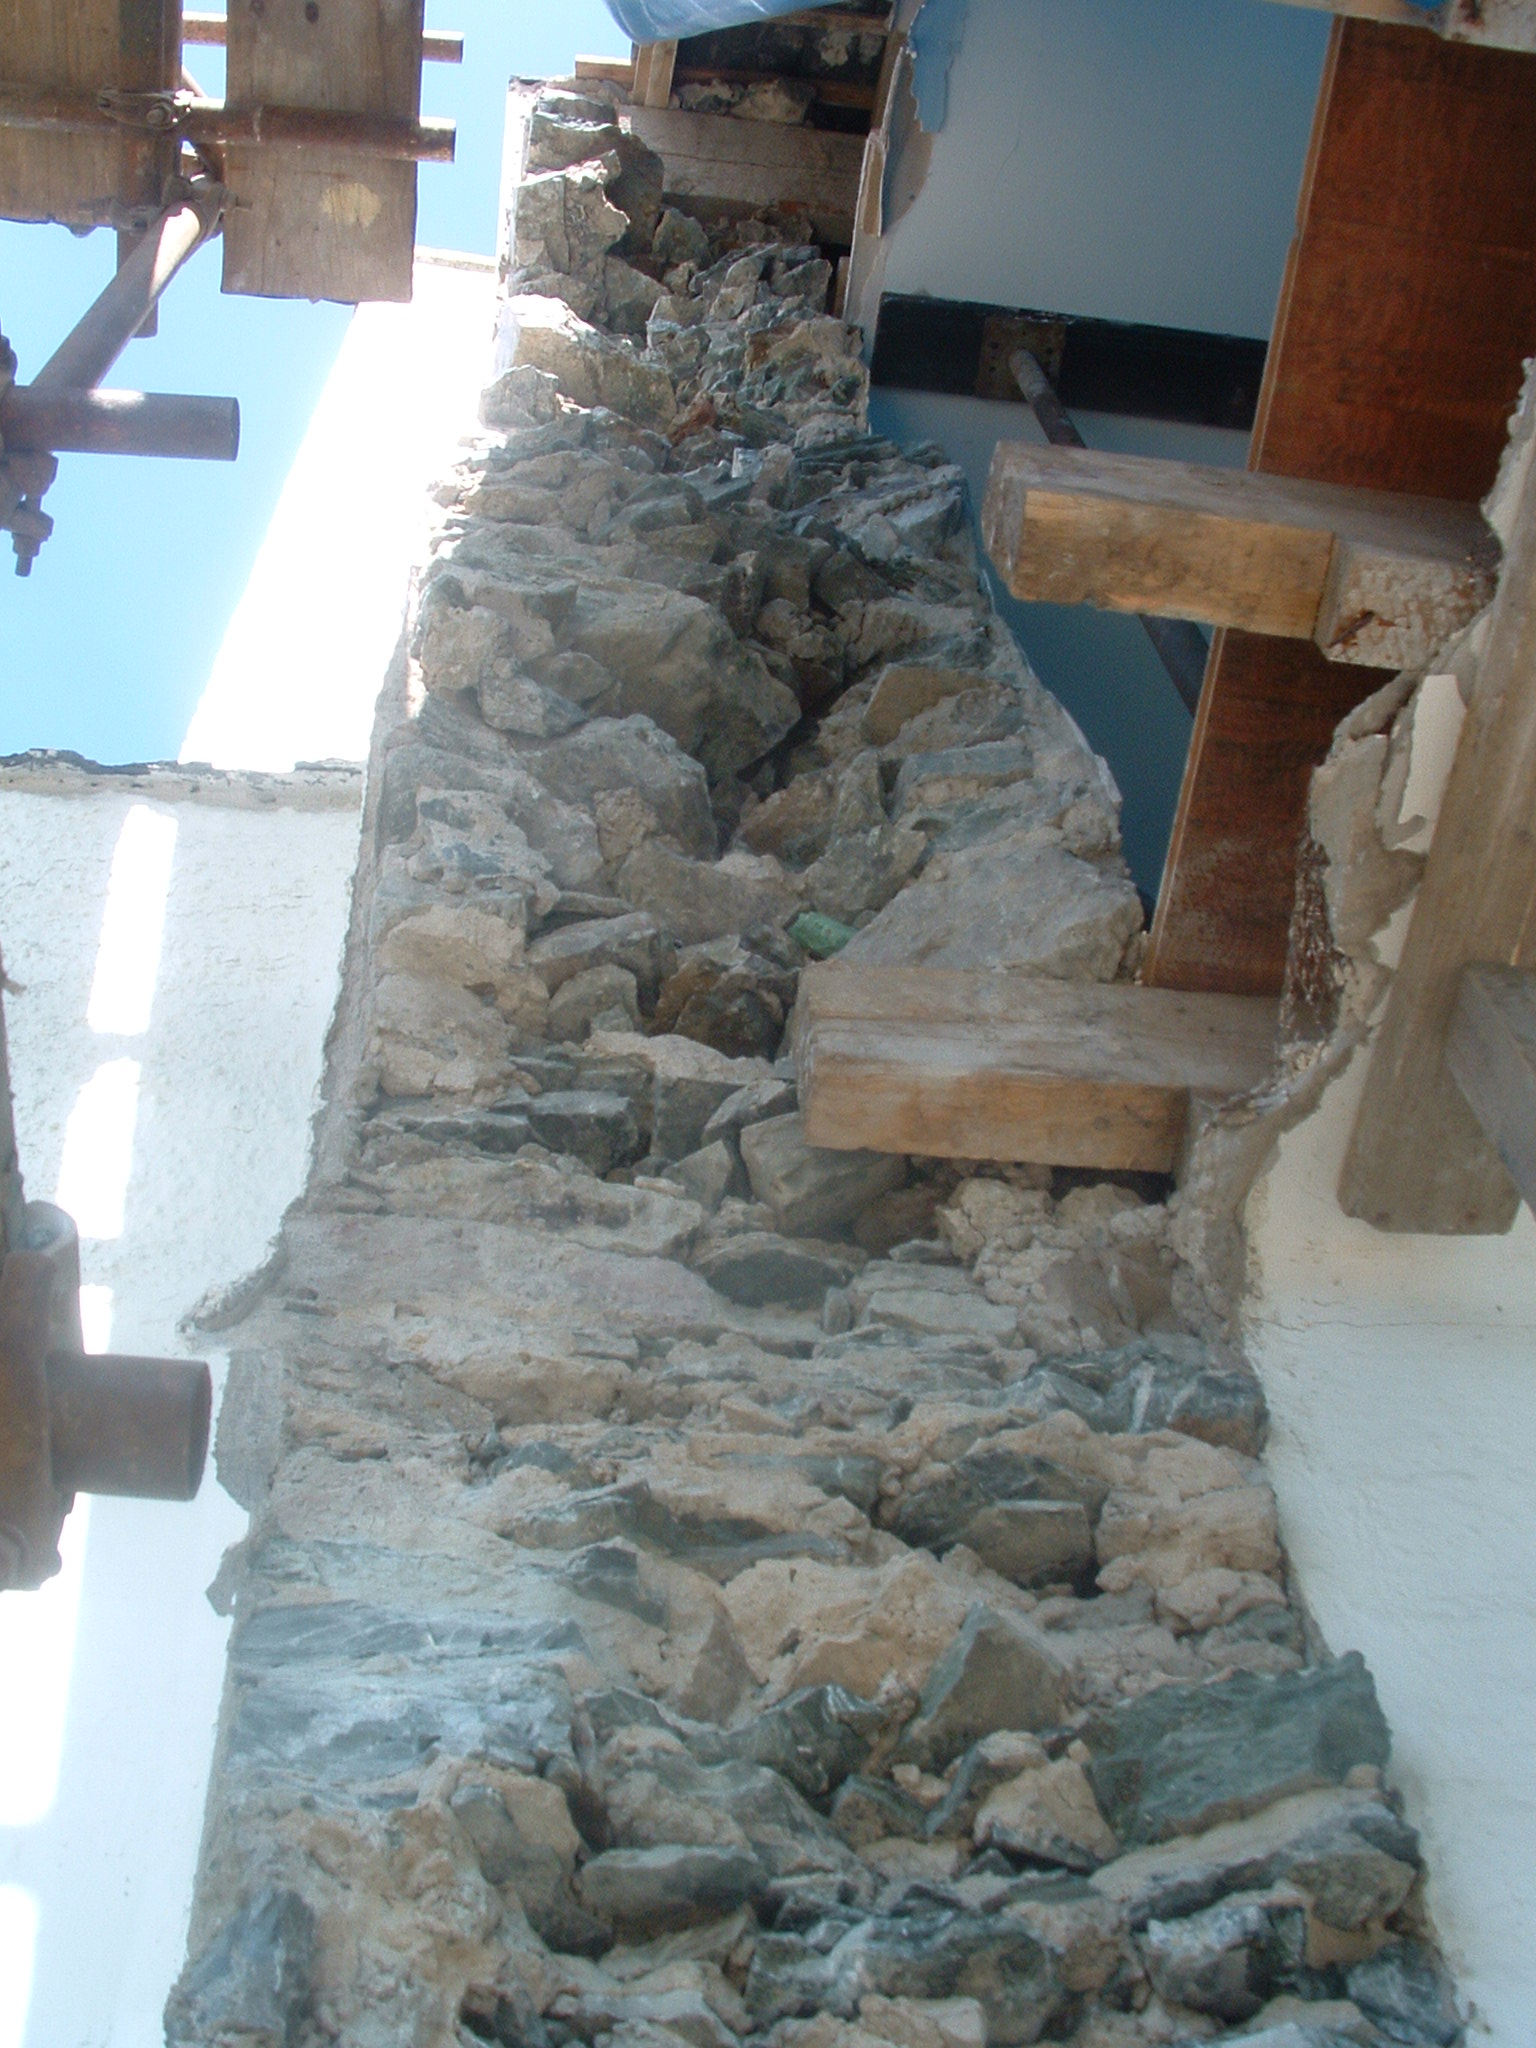
40 Living room front extension footings
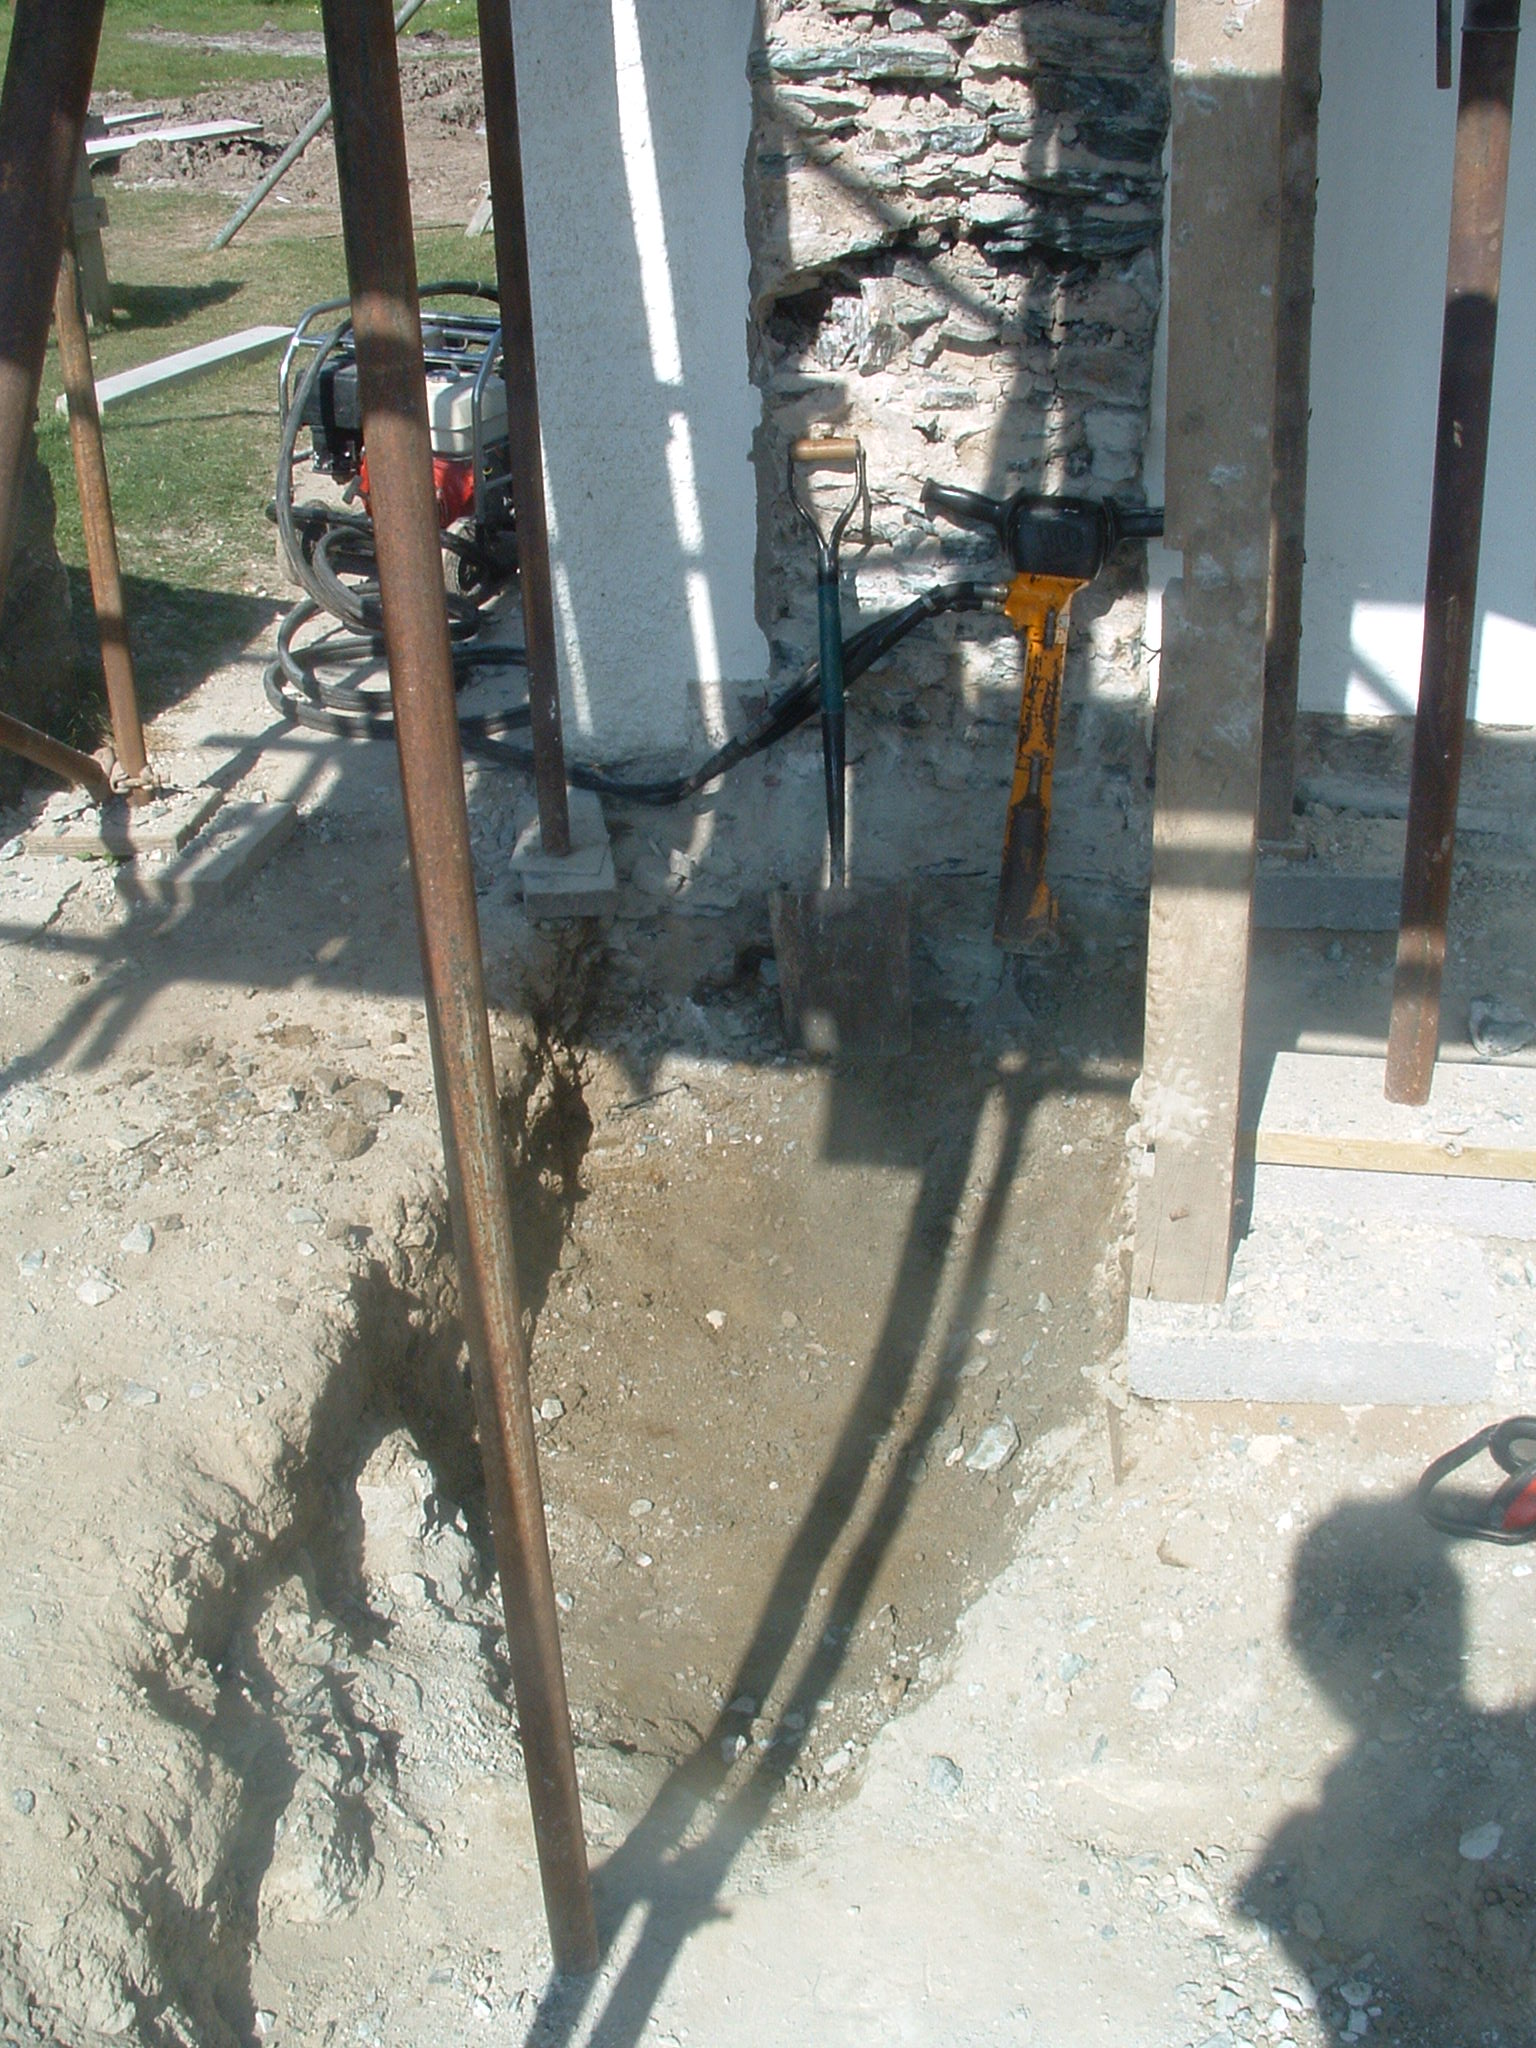
41 New footings for living room extension
 #
#
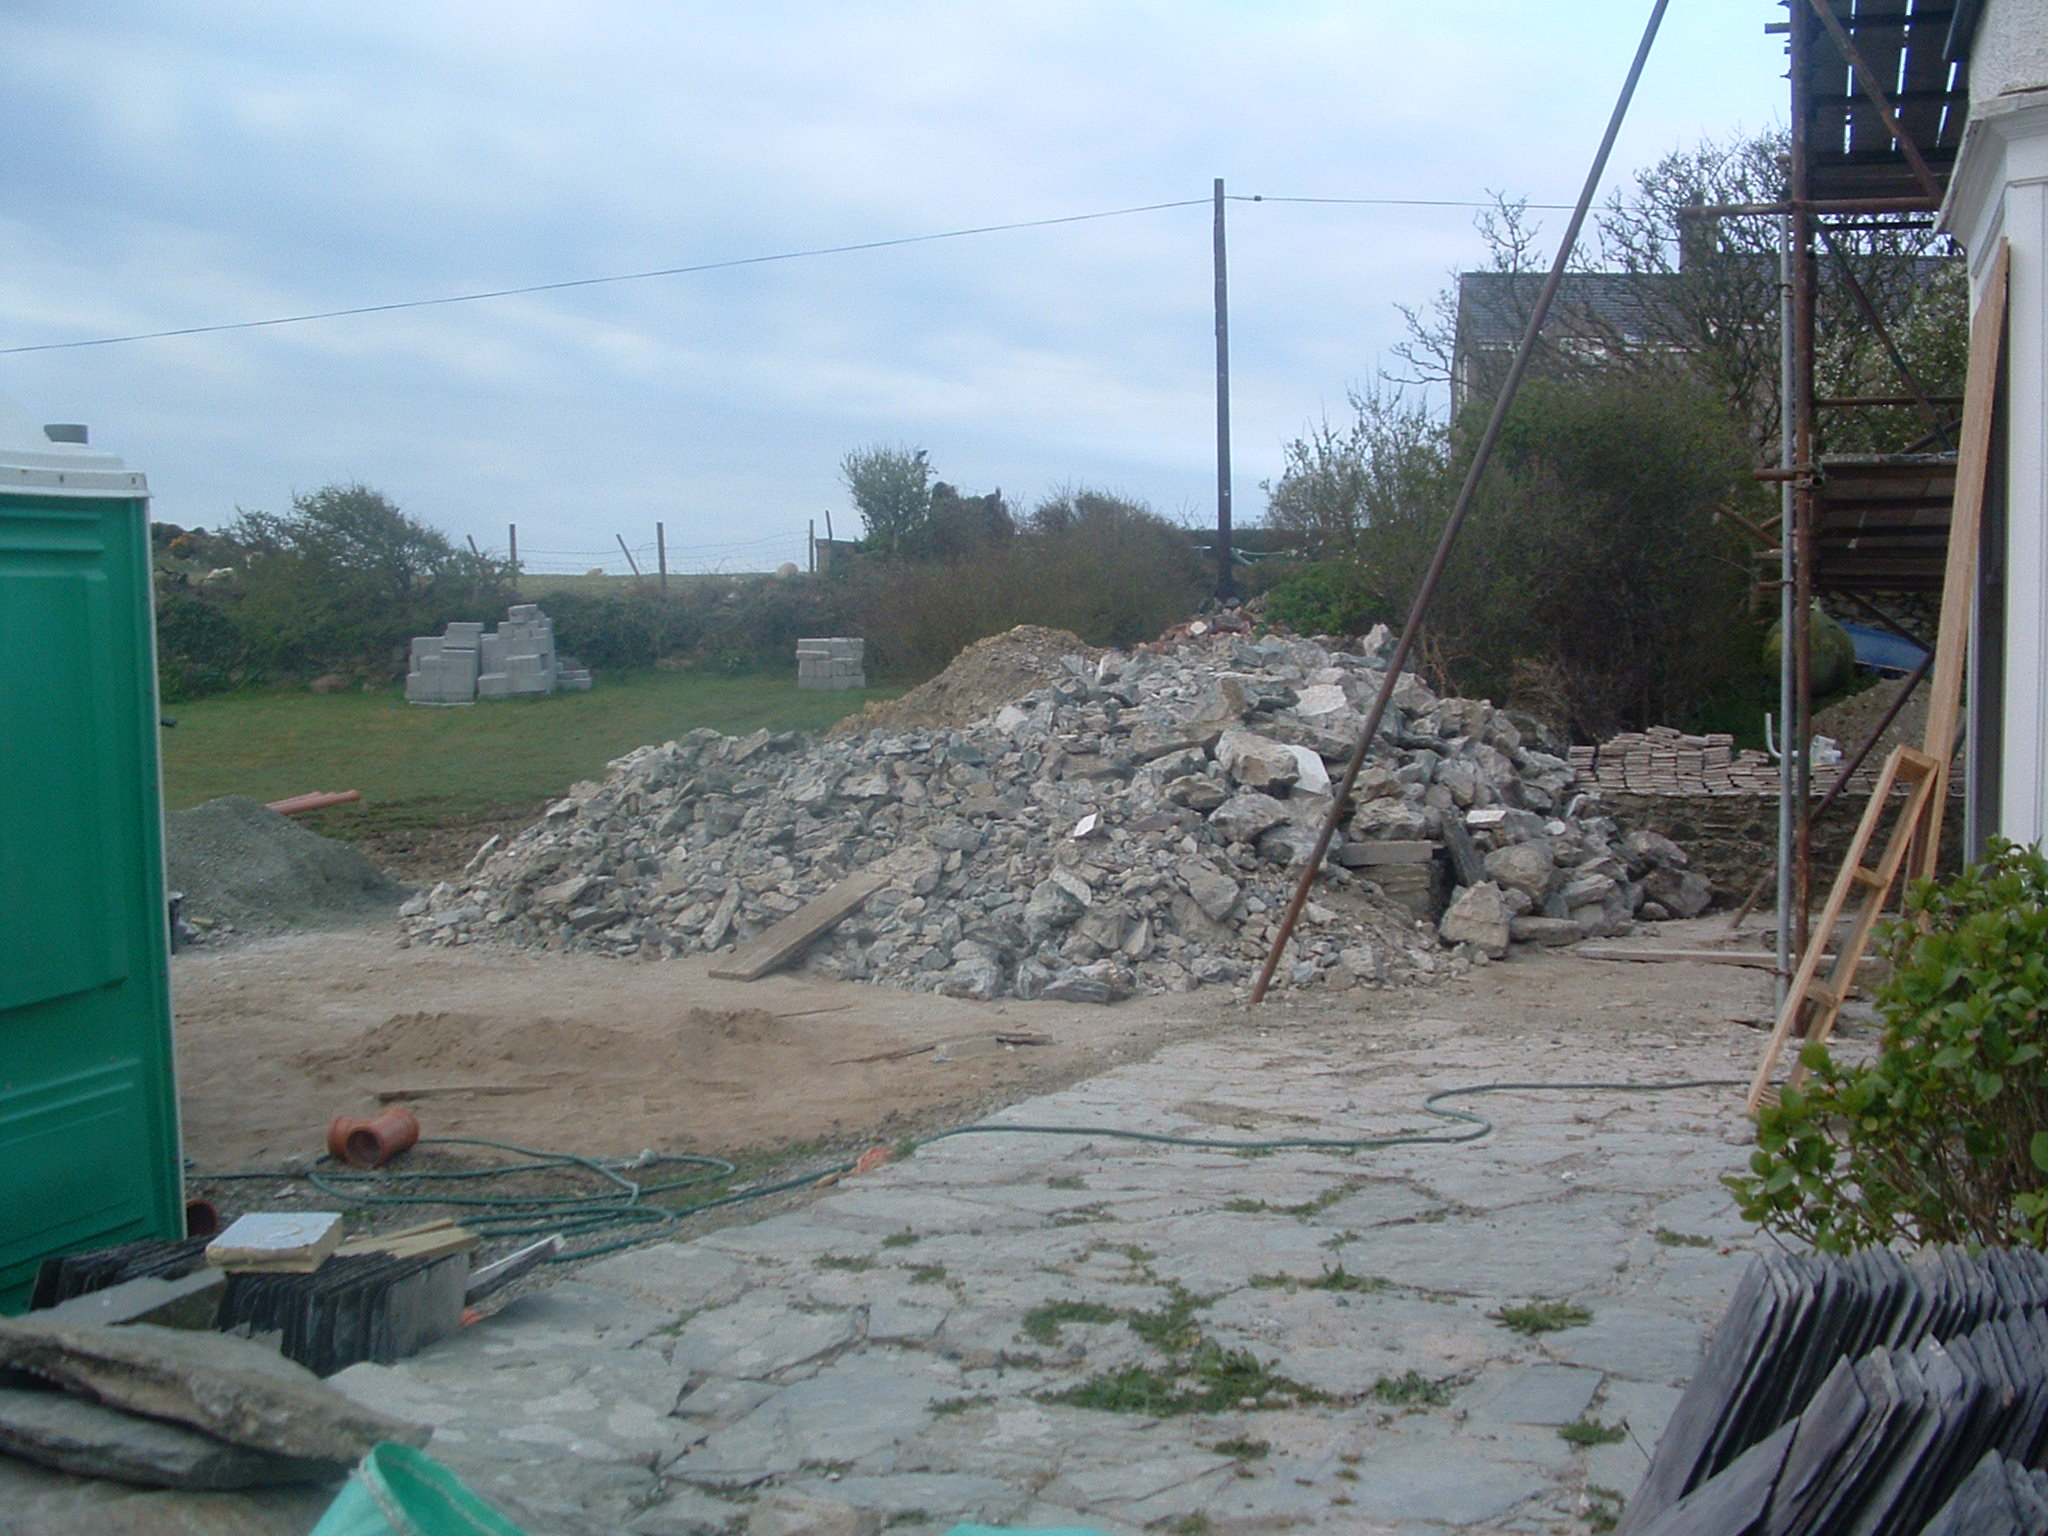
42 Pile of stones – Ask TB to use JCB to move to back garden to agreed locations for use on rear wall
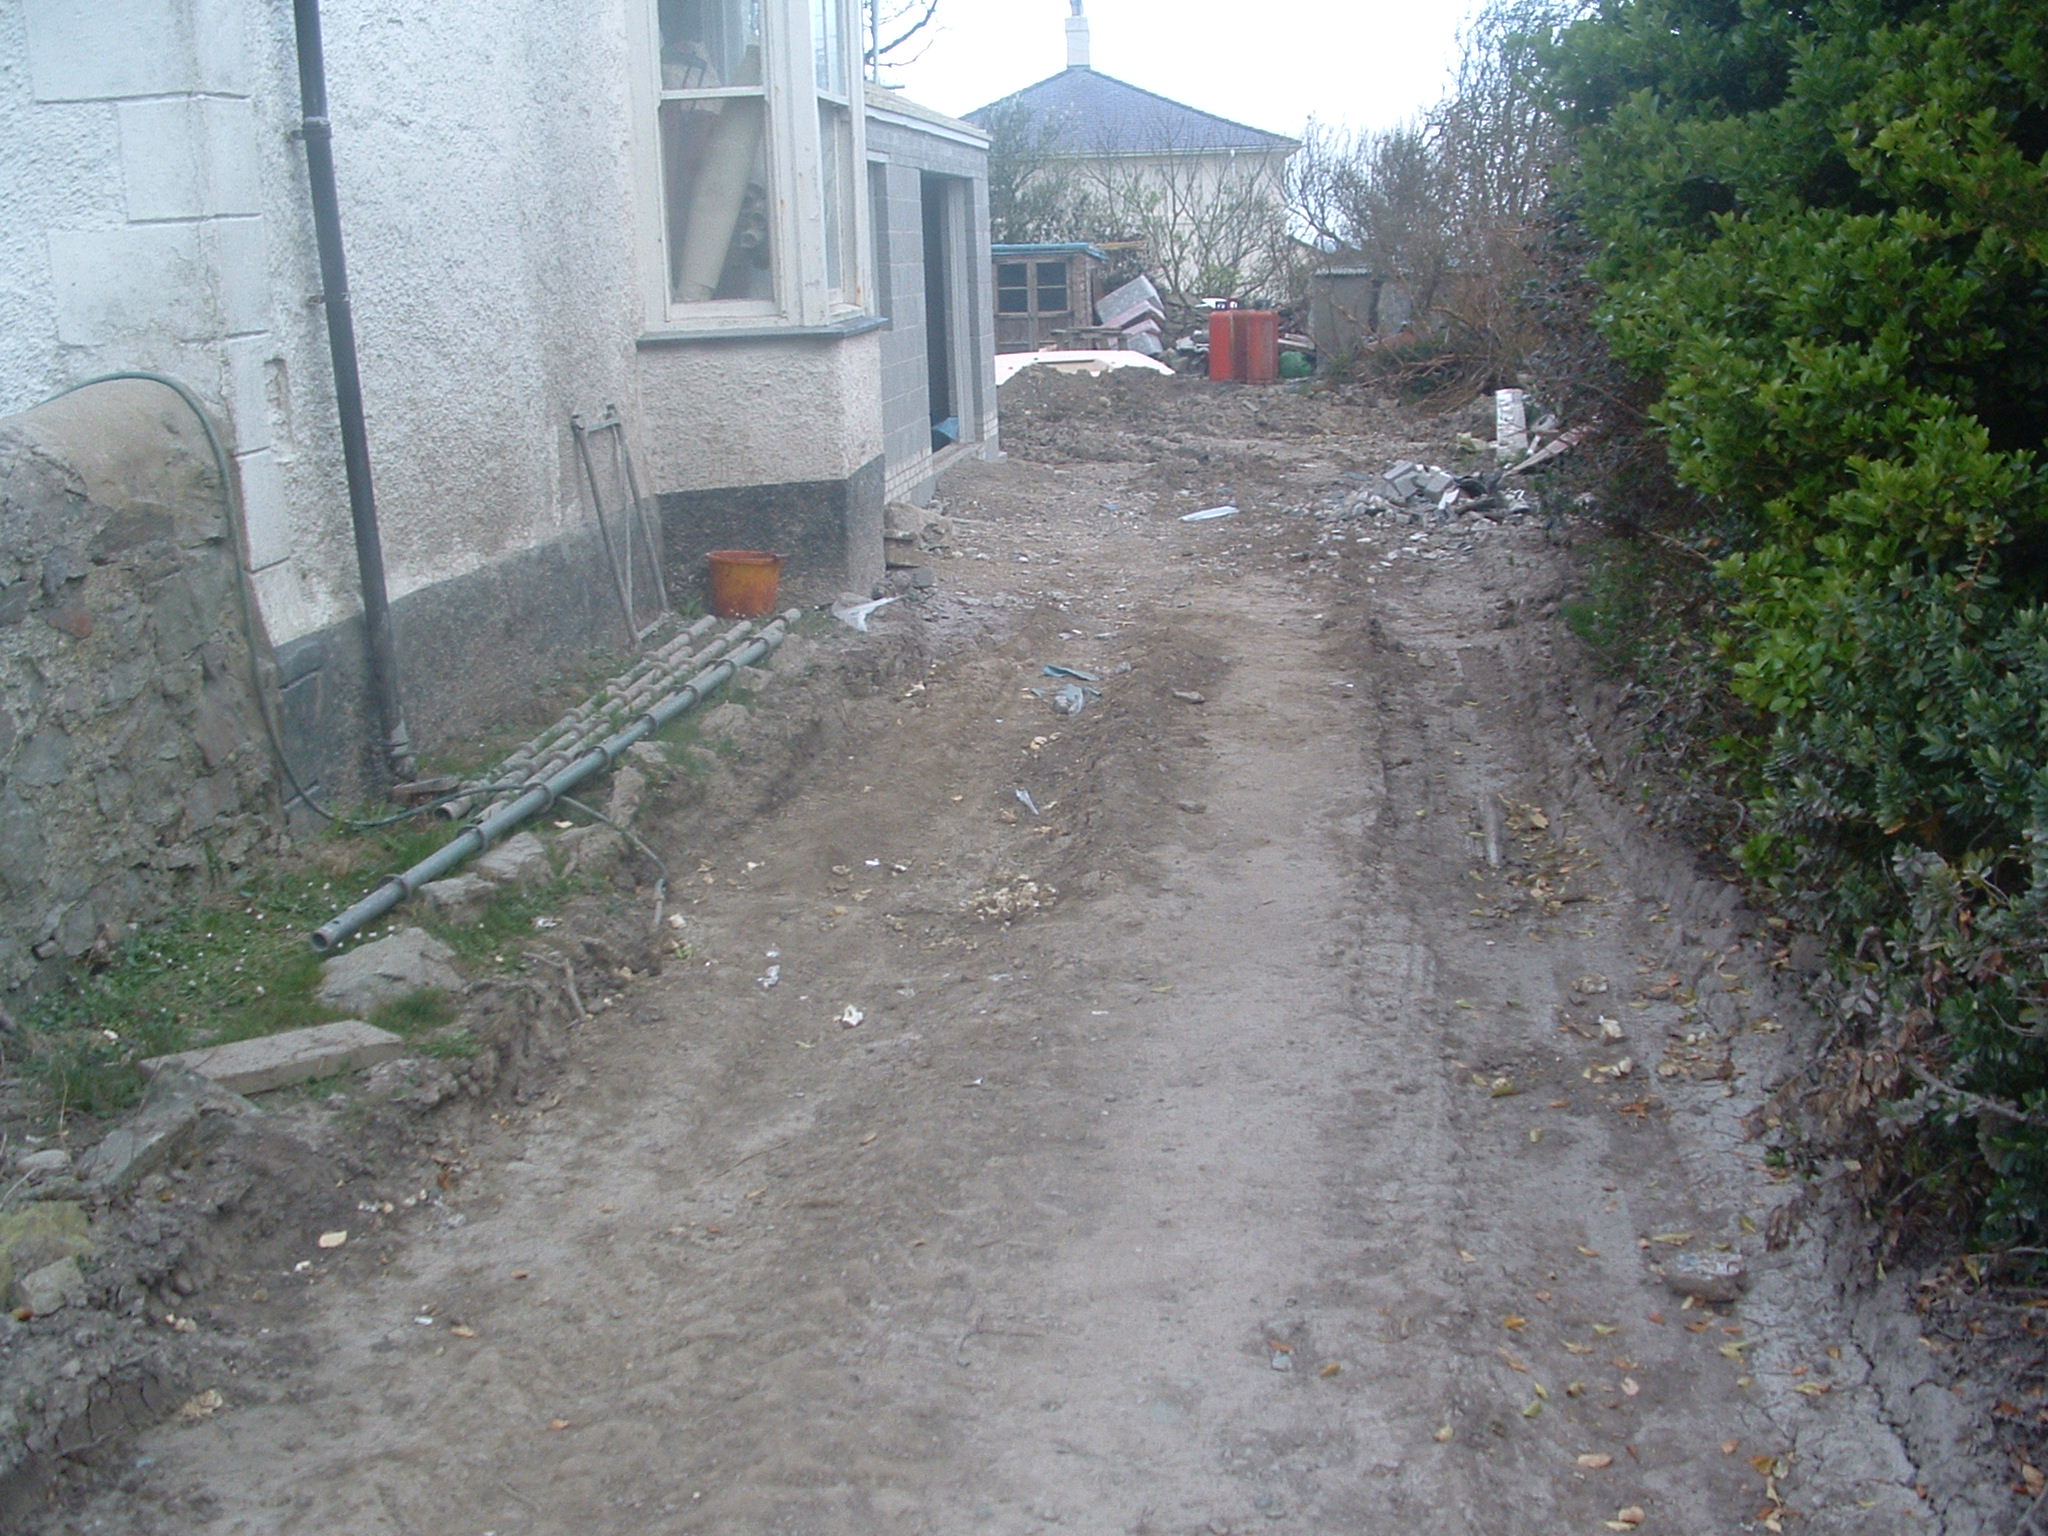
43 Driveway East when dry and not muddy compare with previous date!
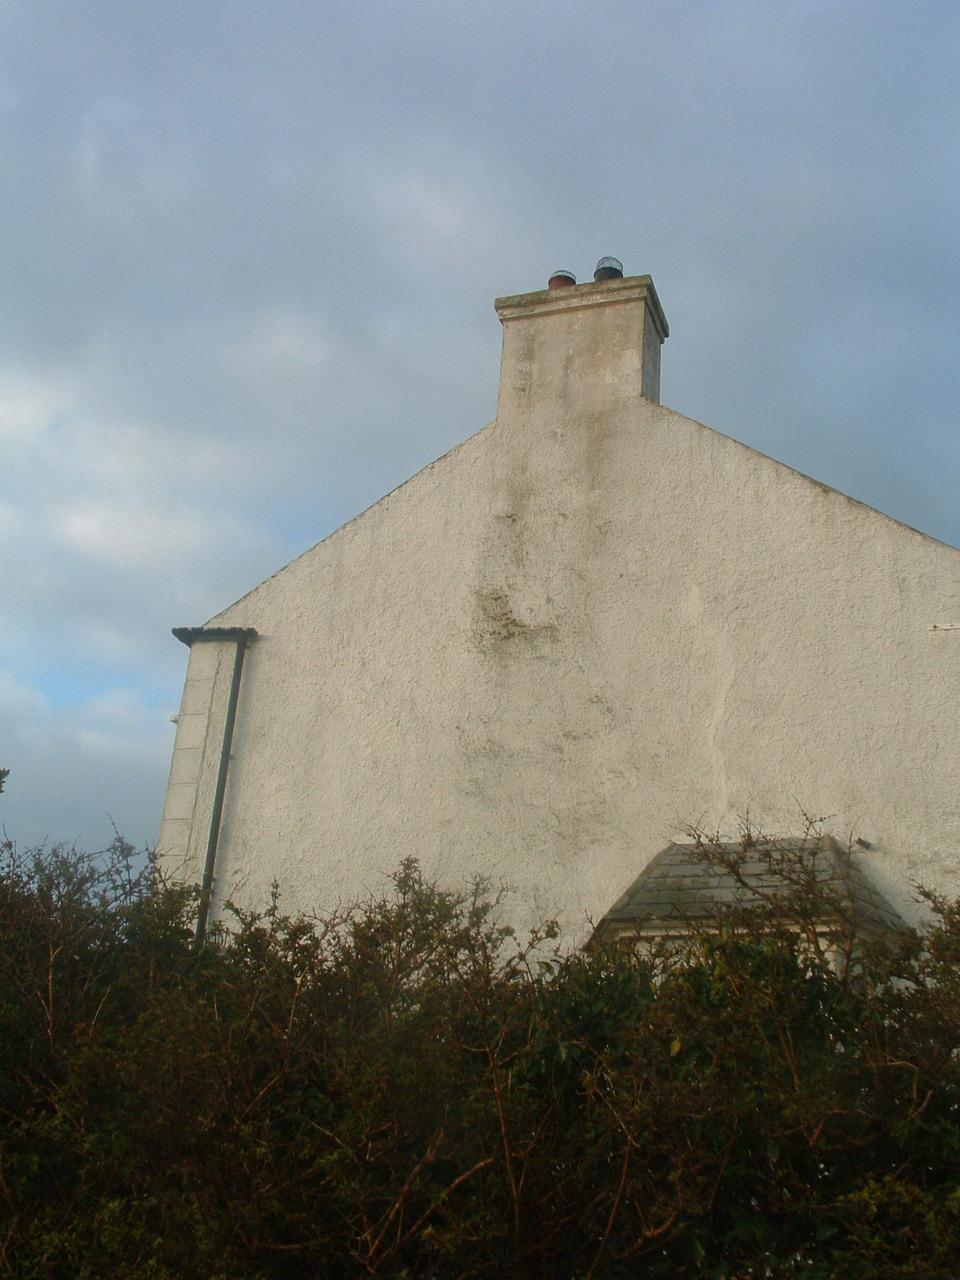
44 East gable – staining of Keim – Chris to get Keim man to comment on growth
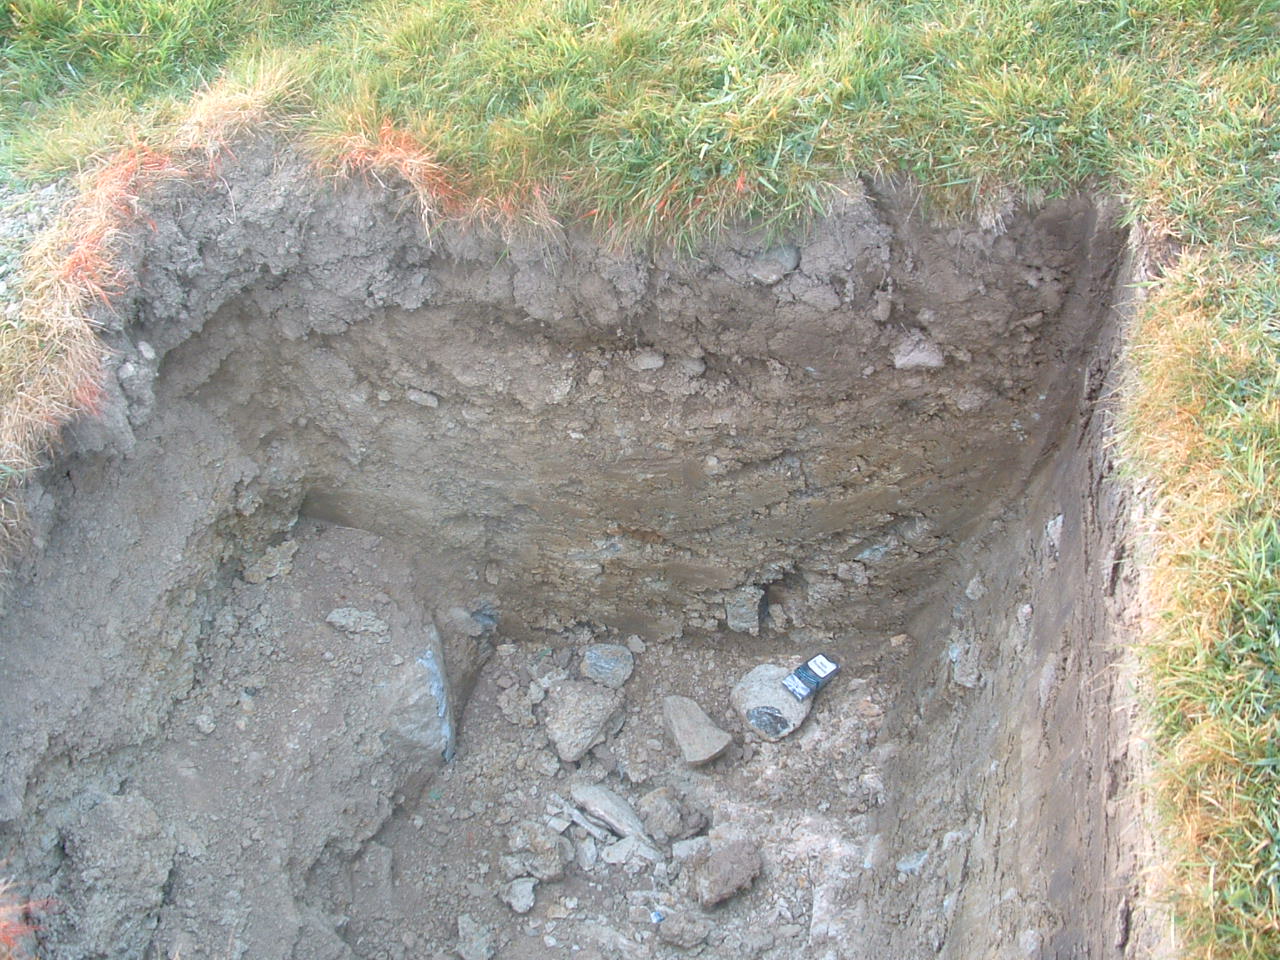
45 Trial pit 1
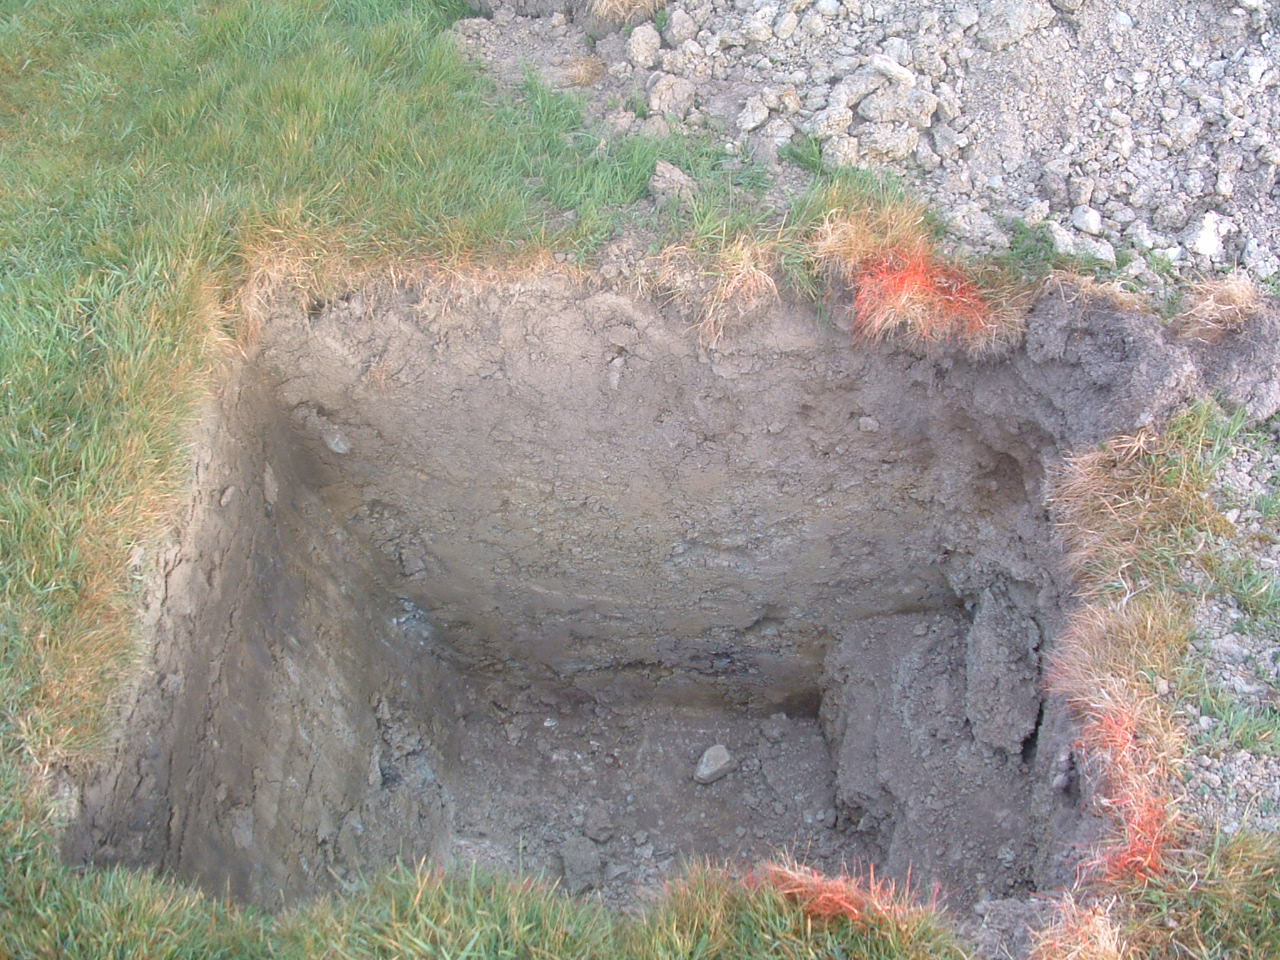
46 Trial pit 1 again
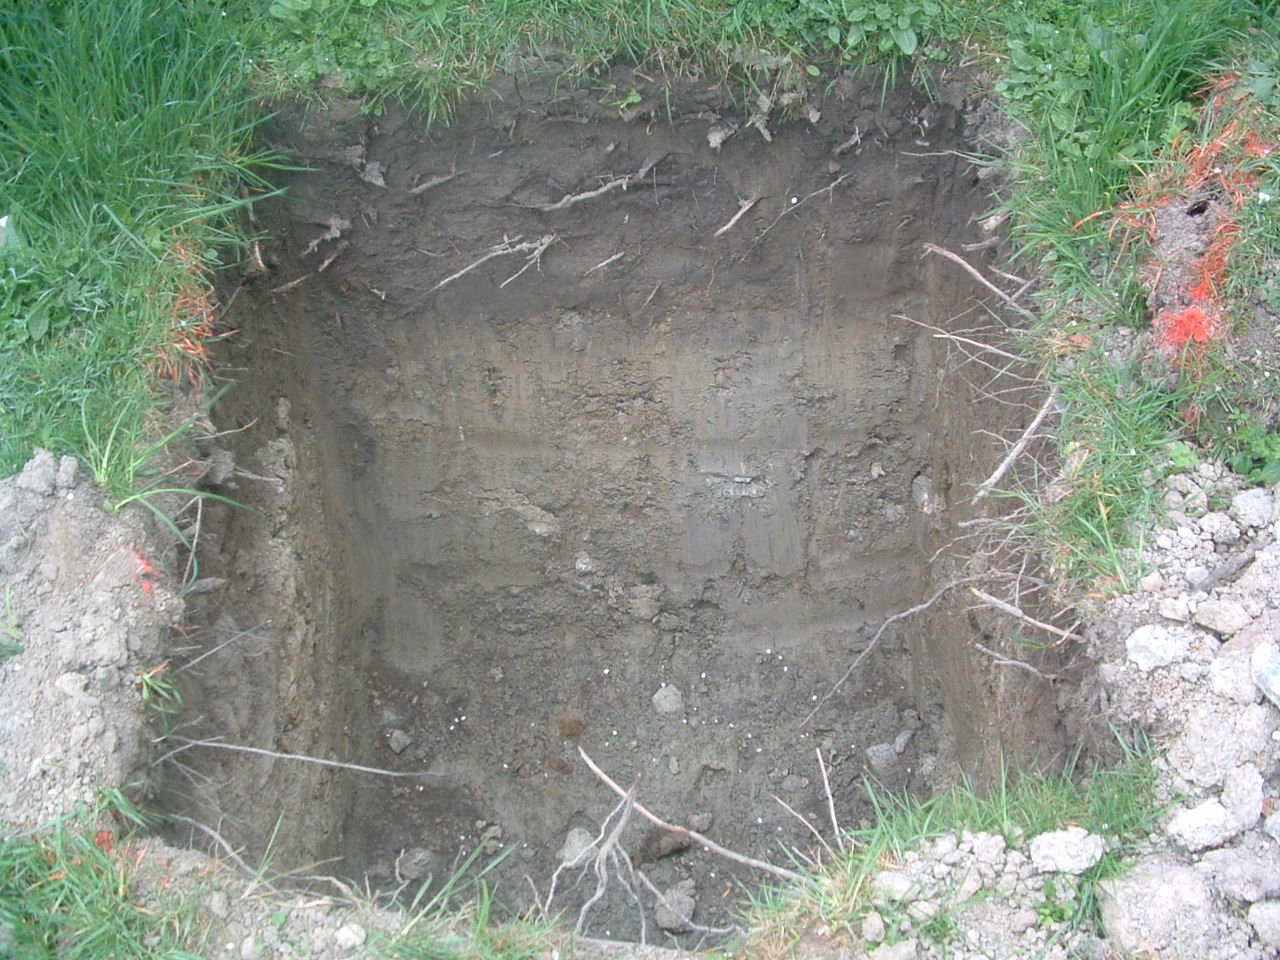
47 Trial pit 2

48 Trial Pit 4

49 Trial Pit 5 after a month of no rain – compare with previous photos